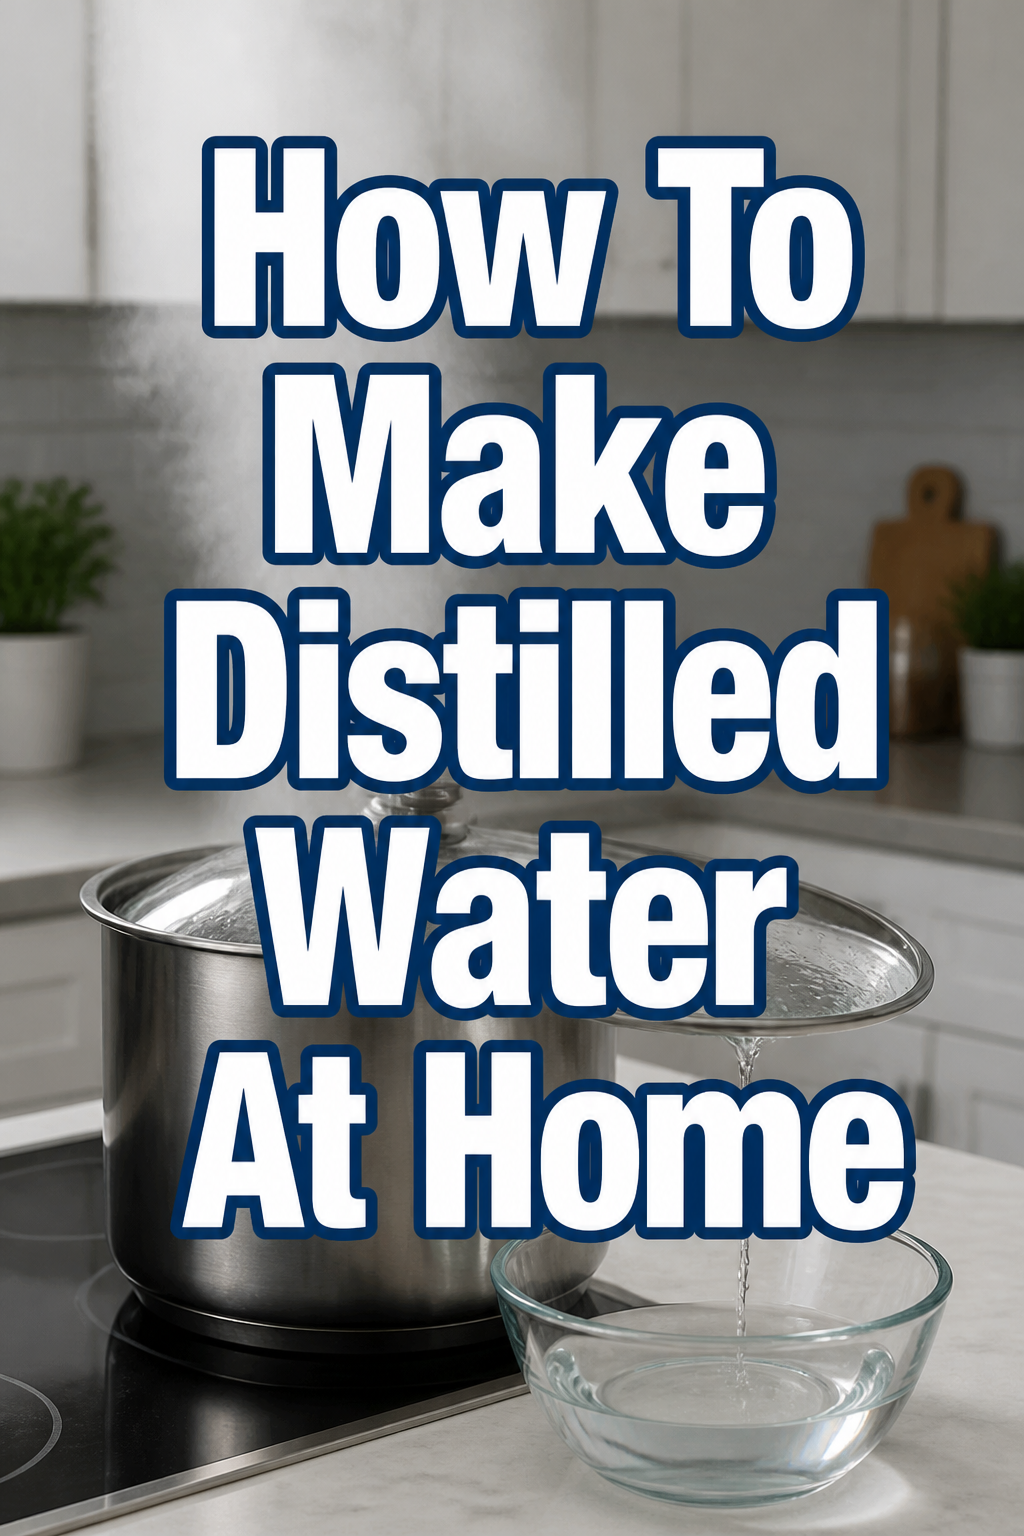
💧 How To Make Distilled Water At Home
Imagine a quiet afternoon in your kitchen, the gentle hum of activity, and the satisfying feeling of creating something pure with your own hands. I remember the first time I distilled water, driven by a desire for truly clean water for my delicate houseplants and a cozy sense of self-sufficiency. This guide comes from my own experience, helping you bring that same calm, pristine purity into your home.
Quick Overview
You’re about to learn how to transform ordinary tap water into beautifully pure distilled water right on your stovetop. It’s a simple, rewarding process that adds a touch of mindful living to your daily routine.
- Time needed: Approximately 2-3 hours (mostly passive waiting)
- Difficulty: Beginner
- What you’ll need: A large pot with a lid, a smaller heat-safe bowl, ice, and a stovetop
Step-by-Step Instructions
Step 1: Gather Your Cozy Collection
Collect your essential tools with a sense of purpose. You’ll need a large, deep pot, preferably stainless steel, that feels substantial and reliable. Its lid should fit snugly.
Find a smaller, heat-safe glass or ceramic bowl that can fit inside your large pot without touching the bottom. This little bowl will be the precious collector of your distilled water.
Step 2: Find Your Kitchen Sanctuary
Choose a clear, safe spot on your stovetop where the large pot can sit comfortably. Ensure there’s plenty of space around it for air circulation and easy access.
Lay out your ingredients and tools thoughtfully, perhaps on a clean, soft tea towel. This mindful preparation sets a lovely tone for the distillation process.
Step 3: Craft the Distillation Vessel
Pour tap water into your large pot, filling it about halfway. Make sure the water level is low enough so that your smaller collection bowl, when placed inside, sits above the water line.
Gently place the smaller heat-safe bowl inside the large pot. It should float or rest on something heat-resistant (like a metal trivet if needed, though often it just sits on the bottom with water around it, ensuring it doesn’t tip). The goal is for condensation to drip directly into it.
Pro Tip: Ensure the inner bowl is perfectly stable. A wobbly bowl could spill your precious distilled water later on. If it’s too light, a clean, heat-safe stone can help weigh it down.
Step 4: The Inverted Lid & Ice Crown
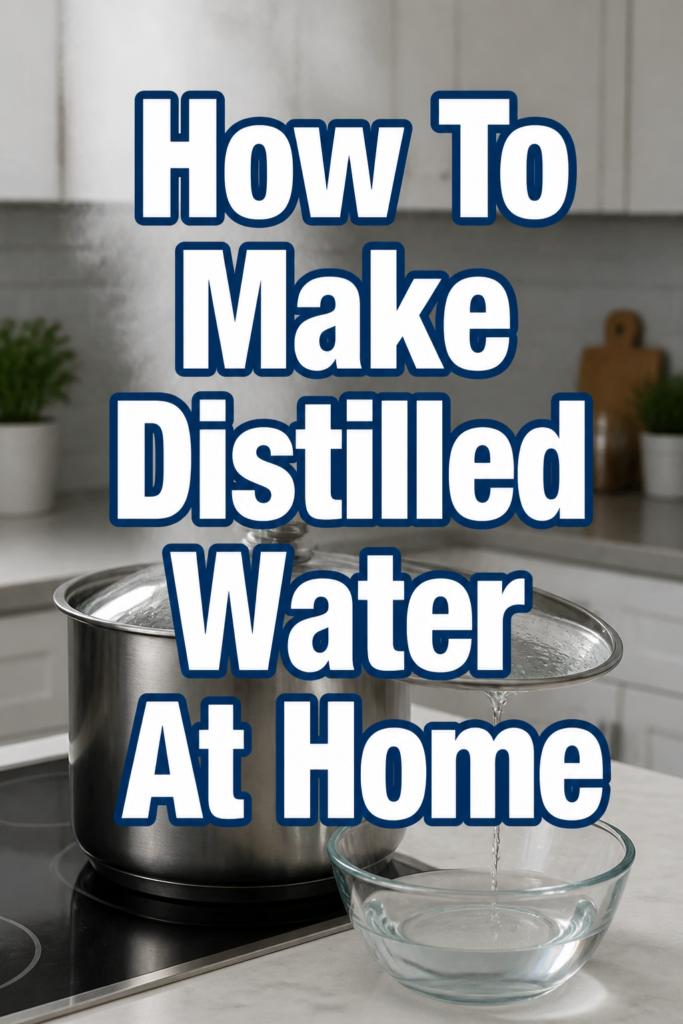
Invert the lid of your large pot and place it upside down on top of the pot. This creates a dome shape, perfect for directing condensation.
Fill the inverted lid with ice cubes. The cold ice will create a stark temperature difference, encouraging the steam inside the pot to condense rapidly on the cold lid’s underside.
Step 5: Gentle Heat, Patient Wait
Turn on your stovetop to a medium-low heat setting. You want the water in the large pot to simmer, not boil vigorously. A gentle simmer ensures steady evaporation without splashing.
Watch for the water to begin producing steam. This steam will rise, hit the cold lid, and condense into pure water droplets.
Step 6: The Rhythmic Drip Begins
Observe the magical process as tiny droplets of water form on the underside of the inverted lid. These pure droplets will then trickle down the curved surface and fall into your waiting collection bowl.
Listen for the soft, rhythmic drip of water into the inner bowl. It’s a calming sound, a testament to the purity being created. This gentle rhythm is a sign that your setup is working perfectly.
Step 7: Replenish and Observe
Monitor the ice in the inverted lid. As it melts, the lid will warm up, slowing down condensation. Regularly drain the melted ice water and replenish it with fresh cubes.
Keep an eye on the water level in the large pot. If it starts to get too low, you can carefully add more hot tap water to maintain the simmering process, without disturbing the inner bowl too much.
Pro Tip: Place a folded kitchen towel around the base of the pot to catch any drips from the melting ice. This helps keep your stovetop clean and tidy.
Step 8: The Grand Unveiling
After 2-3 hours, or once you’ve collected a satisfactory amount of distilled water, turn off the heat. Allow the pot to cool down slightly before proceeding.
Carefully remove the inverted lid, being mindful of any remaining melted ice water. Use oven mitts, as the pot and lid will still be hot.
Step 9: Cool and Store Your Liquid Gold
Gently lift the small collection bowl out of the large pot. Be extremely careful, as it will be hot and full of your freshly distilled water.
Allow the distilled water to cool completely to room temperature. Once cool, transfer it to a clean, airtight glass container for storage. Label your container clearly for future use.
Common Mistakes to Avoid
Using Plastic for Collection or Storage
Many people are tempted to use plastic containers for collecting or storing distilled water. However, plastic can leach chemicals into the pure water over time, defeating the purpose of distillation. Always opt for glass or food-grade stainless steel containers.
Boiling Too Vigorously
While you want steam, a rolling boil can cause tap water to splash into your collection bowl. This contaminates the distilled water with impurities from the original tap water. Maintain a gentle simmer to ensure only pure steam rises and condenses.
Ignoring Safety Precautions
You’re working with boiling water, hot steam, and ice. Always use oven mitts when handling the hot pot and lid. Be cautious when draining melted ice and moving the collection bowl. Safety should always be your top priority in your cozy kitchen.
Not Sealing the Lid Properly
If the lid isn’t placed snugly, steam can escape, reducing the efficiency of your distillation process. Ensure the inverted lid fits well over the pot, creating a good seal to maximize condensation. A well-sealed pot means more pure water for you.
Troubleshooting
No Water Collecting in the Bowl
If you’re not seeing any drips, first check the heat. Is the water in the large pot simmering gently? If the heat is too low, not enough steam will be produced.
Next, ensure the ice on the lid is plentiful and cold. If the ice has melted completely, the lid won’t be cold enough to condense the steam effectively. Replenish the ice frequently.
Water Tastes or Smells Off
Distilled water should be tasteless and odorless. If yours has an unusual taste or smell, it likely picked up impurities. This can happen if your inner collection bowl isn’t perfectly clean, or if the initial tap water was boiling too vigorously, causing splashes.
Ensure all your equipment is thoroughly cleaned before starting. Also, double-check that only steam is reaching the lid, and no water is splashing up.
Process is Too Slow
Distillation is a patient process, but if it feels excessively slow, you might need to adjust your heat or ice. Increase the heat slightly to a more active simmer, but avoid a rolling boil.
Confirm that your ice supply is consistently cold and being replaced regularly. A warmer lid means slower condensation. A good, consistent temperature difference is key for efficiency.
Key Takeaways
- Making distilled water at home is a simple, fulfilling project that promotes self-sufficiency.
- Always prioritize safety: use oven mitts and be mindful of hot surfaces and steam.
- A gentle simmer and consistently cold ice on the lid are crucial for efficient distillation.
- Use only glass or food-grade stainless steel for collecting and storing your pure water.
- Patience is a virtue in distillation; enjoy the calming rhythm of the process.
- Your homemade distilled water is perfect for plants, irons, humidifiers, and natural beauty routines.
Frequently Asked Questions
Is homemade distilled water safe to drink?
While technically safe, distilled water lacks the natural minerals found in tap water. For drinking, it’s generally recommended to consume mineralized water. However, it’s perfectly safe for short-term use or for specific health needs under medical guidance.
How long can I store homemade distilled water?
When stored in a clean, airtight glass container, homemade distilled water can last indefinitely. The key is to prevent recontamination from airborne particles or dirty containers. Keep it in a cool, dark place for optimal freshness.
What are the best uses for distilled water at home?
Distilled water is a true household hero. It’s perfect for houseplants, especially delicate ones, as it prevents mineral buildup. Use it in your steam iron to avoid mineral deposits, in humidifiers, for making natural cleaning solutions, and in DIY beauty products like facial toners.
Why bother making it when I can buy it?
Making distilled water at home offers a wonderful sense of accomplishment and control over purity. It eliminates plastic waste from store-bought bottles and can be more economical in the long run. Plus, it’s a cozy, mindful activity that connects you to your home.
Our Top Recommended Finds
- A Sturdy Stainless Steel Stockpot: Essential for a successful setup, choose one with a heavy bottom for even heat distribution.
- Glass Storage Jars with Airtight Lids: Perfect for keeping your distilled water pristine and ensuring no leaching of unwanted chemicals.
- Heat-Resistant Silicone Oven Mitts: For safe handling of hot pots and lids, these are a must-have in any cozy kitchen.
Embrace the Art of Pure Living
There’s a quiet satisfaction in crafting something essential with your own hands, especially when it contributes to a healthier, more beautiful home. Making distilled water is more than just a practical chore; it’s an invitation to slow down, observe, and appreciate the simple magic of transformation.
Why not transform your daily routine today? Start your first batch and experience the calm, clean benefits yourself. This little act of self-sufficiency can be the first step in a journey towards a more mindful and cozy home.