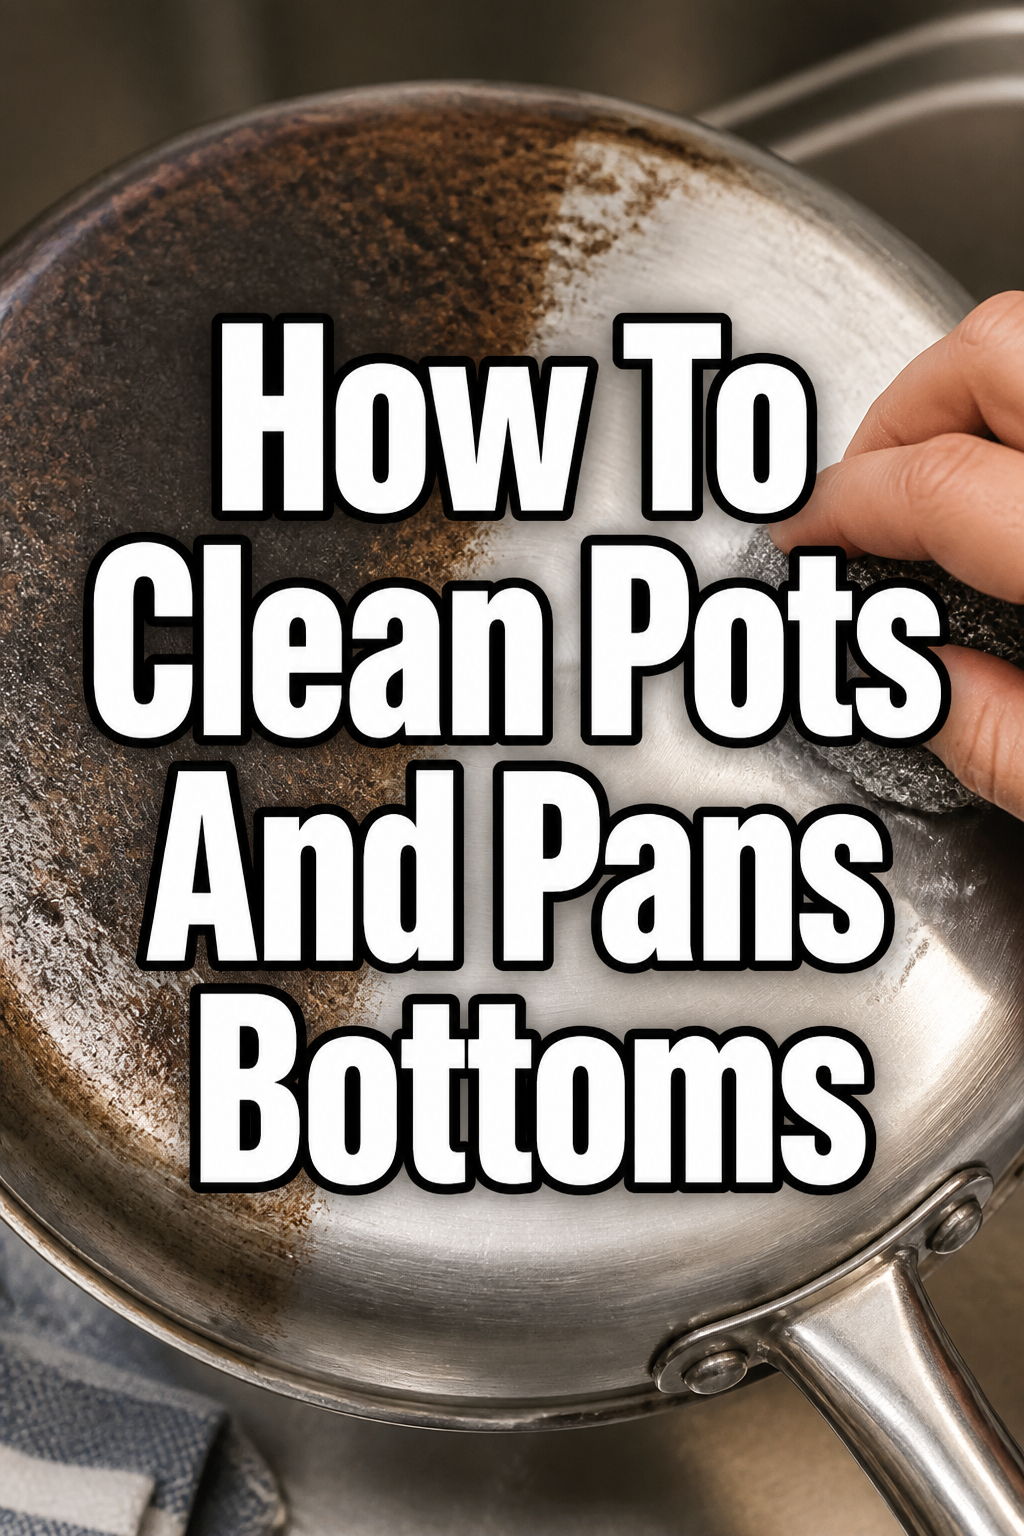
🍳 How To Clean Pots And Pans Bottoms
I remember the first time I looked at the underside of my favorite copper skillet and felt a pang of guilt.
Years of cozy Sunday roasts and quick weekday stir-fries had left a thick, dark crust that seemed impossible to remove.
After testing dozens of methods in my own kitchen, I discovered that restoring that original glow is actually a meditative and rewarding ritual.
Quick Overview
Cleaning the exterior of your cookware isn’t just about vanity; it actually improves heat distribution and keeps your stove looking pristine.
- Time needed: 30 to 60 minutes depending on the level of buildup.
- Difficulty: Beginner.
- What you’ll need: Baking soda, white vinegar, a lemon, coarse salt, and a non-abrasive scrubber.
Step-by-Step Instructions
Step 1: Prepare Your Sanctuary
Clear your kitchen counters and create a workspace that feels inviting rather than like a chore.
Light a beeswax candle or put on some soft acoustic music to turn this maintenance task into a moment of slow living.
Gather all your tarnished pots and pans so you can work in an efficient assembly line fashion.
Pro Tip: Lay down a soft microfiber towel on your countertop to protect your surfaces from scratches while you scrub.
Step 2: Start With a Warm Rinse
Run the bottom of the pan under hot water for a minute to loosen any surface-level grease.
This initial heat helps the pores of the metal expand slightly, making the burnt-on carbon easier to penetrate.
Wipe away any loose debris with a soft cloth before applying any cleaning agents.
Step 3: Apply the Baking Soda Foundation
Sprinkle a generous layer of baking soda over the entire bottom surface of the pan while it is still damp.
The dampness creates a thick paste that clings to the scorched areas and begins to break down the acidity of the burnt oil.
Let this sit for at least ten minutes to allow the alkaline properties to work their magic on the tough stains.
Step 4: Introduce the Vinegar Reaction
Spray or pour a small amount of white vinegar over the baking soda layer.
The resulting fizz is more than just a satisfying sound; it creates a physical reaction that lifts carbon away from the metal.
Allow the bubbling to subside completely before you move on to the manual scrubbing phase.
Pro Tip: If you are cleaning copper bottoms, substitute the vinegar with lemon juice for a brighter, more lustrous finish.
Step 5: Scour With Coarse Salt
Add a handful of coarse kosher salt to the mixture already on the bottom of your pan.
Salt acts as a natural abrasive that is tough enough to remove carbon but gentle enough not to leave deep gouges in the metal.
Scrub in small, circular motions using a heavy-duty sponge or a specialized scrub brush.
Step 6: Target Stubborn Spots with Lemon
Cut a lemon in half and use the cut side as a scrubbing tool directly on the most persistent dark spots.
The citric acid works as a natural bleaching agent and degreaser that adds an extra layer of cleaning power.
Squeeze the juice as you go to keep the area lubricated and to ensure the acid is fresh and active.
Step 7: The Final Polish and Rinse
Rinse the pan thoroughly with warm water to remove all traces of salt, soda, and vinegar.
Check the surface for any remaining dull spots and repeat the paste application if necessary.
Dry the pan immediately with a clean, lint-free cloth to prevent water spots and maintain that fresh-out-of-the-box shine.
Step 8: Curate Your Display
Inspect your work and appreciate the way the light catches the clean metal surfaces.
Now that your pans are beautiful again, consider hanging them on a brass pot rack or an open wooden shelf.
Arrange them by size or material to create a visual rhythm that enhances the aesthetic of your kitchen sanctuary.
Common Mistakes to Avoid
Using Steel Wool on Coated Surfaces
It is tempting to reach for a metal scouring pad when you see a tough stain, but this can be a fatal mistake for certain cookware.
Steel wool can leave micro-scratches on stainless steel and completely ruin the exterior finish of enameled or non-stick pans.
Always start with the gentlest abrasive possible and only increase the intensity if the metal type safely allows for it.
Neglecting the Sides of the Pan
Many people focus only on the very bottom where the flame hits, but grease often creeps up the sides of the cookware.
If you leave these side drips untreated, they will bake on even harder during your next cooking session.
Make sure your cleaning paste extends at least an inch up the sides to maintain a cohesive, clean look across the entire piece.
Applying Cold Water to a Hot Pan
Thermal shock is a real danger when you are eager to start the cleaning process right after cooking.
Plunging a hot pan into a sink of room-temperature water can cause the metal to warp or even crack.
Wait until the pan is cool enough to touch comfortably before you begin any of the cleaning steps outlined above.
Troubleshooting
The Rainbow Stains on Stainless Steel
Sometimes after cleaning, you might notice a swirling, rainbow-like tint on the bottom of your stainless steel pans.
This is called “heat tint” and is caused by the oxidation of the chromium in the steel when it is exposed to high temperatures.
To fix this, simply wipe the area with a cloth soaked in a little bit of diluted white vinegar or lemon juice, and the rainbow will disappear instantly.
Sticky Residue That Won’t Budge
If the bottom of the pan feels tacky even after scrubbing, you likely have a layer of polymerized oil.
This happens when oil is heated past its smoke point and creates a plastic-like coating on the metal.
Apply a specialized commercial cream cleanser and let it sit for thirty minutes to dissolve these stubborn chemical bonds.
Persistent Black Carbon Crust
For pans that haven’t been cleaned in years, the carbon crust might be too thick for baking soda alone.
In these extreme cases, you may need to create a “soak bath” in your sink using very hot water and a heavy-duty degreasing dish soap.
Let the pan submerge for several hours before attempting to scrub again with the salt and lemon method.
Key Takeaways
- Consistency is key: Cleaning the bottoms every few weeks prevents the permanent buildup of carbon.
- Natural agents work: Baking soda, vinegar, and lemon are often more effective and safer than harsh chemicals.
- Abrasives matter: Use coarse salt for a safe, effective scrub that won’t damage the integrity of the metal.
- Dry immediately: Prevent tarnish and water spots by hand-drying your cookware as soon as it is clean.
- Aesthetic value: Clean cookware allows you to use open shelving and hanging racks as part of your kitchen design.
- Temperature control: Always let your pans cool down before starting the cleaning process to avoid warping.
Frequently Asked Questions
Can I put my pots and pans in the dishwasher to clean the bottoms?
While some pans are labeled as dishwasher safe, the harsh detergents and high heat can actually accelerate the tarnishing process.
Dishwashers often fail to remove the baked-on carbon on the exterior and can lead to dulling of the finish over time.
Hand-cleaning is the only way to ensure the bottoms remain bright and the metal stays in peak condition for years to come.
How often should I deep-clean the exterior of my cookware?
For a kitchen that feels fresh and organized, I recommend a quick exterior scrub once a week during your regular cleaning routine.
A deep restoration using the baking soda and vinegar method should be done every one to three months depending on how often you cook.
If you notice smoke or an odd smell when you turn on the stove, it is a sign that there is residue on the bottom that needs immediate attention.
Is it safe to use oven cleaner on the bottom of my pans?
Oven cleaner is extremely powerful and can work on some stainless steel or cast iron pans, but it is very risky.
The fumes are toxic and the chemicals can permanently discolor aluminum or damage the seasoning on cast iron.
It is much safer to stick to food-grade ingredients like baking soda and salt for items that come into contact with your kitchen environment.
Our Top Recommended Finds
- Bar Keepers Friend Cleanser: This classic powdered cleanser contains oxalic acid which is incredible for removing rust and mineral deposits from stainless steel.
- Natural Cellulose Sponges: These are biodegradable and offer a soft side for general cleaning and a textured side for gentle scrubbing.
- Microfiber Drying Towels: A high-quality set of towels will help you buff your pans to a mirror finish without leaving any lint behind.
Elevate Your Kitchen Ritual
There is a profound sense of satisfaction that comes from seeing your kitchen tools restored to their former glory.
When your pots and pans shine, the entire room feels lighter, cleaner, and more intentional.
Take this newfound knowledge and apply it to other areas of your kitchen, perhaps by organizing your spice drawer or polishing your wooden cutting boards.
Start today by picking just one pan—the one you use the most—and give it the care it deserves.
You will find that once you start, the beauty of the results will inspire you to keep going until your entire kitchen glows.