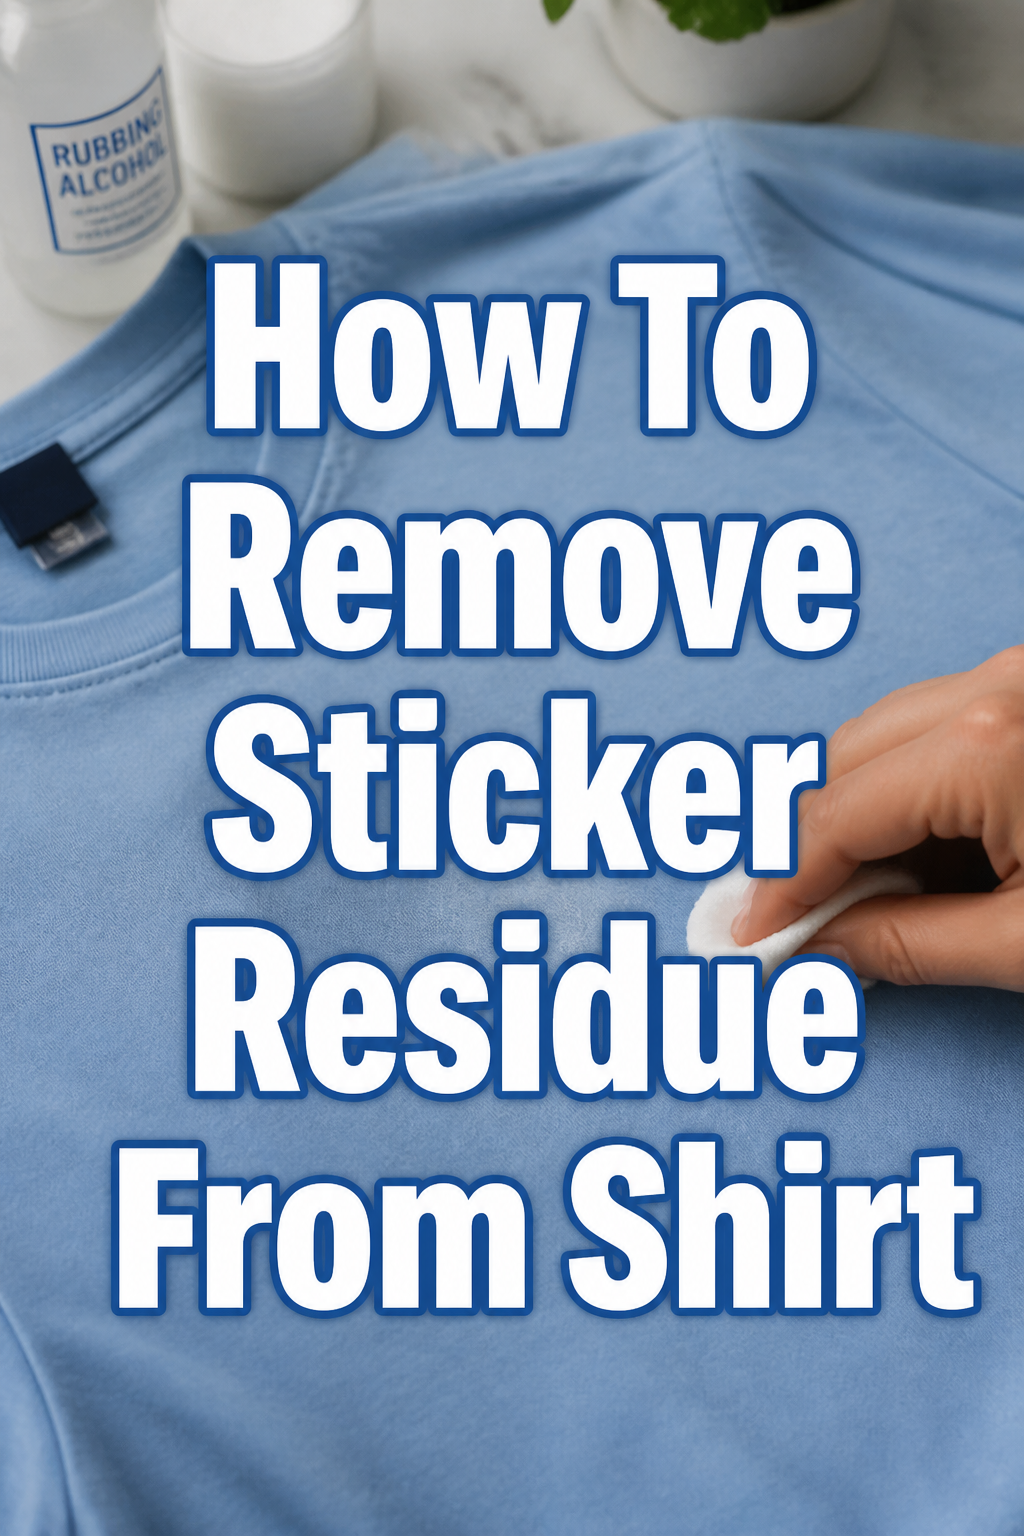
👕 How To Remove Sticker Residue From Shirt
I remember the first time I found a perfect, ivory silk blouse at a small boutique in the city.
I was so excited to wear it that I ripped the price tag off too quickly, leaving a stubborn, gummy rectangle right over the heart.
It felt like a small tragedy at the time, but that moment started my journey into learning how to treat fabrics with the same care we give to our home decor.
Quick Overview
Restoring your favorite garments is a slow, meditative process that brings a sense of order back to your wardrobe.
- Time needed: 20 to 45 minutes
- Difficulty: Beginner
- What you’ll need: White vinegar, clear dish soap, a hairdryer, a soft microfiber cloth, and an old toothbrush.
Step-by-Step Instructions
Step 1: Identify the Fabric Type
Look at the care label inside your shirt before you do anything else.
Cotton and polyester are generally hearty and can handle a bit of warmth and moisture.
However, if you are working with silk, wool, or acetate, you must be incredibly gentle to avoid permanent water spots or fiber damage.
Think of your shirt like a delicate piece of art hanging in a gallery; you want to preserve the texture and the weave.
If the shirt is a natural fiber like linen, it may absorb liquids faster, requiring a lighter touch with any cleaning agents.
Pro Tip: Always test a small, hidden area of the fabric, like the inside hem, to ensure your cleaning solution doesn’t cause discoloration.
Step 2: Apply Gentle Heat
Use a hairdryer on a low or medium setting to soften the adhesive residue.
Hold the dryer about six inches away from the fabric and move it in small, circular motions.
The goal is to make the glue pliable again without overheating the fibers of the shirt.
You will notice the residue starts to look shiny or feels slightly tacky to the touch once it is warm.
This mimics the way we use warm lighting in a room to create a soft, inviting atmosphere; the heat softens the edges of the problem.
Avoid using the highest heat setting, as synthetic fibers like polyester can actually melt or become distorted under extreme temperatures.
Step 3: Lift the Surface Residue
Gently use the edge of a plastic credit card or a dull butter knife to scrape away the loosened glue.
Work from the outside of the stain toward the center to prevent spreading the adhesive further into the clean fabric.
Do not use your fingernails, as the oils from your skin can mix with the glue and create a deeper stain.
Imagine you are carefully smoothing out a piece of wallpaper; the pressure should be firm but never aggressive.
If the residue is still very stubborn, you can use a piece of masking tape to “lift” the bits of glue.
Press the tape onto the spot and pull it up quickly, repeating the process until the bulk of the mess is gone.
Step 4: Create a Soothing Cleaning Solution
Mix a solution of two parts white vinegar and one part cool water in a small ceramic bowl.
Vinegar is a natural acid that breaks down the chemical bonds in most sticker adhesives without harsh fumes.
If you prefer a different scent, you can add a single drop of clear, grease-cutting dish soap to the mixture.
Avoid using colored soaps, as the dyes can sometimes transfer to light-colored fabrics, especially delicate knits.
This mixture is the “skincare” for your clothes, designed to cleanse without stripping the beauty of the material.
Keep your workspace organized and beautiful, perhaps placing your bowl on a wooden tray to make the task feel less like a chore.
Step 5: Blot and Massage
Dip a clean microfiber cloth into your solution and wring it out so it is damp but not dripping.
Press the cloth onto the residue and hold it there for about thirty seconds to let the vinegar penetrate the fibers.
Use a soft-bristled toothbrush to gently agitate the area in tiny, delicate circles.
You are not trying to scrub the life out of the shirt; you are simply encouraging the glue to let go.
The motion should be similar to how you would dust a fragile antique or a glass coffee table.
Check your progress frequently to see if the gray or sticky film is lifting onto the cloth.
Pro Tip: If the shirt is made of a very fine knit, use a sponge instead of a toothbrush to prevent the fibers from pilling.
Step 6: The Final Rinse
Rinse the treated area with cool, running water to remove any lingering vinegar or soap.
Hold the fabric under the tap and let the water flow from the back of the stain through to the front.
This flushes the particles out of the weave rather than pushing them deeper into the shirt.
Once the water runs clear, gently press the shirt between two dry towels to remove excess moisture.
Never wring or twist the fabric, as this can stretch the silhouette of your garment and ruin the fit.
Think of this as the “refresh” stage, much like opening the windows in a room to let in a crisp, clean breeze.
Step 7: Air Dry and Inspect
Hang the shirt on a padded hanger or lay it flat on a drying rack in a well-ventilated room.
Avoid placing it in direct sunlight, which can fade colors, or near a heater, which can set any remaining residue.
Wait until the shirt is completely dry before deciding if the residue is fully gone.
Adhesive often becomes invisible when wet, only to reappear as a dull patch once the moisture evaporates.
If you still see a shadow of the sticker, simply repeat the vinegar soak one more time.
Patience is the key to a perfectly curated wardrobe that looks as good as a professionally designed interior.
Common Mistakes to Avoid
Using a Hot Iron
Many people think that ironing over a sticker stain will “melt” it away, but this is a mistake.
High heat from an iron will permanently set the adhesive into the fibers, making it almost impossible to remove later.
It can also scorch the glue, turning a clear sticky spot into a dark brown or black burn mark on your favorite top.
Rubbing with Heavy Pressure
Scrubbing the fabric too hard can break the delicate threads and create a “fuzzy” patch that looks worn out.
This damage is structural and cannot be fixed, even if you manage to get the glue out.
Always prioritize the integrity of the fabric over the speed of the cleaning process.
Applying Oil-Based Removers to Synthetics
While products like coconut oil or peanut butter can break down glue, they often leave behind a greasy shadow.
On synthetic fabrics like polyester or nylon, these oil stains can be even harder to remove than the original sticker residue.
Stick to water-based or vinegar-based solutions unless you are prepared to do a heavy-duty degreasing wash afterward.
Troubleshooting
The Residue is Still Tacky After Drying
If the spot feels sticky once dry, there is still a layer of adhesive trapped between the threads.
This often happens with “industrial strength” stickers used on workwear or heavy denim.
Try using a specialized citrus-based cleaner, applying it only to the specific spot with a cotton swab for more precision.
A Dark Ring Appeared Around the Spot
This usually happens when the cleaning solution spreads out and carries the dissolved glue with it.
To fix this, you need to wash the entire garment rather than just spot-cleaning the one area.
Soak the whole shirt in a basin of cool water with a small amount of gentle laundry detergent to even out the fabric’s appearance.
The Fabric Looks Faded Where I Cleaned It
This can occur if the vinegar was too concentrated or if the dye in the shirt was not colorfast.
While you cannot easily “un-fade” a spot, you can sometimes blend it by washing the shirt with a color-safe brightener.
In the future, always remember to dilute your cleaning agents and perform that crucial patch test.
Key Takeaways
- Heat is your friend: Use a hairdryer to soften the glue before you ever touch it with liquids.
- Vinegar is a gentle hero: A simple mix of vinegar and water is often enough to save most fabrics.
- Direction matters: Always work from the outside of the stain inward to keep the mess contained.
- Patience pays off: Let the shirt air dry completely to ensure the residue is truly gone before wearing it.
- Protect the fibers: Use soft tools like toothbrushes or sponges to maintain the “new” look of your clothes.
Frequently Asked Questions
Can I use rubbing alcohol on my shirts?
Rubbing alcohol is a very effective solvent for many glues, but it can be harsh on certain dyes.
It works well on white cotton or sturdy denim, but it might strip the color from a navy blue or dark green shirt.
If you choose to use it, apply it sparingly with a cotton ball and rinse the area immediately after the glue lifts.
What if the shirt has already been through the dryer?
If the shirt went through a high-heat drying cycle, the residue is likely “baked” into the fabric.
You can still remove it, but it will require a longer soak in a vinegar and dish soap solution.
You might need to repeat the process three or four times to fully break down the hardened adhesive layers.
Is Goo Gone safe for all clothing?
Goo Gone and similar citrus cleaners are powerful, but they are oil-based and can leave stains on silk or suede.
They are generally safe for cotton and polyester if you wash the garment with a good detergent right after treatment.
Always check the product label, as some versions are specifically formulated for laundry use while others are for hard surfaces only.
Our Top Recommended Finds
- Soft-Bristled Laundry Brush: A dedicated brush with natural bristles is much gentler than a standard toothbrush for large areas.
- Microfiber Cleaning Cloths: These are essential for blotting because they lift particles away rather than just moving them around.
- Gentle pH-Neutral Detergent: Keeping a bottle of high-quality, clear detergent helps maintain the life of your most aesthetic wardrobe pieces.
Embracing a Mindful Wardrobe
Taking the time to repair and clean your clothes is a beautiful way to practice sustainability in your daily life.
When our favorite pieces are cared for, they contribute to a home environment that feels intentional and serene.
Once your shirt is clean and dry, consider how you organize your closet to prevent future mishaps.
Using cedar hangers or organizing by color can turn a simple storage space into a source of daily design inspiration.
Take a look at your other garments today and see which ones might need a little extra love and attention.
A well-maintained wardrobe is the foundation of a confident, peaceful morning routine.