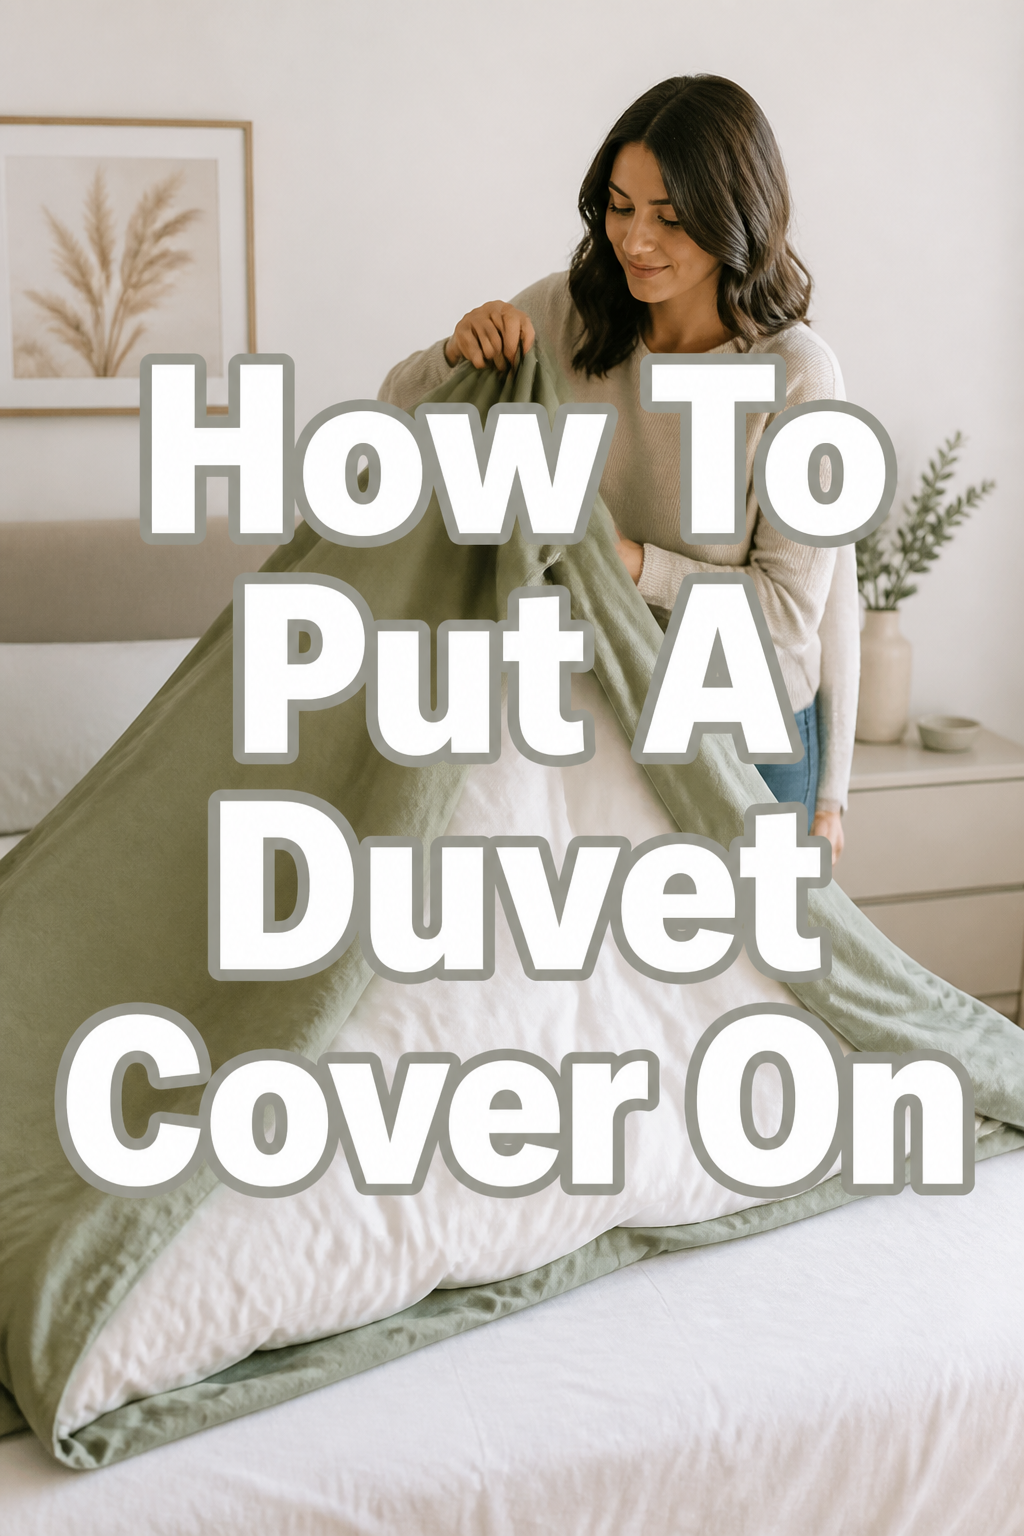
🛌 How To Put A Duvet Cover On
Transforming your bedroom into a serene sanctuary often feels like a distant dream. Yet, the secret to a beautifully made bed, crisp and inviting, is surprisingly simple. It truly sets the tone for your entire space.
I remember my own struggles, wrestling with a bulky duvet, ending up tangled and frustrated. After years of perfecting the art, I’m thrilled to share a method that makes this task effortless. You’ll soon master the technique, creating a cozy haven with ease.
Quick Overview
Getting your duvet cover on doesn’t have to be a battle. This guide will walk you through a simple, effective method to achieve a perfectly smooth, inviting bed. You’ll master a technique that saves time and keeps your duvet looking its best.
- Time needed: 5-10 minutes
- Difficulty: Beginner
- What you’ll need: Your duvet insert, your duvet cover, and a clear floor space.
Step-by-Step Instructions
Step 1: Prepare Your Space and Mindset
Before you begin, clear a large, flat surface. The floor is often the best option for ample room to maneuver. Think of this as preparing your canvas for a beautiful creation.
A clutter-free area helps immensely. It allows you to move freely and keeps your focus on the task at hand. Creating a calm environment makes the entire process more enjoyable.
Pro Tip: Put on some relaxing music or light a gentle candle. This small act can elevate a mundane chore into a moment of self-care, enhancing the cozy aesthetic of your bedroom right from the start.
Step 2: Turn Your Duvet Cover Inside Out
Lay your duvet cover flat on your prepared surface. Now, reach inside and turn it completely inside out. The opening should be at the bottom, facing you.
This step is crucial for the “burrito” or “California roll” method we’re about to use. It sets up the magic that makes duvet covering so simple. Ensure all corners are neatly pushed out.
Step 3: Lay Your Duvet Insert on Top
With your duvet cover still inside out and laid flat, place your duvet insert directly on top of it. Align the edges and corners as precisely as possible. This creates a neat base for the next step.
Make sure the duvet insert is spread out evenly. Smooth out any lumps or bumps, ensuring it lies perfectly flat against the inside-out cover. This alignment is key for a seamless finish.
Step 4: Roll It Up Like a Burrito
Starting from the closed end of the duvet cover (the end opposite the opening), begin to roll both the duvet cover and the duvet insert together. Roll them tightly and evenly, like you’re preparing a giant burrito or a sleeping bag.
Keep the roll as compact and straight as possible. This step might feel a little unusual at first, but trust the process. The tighter your roll, the easier the next part will be.
Step 5: Secure the Corners
Once you’ve rolled the duvet and cover almost entirely, you’ll reach the open end of the duvet cover. Now, take one of the top corners of the duvet insert. Reach inside the cover’s opening and grab the corresponding corner of the inside-out duvet cover.
Pull that corner of the cover over the duvet insert corner. Many duvet covers have small ties inside; if yours does, tie the cover to the duvet insert. Repeat this for the other top corner. This secures the duvet within the cover.
Pro Tip: Don’t skip the corner ties if your cover has them. They prevent the duvet from shifting and clumping inside, ensuring a consistently plush look. This small detail makes a big difference in maintaining that perfectly inviting bed.
Step 6: Unroll and Shake It Out
With the top two corners secured, it’s time for the reveal. Begin to unroll your duvet “burrito” back down towards the closed end. As you unroll, the duvet cover will naturally turn right side out.
Give the duvet a gentle shake once it’s mostly unrolled. This helps the duvet insert settle into place and smooths out any remaining wrinkles. Watch as your perfectly covered duvet emerges.
Step 7: Fasten the Closure
Once the duvet is completely unrolled and settled, fasten the closure at the bottom. This could be buttons, a zipper, or snaps. Take your time to ensure all fasteners are secured properly.
A well-fastened closure keeps the duvet neat and prevents it from peeking out. This final touch ensures your bedding looks polished and complete, ready for a good night’s sleep.
Step 8: Smooth and Style Your Masterpiece
Now that your duvet is fully covered, spread it over your bed. Smooth out any remaining wrinkles or lumps with your hands. Fluff it gently to give it volume and an inviting look.
Adjust the duvet to sit perfectly on your bed, creating a balanced and harmonious aesthetic. This is where your personal style shines through; add decorative pillows or a throw to complete the look. A beautifully styled bed anchors the entire room.
Common Mistakes to Avoid
Forgetting to Turn the Cover Inside Out
Many people try to stuff the duvet directly into the cover without turning it inside out first. This often leads to a frustrating battle, wrestling with fabric and struggling to align corners. It turns a simple task into a cumbersome chore.
Always remember the inside-out step. It’s the foundation of the “burrito” method, allowing the cover to effortlessly envelop the duvet as you unroll it. This simple trick saves immense time and effort.
Not Securing the Corners
Ignoring the corner ties (if your duvet cover has them) is a common oversight. Without these ties, your duvet insert is free to shift, bunch up, and slide around inside the cover. This creates an uneven, uncomfortable sleeping surface.
Take the extra moment to tie those corners. It keeps the duvet perfectly in place, ensuring an even distribution of warmth and a consistently neat appearance. Your duvet will stay smooth and inviting night after night.
Using the Wrong Size Cover
Attempting to fit a king-size duvet into a queen-size cover, or vice versa, will always result in frustration. A cover that’s too small will compress the duvet, making it lumpy. One that’s too large will leave excess fabric, causing the duvet to shift excessively.
Always check the dimensions of both your duvet insert and your duvet cover. A perfectly matched size ensures a snug, smooth fit, contributing significantly to the overall aesthetic and comfort of your bed.
Rushing the Process
Treating duvet covering as a race often leads to mistakes, wrinkles, and a less-than-perfect result. Hastily rolling or unrolling can cause the duvet to misalign or the cover to twist. This means you might have to start over.
Approach the task with a calm, patient mindset. Taking a few extra moments at each step ensures a smooth process and a beautifully made bed. Enjoy the journey of creating your cozy sleep haven.
Troubleshooting
Duvet Clumping Inside the Cover
If your duvet insert is clumping or shifting significantly, it’s likely due to unsecured corners. The insert needs anchors to stay evenly distributed within the cover. This common issue detracts from both comfort and appearance.
The best solution is to use duvet ties or clips. If your cover lacks internal ties, consider purchasing duvet clips or fasteners. They attach to the corners of your duvet and the inside of the cover, keeping everything securely in place.
Cover Appears Too Tight or Too Loose
A cover that doesn’t fit correctly can make your bed look messy and feel uncomfortable. If it’s too tight, the duvet will be compressed and flat. If it’s too loose, you’ll have excess fabric and a constantly shifting insert.
Double-check the sizing of both your duvet insert and your cover. Ensure they are compatible (e.g., queen duvet with queen cover). If sizes are correct, try adjusting how you lay the duvet on the cover before rolling, ensuring perfect alignment from the start.
Closure Issues (Buttons/Zipper Stuck)
Sometimes buttons can be difficult to fasten, or a zipper might get stuck on fabric. This can be annoying, especially after completing the main steps of covering the duvet. It can leave your bed looking unfinished.
For buttons, ensure they are perfectly aligned with their buttonholes before pushing through. For zippers, gently pull the fabric taut on either side of the zipper to release any snagged material. Never force a zipper, as this can cause permanent damage.
Key Takeaways
- The “burrito” method transforms a challenging task into an easy, efficient process.
- Always turn your duvet cover inside out before starting; it’s the foundation of this technique.
- Securing the corners with ties or clips is crucial for preventing duvet shifting and maintaining a smooth appearance.
- Patience and precision at each step lead to a beautifully made bed and a serene sleep space.
- A well-fitted duvet and cover enhance both the comfort and the aesthetic appeal of your bedroom.
- Regularly smoothing and fluffing your duvet helps maintain its inviting, cozy look.
Frequently Asked Questions
How often should I wash my duvet cover?
It’s generally recommended to wash your duvet cover every 1-2 weeks. This frequency helps maintain hygiene and freshness, especially since it’s in direct contact with your skin. Regular washing keeps your bed feeling clean and inviting.
Consider your personal habits and any allergies you might have. If you have pets that sleep on the bed or suffer from allergies, you might want to wash it more frequently. Fresh bedding contributes significantly to a healthy sleep environment.
What’s the difference between a duvet and a comforter?
A duvet is typically a plain, white, fluffy insert filled with down, feathers, or synthetic fibers, designed to be used with a removable decorative cover. A comforter, on the other hand, is usually a single, decorative piece of bedding that doesn’t require a cover.
Duvets offer versatility; you can change the look of your bed by simply swapping out the cover. Comforters are often thicker and come in various patterns and colors directly. Both provide warmth, but duvets allow for easier cleaning and styling changes.
Can I put a duvet cover on by myself?
Absolutely! While an extra set of hands can be helpful, the “burrito” method outlined in this guide is specifically designed for single-person operation. With a bit of practice, you’ll find it quite manageable on your own.
The key is having enough clear space to lay everything out flat and to roll the duvet evenly. Don’t be discouraged if it takes a couple of tries to perfect; you’ll soon be a pro at solo duvet covering.
How do I choose the right size duvet cover?
Always match the size of your duvet cover to the size of your duvet insert. If you have a queen-size duvet, you need a queen-size cover. Check the specific dimensions (length and width) listed on the product labels.
Sometimes, sizes can vary slightly between brands. It’s best to measure your duvet insert if you’re unsure. A properly sized cover ensures a snug fit, preventing the duvet from shifting and maintaining a smooth, elegant appearance on your bed.
Our Top Recommended Finds
- Duvet Corner Clips/Fasteners: These small but mighty tools secure your duvet insert inside the cover, preventing bunching and shifting. They are a game-changer for maintaining a perfectly smooth bed.
- High-Quality Duvet Insert: Investing in a good duvet insert (down, down alternative, or wool) makes a huge difference in comfort and longevity. A well-constructed insert will maintain its loft and warmth for years.
- Linen Spray: A gentle linen spray with calming scents like lavender or chamomile can add an extra layer of freshness and coziness to your newly made bed. A quick spritz before bed creates an inviting atmosphere.
Your Sanctuary Awaits: Elevate Your Sleep Space
You’ve just mastered the art of putting on a duvet cover, transforming a once-dreaded chore into an effortless step towards a beautiful home. This simple skill has a profound impact on the comfort and aesthetics of your bedroom. A neatly made bed is the cornerstone of a tranquil retreat, inviting you to unwind and relax.
Now that your foundation is perfect, consider the next steps in creating your dream sanctuary. Explore different textures with throw blankets, experiment with decorative pillows, or even rethink your bedroom layout for optimal flow. Your bedroom is a canvas for comfort and personal expression. Take action today by styling your newly covered duvet. Enjoy the satisfaction of a perfectly made bed and the serene beauty it brings to your space.