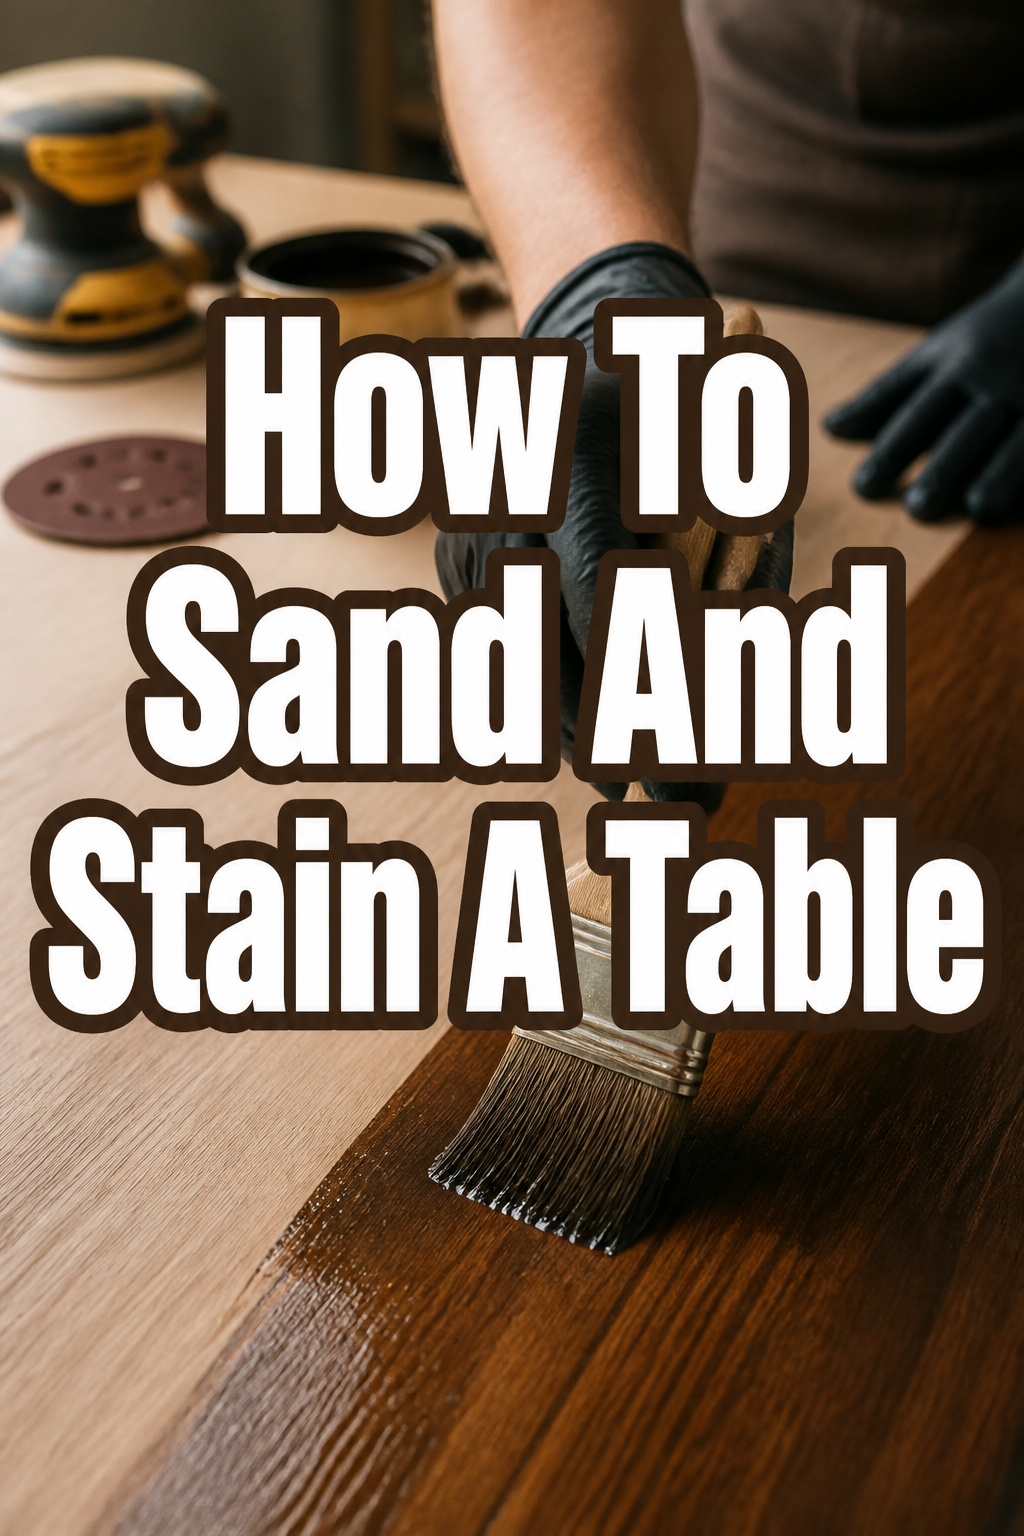
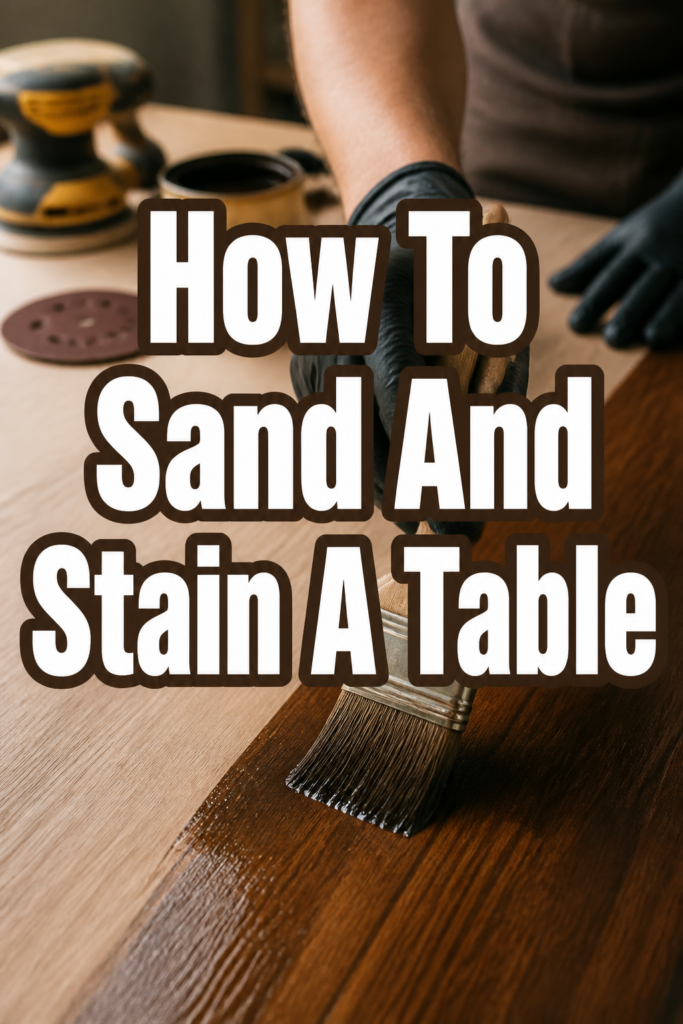
🛏 How To Sand And Stain A Table
There’s a special kind of joy in giving an old, tired table a new lease on life.
I remember transforming my grandmother’s forgotten kitchen table, turning it into the warm, inviting centerpiece of my own dining room.
This guide will walk you through that same satisfying journey, step by step, helping you create a beautiful, cherished piece for your home.
Quick Overview
You’re about to embark on a delightful project that will transform a simple piece of furniture into a stunning focal point for your space. Imagine the cozy gatherings and quiet moments this refreshed table will host!
- Time needed: 1-3 days (allowing for drying times)
- Difficulty: Beginner
- What you’ll need: Sandpaper, sander, stain, clear coat, brushes, rags, safety gear
Step-by-Step Instructions
Step 1: Prepare Your Workspace and Table
Before you begin, set up your work area. Choose a well-ventilated space, ideally outdoors or in a garage with open doors.
Lay down a drop cloth or old sheets to protect your floor from dust and spills. This simple step saves a lot of cleanup later.
- Clear the table completely. Remove any items, debris, or existing hardware like knobs or pulls.
- Clean the table surface thoroughly. Use a mild all-purpose cleaner and a damp cloth to remove grease, grime, and dust.
- Allow the table to dry completely before moving on. Moisture can interfere with sanding and staining.
Pro Tip: Consider the lighting in your workspace. Good, even light will help you spot imperfections and ensure a consistent finish. Natural light is often best.
Step 2: Assess the Table’s Condition
Take a moment to truly look at your table. Its current state will guide your sanding approach.
Are there deep scratches, peeling finishes, or just minor scuffs? This assessment helps you choose the right starting sandpaper grit.
- Inspect for major damage like deep gouges or loose joints. Address these repairs before sanding if necessary.
- Determine if the existing finish is thick and peeling, or thin and worn. This tells you how much material you’ll need to remove.
Step 3: Gather Your Sanding Supplies
Having all your tools ready before you start makes the process smooth and enjoyable.
Think about comfort and efficiency – a good sander makes all the difference.
- Choose an orbital sander for larger flat surfaces. A detail sander might be useful for corners and intricate areas.
- Select a range of sandpaper grits. You’ll need coarse (60-80 grit), medium (120-150 grit), and fine (180-220 grit) options.
- Grab safety glasses and a dust mask. Protecting your eyes and lungs is essential.
Step 4: Begin with Coarse Sanding
This is where the transformation truly begins. Coarse grit sandpaper removes old finishes and deep imperfections.
Work patiently and methodically to achieve a uniform surface.
- Attach the coarse grit sandpaper (60-80 grit) to your orbital sander.
- Start sanding in the direction of the wood grain. This is crucial to prevent unsightly cross-grain scratches.
- Apply light, even pressure and keep the sander moving. Avoid pressing down too hard or staying in one spot, which can create divots.
- Work in sections, overlapping slightly, until the old finish is mostly gone and major imperfections are smoothed.
Pro Tip: For stubborn areas or very thick finishes, you might start with an even coarser grit (40-50) but be sure to quickly move up to 60-80 grit to avoid deep scratches.
Step 5: Progress Through Medium and Fine Grits
Each successive grit refines the surface, removing the scratches left by the previous, coarser grit.
This step is vital for a smooth, professional-looking finish that will absorb stain evenly.
- Switch to medium grit sandpaper (120-150 grit).
- Sand the entire surface again, still moving with the grain, until the scratches from the coarse grit are no longer visible.
- Repeat the process with fine grit sandpaper (180-220 grit). This final sanding will leave the wood incredibly smooth to the touch.
- Feel the surface with your hand. It should be buttery smooth, without any rough patches or remaining finish.
Step 6: Clean and Prepare for Staining
Dust is the enemy of a good stain job. Any lingering particles will get trapped in your finish.
A pristine surface ensures beautiful, even color.
- Wipe the entire table surface thoroughly with a clean, dry cloth to remove loose dust.
- Use a tack cloth to pick up any remaining fine dust particles. Gently wipe in one direction, then fold the cloth to a clean section.
- Consider applying a wood conditioner if your wood is soft or porous (like pine or maple). This helps the stain absorb more evenly, preventing blotchiness. Follow product instructions for application and drying time.
Step 7: Apply the Stain
This is where your table truly begins to show its new personality. Choose a stain color that complements your home’s aesthetic.
Think about the warmth you want to bring into your space – a rich walnut for a cozy den or a light oak for a bright, airy kitchen.
- Stir the stain thoroughly before and during application. Do not shake, as this can create bubbles.
- Apply the stain with a clean rag, foam brush, or natural bristle brush, moving with the wood grain.
- Work in small sections, applying an even coat. Don’t let the stain pool.
- Allow the stain to penetrate for the recommended time (check the product label, usually 5-15 minutes). The longer it sits, the deeper the color will be.
- Wipe off excess stain with a clean, dry rag, again moving with the grain. Use consistent pressure to avoid streaks.
- Allow the first coat to dry completely according to manufacturer instructions (this can be several hours or overnight).
- Apply a second coat if you desire a deeper, richer color, repeating the application and wiping steps.
Pro Tip: Test your chosen stain on an inconspicuous area of the table (like the underside) or on a scrap piece of the same wood. This lets you see the true color before committing to the entire surface.
Step 8: Apply the Clear Protective Coat
A clear coat is essential for protecting your beautiful new finish from spills, scratches, and everyday wear.
It also adds a lovely sheen, enhancing the wood’s natural beauty and the depth of the stain.
- Ensure the stain is completely dry. Rushing this step can cause the clear coat to lift or bubble.
- Choose your clear coat: polyurethane, polycrylic, or lacquer are common choices. Polyurethane is very durable for tabletops.
- Apply the clear coat with a good quality brush, foam applicator, or spray, following the manufacturer’s instructions.
- Work in thin, even coats, moving with the grain. Avoid drips and puddles.
- Allow each coat to dry fully. Lightly sand with 220-320 grit sandpaper between coats to create a smooth surface for adhesion, then wipe clean with a tack cloth.
- Apply 2-4 coats for optimal durability and protection, especially for a high-traffic table.
Step 9: Cure and Enjoy Your Transformed Table
Patience is a virtue, especially in the final stages of furniture finishing.
Allowing your table to fully cure ensures its longevity and beauty.
- Let the final clear coat cure for the recommended time, which can be several days to a few weeks, before placing heavy objects or using the table regularly.
- Adorn your table with your favorite decor. Imagine it as the heart of your dining room, a spot for morning coffee, or a creative workspace.
- Consider adding a soft runner or placemats to protect the new finish from daily use.
Common Mistakes to Avoid
Skipping Sanding Grits
It might seem like a shortcut to jump straight from coarse to fine sandpaper. However, skipping grits means the finer sandpaper has to work harder to remove deeper scratches, often failing to do so completely.
This results in visible swirl marks or an uneven finish that becomes very apparent once stain is applied. Always progress through the grits systematically for a truly smooth surface.
Applying Stain Against the Grain
Wood grain acts like tiny straws, and applying stain against it pushes pigment into those straws in an unnatural way. This can lead to blotchy, uneven color absorption and prominent, unsightly streaks.
Always apply and wipe stain in the direction of the wood grain to ensure even penetration and a beautiful, consistent finish that highlights the wood’s natural patterns.
Not Wiping Off Excess Stain
Leaving too much stain on the surface allows it to dry on top of the wood, rather than penetrating it. This creates a sticky, uneven, and often dull finish that can easily chip or peel off.
Always wipe off excess stain within the recommended time to allow the wood to absorb what it needs and prevent a gummy surface. This also lets the wood’s natural character shine through.
Rushing Drying Times
Impatience can be the biggest enemy of a beautiful finish. Applying the next coat of stain or clear coat before the previous one is fully dry can lead to a host of problems.
You might experience bubbling, peeling, cloudiness, or a sticky surface that never fully cures. Always consult product labels for recommended drying and curing times and err on the side of caution.
Troubleshooting
Blotchy Stain Application
If your stain looks uneven or blotchy, especially on softwoods like pine, it’s often due to inconsistent absorption. Some areas soak up more stain than others.
To fix this, you might need to re-sand the affected areas back to bare wood and reapply a wood conditioner before staining again. For future projects, always use a pre-stain wood conditioner on porous woods.
Sticky or Tacky Finish
A sticky or tacky finish, even after extended drying, usually means too much stain was left on the surface, or the clear coat wasn’t fully cured between layers. Humidity can also play a role.
If it’s stain, you might try wiping it down with a rag dampened with mineral spirits to remove the excess. If it’s a clear coat, you may need to lightly sand and reapply a very thin, even coat, ensuring proper drying time in a low-humidity environment.
Visible Sanding Marks After Staining
Seeing fine scratches or swirl marks once the stain is applied indicates that you didn’t fully remove the marks from the previous grit of sandpaper. Stain tends to highlight imperfections.
Unfortunately, the only true fix is to sand the table back down to bare wood, paying meticulous attention to progressing through all the sandpaper grits evenly. Ensure all prior grit marks are gone before moving to the next finer grit.
Key Takeaways
- Thorough preparation and a clean workspace are the foundation of a great finish.
- Sanding meticulously through progressive grits is non-negotiable for a smooth, even surface.
- Always sand and wipe stain with the wood grain to avoid unsightly marks and ensure even absorption.
- Patience with drying and curing times is crucial for a durable, long-lasting finish.
- A clear protective coat is essential for safeguarding your hard work and enhancing the table’s beauty.
- Embrace the process; the satisfaction of transforming a piece of furniture is incredibly rewarding.
Frequently Asked Questions
Can I stain over an existing finish?
Generally, no. Stain needs to penetrate the wood fibers to impart color. An existing finish acts as a barrier, preventing proper absorption. You might be able to use a “gel stain” over an existing finish, but it behaves more like a thin paint and won’t give the same depth as traditional stain on bare wood.
How do I choose the right clear coat?
Polyurethane is excellent for high-traffic surfaces like tabletops because it’s very durable and water-resistant. Polycrylic is water-based, less odor-producing, and dries faster, making it good for lighter wood that you don’t want to yellow. Lacquer dries very quickly and offers a beautiful finish but requires more specialized application techniques.
What if I don’t like the stain color after it dries?
If the stain is too light, you can usually apply another coat to deepen the color. If it’s too dark or not the right hue, the only reliable solution is to sand the table back down to bare wood and reapply a different stain. This is why testing on a scrap piece or an inconspicuous area is so important.
How do I maintain my newly stained and sealed table?
Regularly dust your table with a soft, clean cloth. For cleaning, use a mild wood cleaner or a damp cloth, immediately wiping dry. Avoid harsh chemicals, abrasive cleaners, or excessive moisture. Use coasters and placemats to protect against heat, spills, and scratches, ensuring your table stays beautiful for years.
Our Top Recommended Finds
- Random Orbital Sander: Essential for efficient and swirl-free sanding on larger surfaces. It saves immense time and effort.
- Pre-Stain Wood Conditioner: A game-changer for soft or blotchy woods like pine, ensuring a beautifully even stain application.
- High-Quality Natural Bristle Brush: For applying oil-based stains and clear coats smoothly, minimizing brush marks and achieving a professional look.
Your Home’s Next Masterpiece Awaits
You’ve now got the knowledge and inspiration to transform that forgotten table into a beloved centerpiece.
Imagine it anchoring your dining room, holding your favorite books in a cozy reading nook, or even brightening a sun-drenched breakfast nook.
Don’t just dream of a more beautiful space; take the first step today and bring your vision to life.