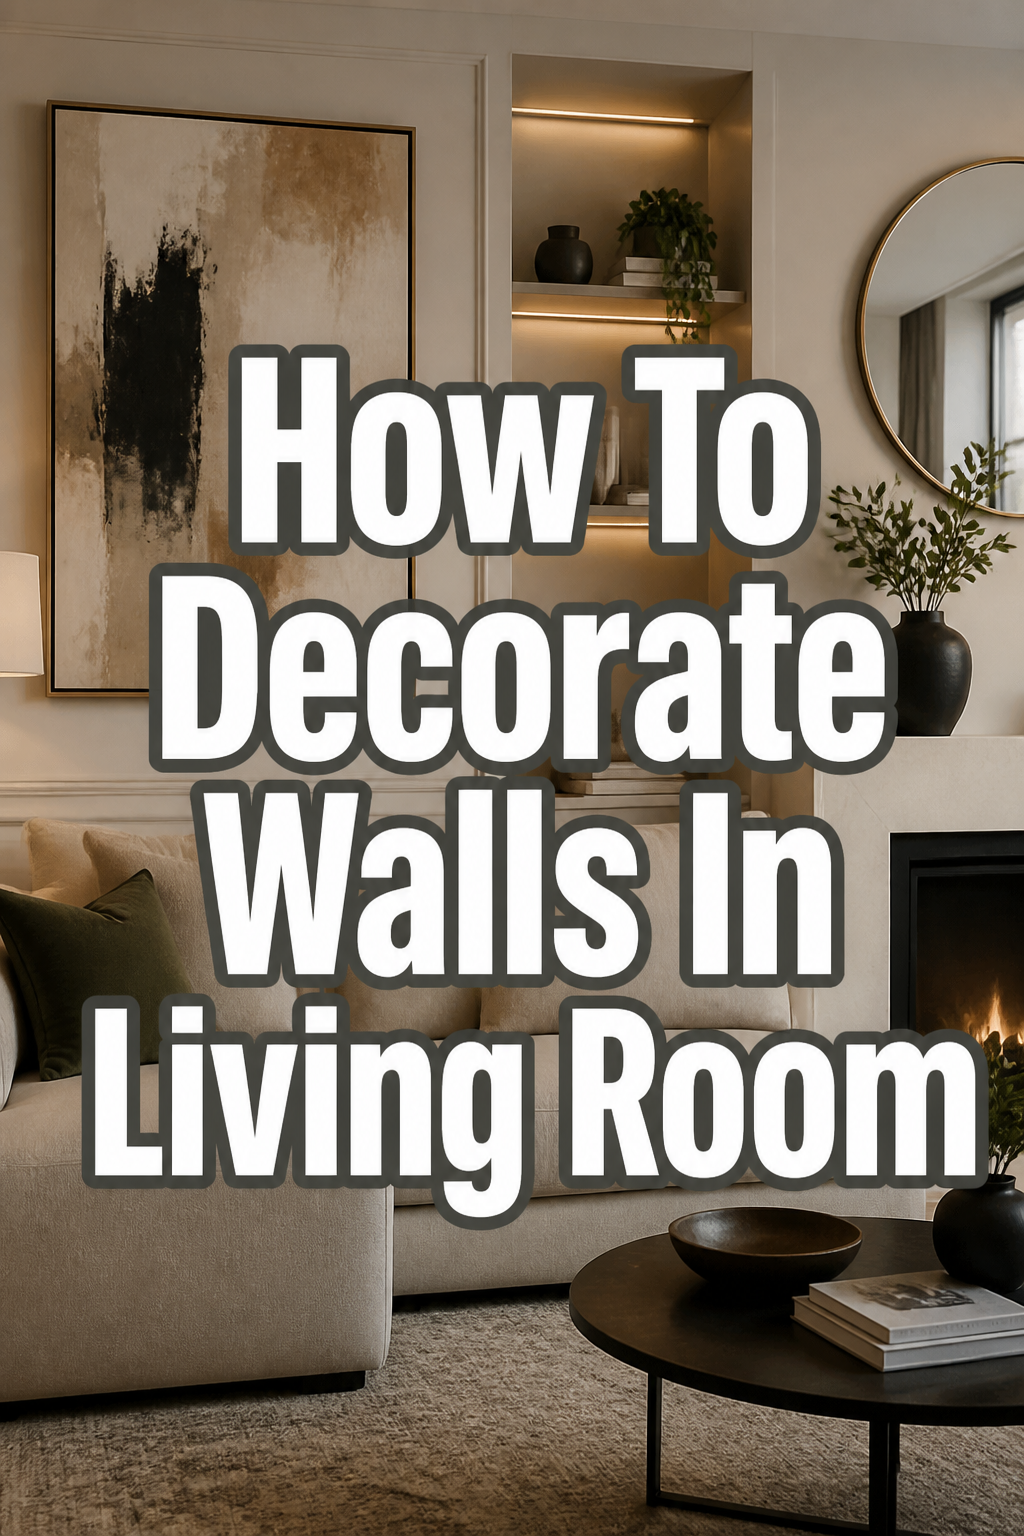
🖼️ How To Decorate Walls In Living Room
Your living room walls are the canvas where your daily life happens.
I spent years helping homeowners turn cold, echoing spaces into warm sanctuaries by focusing on the vertical space.
This guide shares the exact methods I use to create balanced, inviting rooms without needing a professional design degree.
Quick Overview
Transforming your walls is one of the fastest ways to change the mood of your home. It requires a bit of planning but offers a massive payoff in comfort and style.
- Time needed: 3 to 6 hours
- Difficulty: Beginner
- What you’ll need: Measuring tape, painter’s tape, level, hammer, nails or adhesive hooks, and your chosen decor items.
Step-by-Step Instructions
Step 1: Analyze Your Lighting and Layout
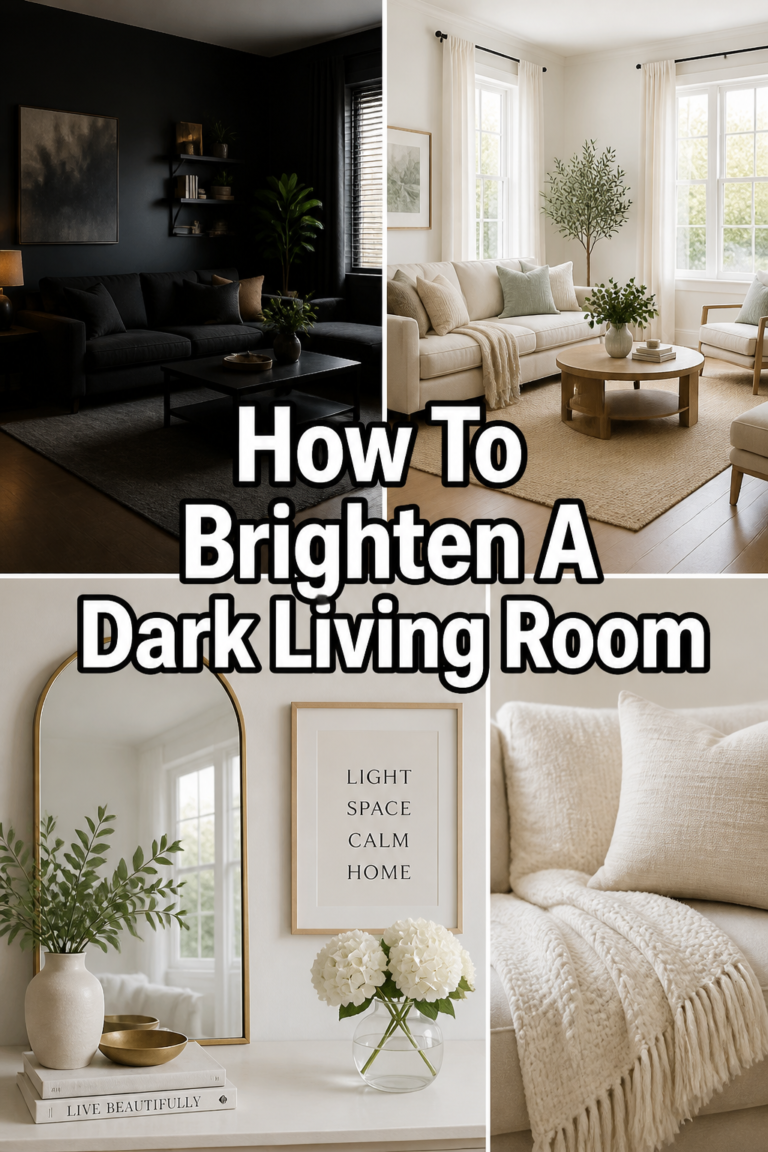
Observe how natural light moves through your living room at different times of the day. A dark corner might need a bright, reflective mirror, while a sun-drenched wall can handle deeper, moodier colors.
Sit in every chair and sofa in the room to see the walls from different perspectives. You want to ensure your decor looks good from a seated position, not just while you are standing in the doorway.
Identify the architectural “anchors” like windows, fireplaces, or large doorways. These elements dictate where your eyes naturally land and will help you decide where to place your most important pieces.
Step 2: Define Your Visual Focal Point
Select one primary wall to serve as the heart of the room. This is usually the wall behind the main sofa or the one directly across from the entrance.
Decide if you want one massive statement piece or a collection of smaller items. A single large canvas creates a sense of calm and minimalism, while a gallery wall feels energetic and personal.
Consider the height of your ceilings when choosing this point. High ceilings benefit from vertical arrangements that draw the eye upward, while standard ceilings feel cozier with horizontal layouts.
Pro Tip: If you have a television on your main wall, treat it as part of the composition rather than an obstacle to work around.
Step 3: Map the Layout with Paper Templates
Trace your frames or decor items onto brown craft paper or newspaper. Cut these shapes out so you have a physical representation of every item you plan to hang.
Tape these paper templates to the wall using painter’s tape. This allows you to move things around without making a single hole in the drywall.
Step back frequently to check the balance of the arrangement. If one side feels “heavy,” move a smaller template to the other side to distribute the visual weight more evenly.
Step 4: Master the Eye-Level Rule
Measure 57 to 60 inches from the floor to the center of your artwork. This is the standard height used in galleries because it aligns with the average human eye level.
Adjust this rule if you are hanging art above a piece of furniture. Aim for the bottom of the frame to sit about 6 to 10 inches above the top of the sofa or console table.
Maintain a consistent gap between items if you are hanging a set. A spacing of 2 to 3 inches between frames creates a cohesive “unit” rather than a scattered collection.
Step 5: Mix Your Mediums and Textures
Combine different materials to prevent the wall from looking flat or clinical. Pair a framed print with a woven basket, a brass sconce, or a wooden shelf.
Introduce organic shapes to break up the harsh lines of rectangular frames. A round mirror or a trailing plant on a high shelf adds softness and life to the room.
Layer items by leaning some pieces against the wall on a mantle or shelf. This creates physical depth and makes the space feel curated over time rather than “staged” all at once.
Pro Tip: Use “museum putty” on the bottom corners of frames to keep them perfectly level and prevent them from rattling when doors close.
Step 6: Integrate Functional Wall Decor
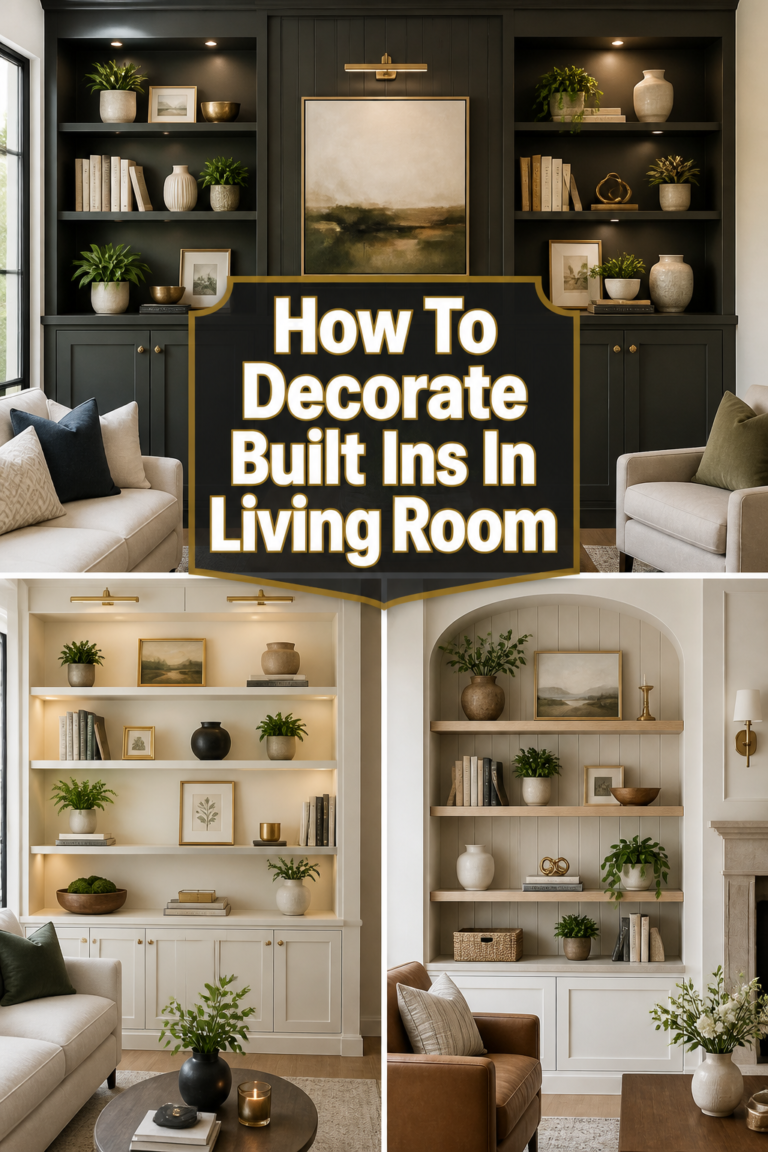
Install floating shelves to hold books and small treasures that reflect your personality. Shelves allow you to swap out decor seasonally without reaching for the hammer again.
Add wall-mounted lighting like swing-arm sconces to create a cozy glow. Lighting attached to the wall frees up space on your side tables and adds a high-end, custom look.
Utilize decorative clocks or stylish hanging calendars if you want your walls to work for you. Choose versions made from interesting materials like marble, wood, or matte metal.
Step 7: Secure and Level Everything
Use a spirit level on every single piece you hang. Even a slight tilt can make the entire room feel “off” and disorganized.
Match your hardware to the weight of the item. Use drywall anchors for heavy mirrors and small finish nails for lightweight prints.
Clean the glass on your frames and dust your shelves once everything is in place. A final polish makes the new setup feel intentional and fresh.
Common Mistakes to Avoid
Hanging Art Too High
This is the most frequent error people make when decorating. When art is placed too close to the ceiling, it feels disconnected from the furniture and creates a strained feeling in the room. Always aim for that eye-level sweet spot to keep the room feeling grounded and intimate.
Using Tiny Art on Large Walls
A small 8×10 photo on a massive living room wall will look lost and lonely. It creates a sense of imbalance that makes the room feel unfinished. If you have a small piece you love, group it with other items or use an extra-large mat inside a bigger frame to give it more presence.
Ignoring the Rule of Three
Items arranged in even numbers often look too symmetrical and stiff. Using odd numbers, especially groups of three, tends to be more visually appealing and natural to the human eye. Vary the heights and sizes within these groups to create a sense of rhythm and movement.
Troubleshooting
The Wall Looks Cluttered and Messy
If your wall feels overwhelming, it usually means there is a lack of “white space.” Remove one or two items and increase the distance between the remaining pieces. Simplifying the color palette to just two or three main tones can also help the arrangement feel more organized and peaceful.
Art Keeps Slipping or Hanging Crooked
Frames often shift when people walk by or doors slam nearby. You can solve this by placing small rubber bumpers or a tiny piece of double-sided foam tape on the back of the bottom corners. This creates friction against the wall and keeps everything locked in a perfectly level position.
Renter Restrictions Prevent Making Holes
If you cannot use nails, high-quality adhesive strips are your best friend. Make sure to clean the wall with rubbing alcohol first to ensure a strong bond. For heavier items, consider using a tall bookshelf or a decorative ladder to lean your art against the wall instead of hanging it.
Key Takeaways
- Plan before you plant: Use paper templates to visualize the layout before making any permanent holes in your walls.
- Respect the scale: Ensure your decor is sized appropriately for the wall and the furniture sitting beneath it.
- Keep it low: Hang your items at eye level or just above furniture to create a cohesive and inviting atmosphere.
- Mix your textures: Combine frames, textiles, and greenery to add depth and warmth to the living space.
- Trust the level: Always use a level and the correct hardware to ensure your decor looks professional and stays secure.
Frequently Asked Questions
Should all the frames on a wall match?
They do not have to match, but they should share a common thread. You might choose different frame styles in the same color, or various colors in the same material. Matching frames create a formal, modern look, while mixed frames feel more eclectic and cozy.
How do I decorate a wall with a large TV?
The best approach is to surround the TV with other objects to help it blend in. You can create a “grid” gallery wall around it or place a long floating shelf above it. Using dark paint on that specific wall can also help the black screen disappear when it is turned off.
Can I mix different types of art on one wall?
Yes, mixing photography, oil paintings, and sketches is a great way to add character. The key is to keep the spacing consistent so the different styles feel like they belong to the same collection. Adding a 3D element like a small wall planter or a wooden carving can tie the whole look together.
What is the best wall color for art?
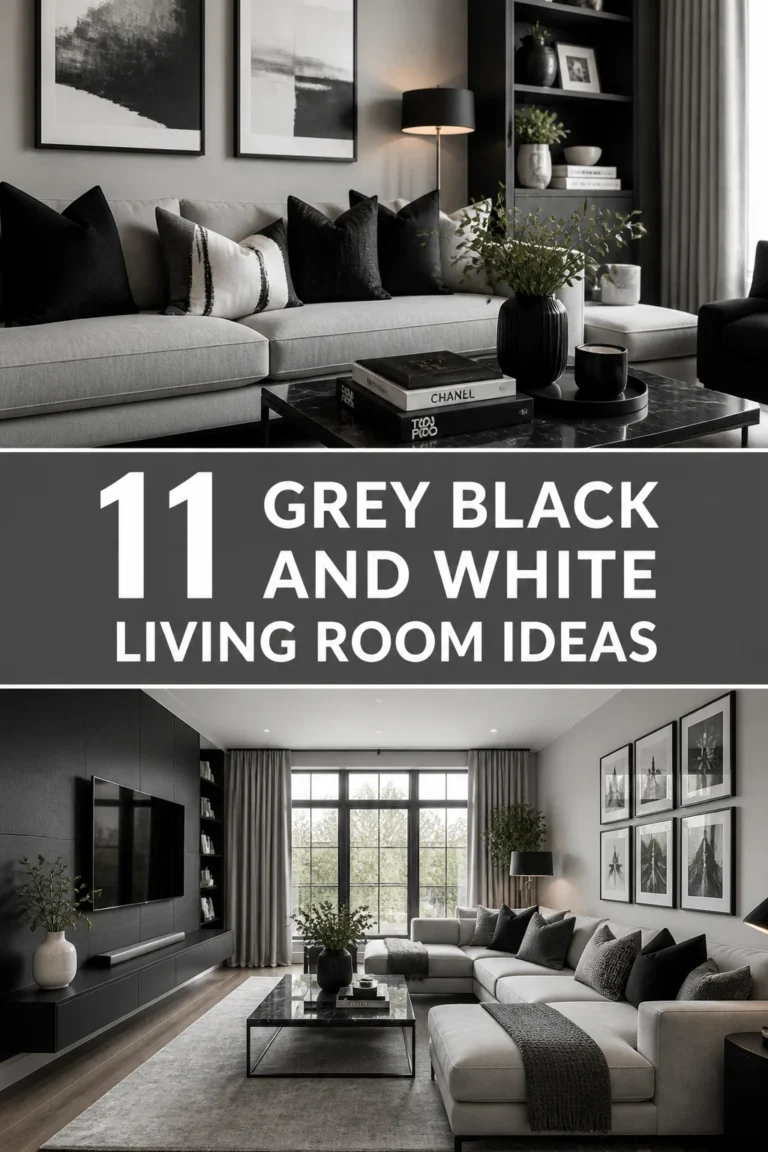
Neutral tones like soft white, light gray, or warm beige are the safest bets because they let the art shine. However, a dark navy or forest green wall can make gold frames and colorful paintings pop beautifully. Consider the mood you want to set: light for airy and bright, dark for cozy and dramatic.
Our Top Recommended Finds
- Heavy-Duty Picture Hanging Kit: These kits usually include a variety of hooks, nails, and wire, ensuring you have the right support for everything from light photos to heavy mirrors.
- Laser Level: A laser level projects a perfectly straight line across your entire wall, making it incredibly easy to align multiple frames or shelves perfectly.
- Assorted Command Strips: These are essential for renters or anyone who likes to change their decor frequently without damaging the paint or drywall.
Bring Your Walls To Life Today
Decorating your living room walls is a journey of self-expression that evolves with your style.
Don’t feel pressured to fill every square inch of space in a single weekend.
Start with one focal point today, perhaps by hanging that one piece of art you’ve been keeping in the closet.
Once you see how much warmth a single frame adds, you will feel inspired to keep building your perfect view.
If you enjoyed this guide, you might also want to look into how to choose the perfect rug or how to layer lighting for a truly cozy home.