🛏 How To Hang Fairy Lights In Bedroom
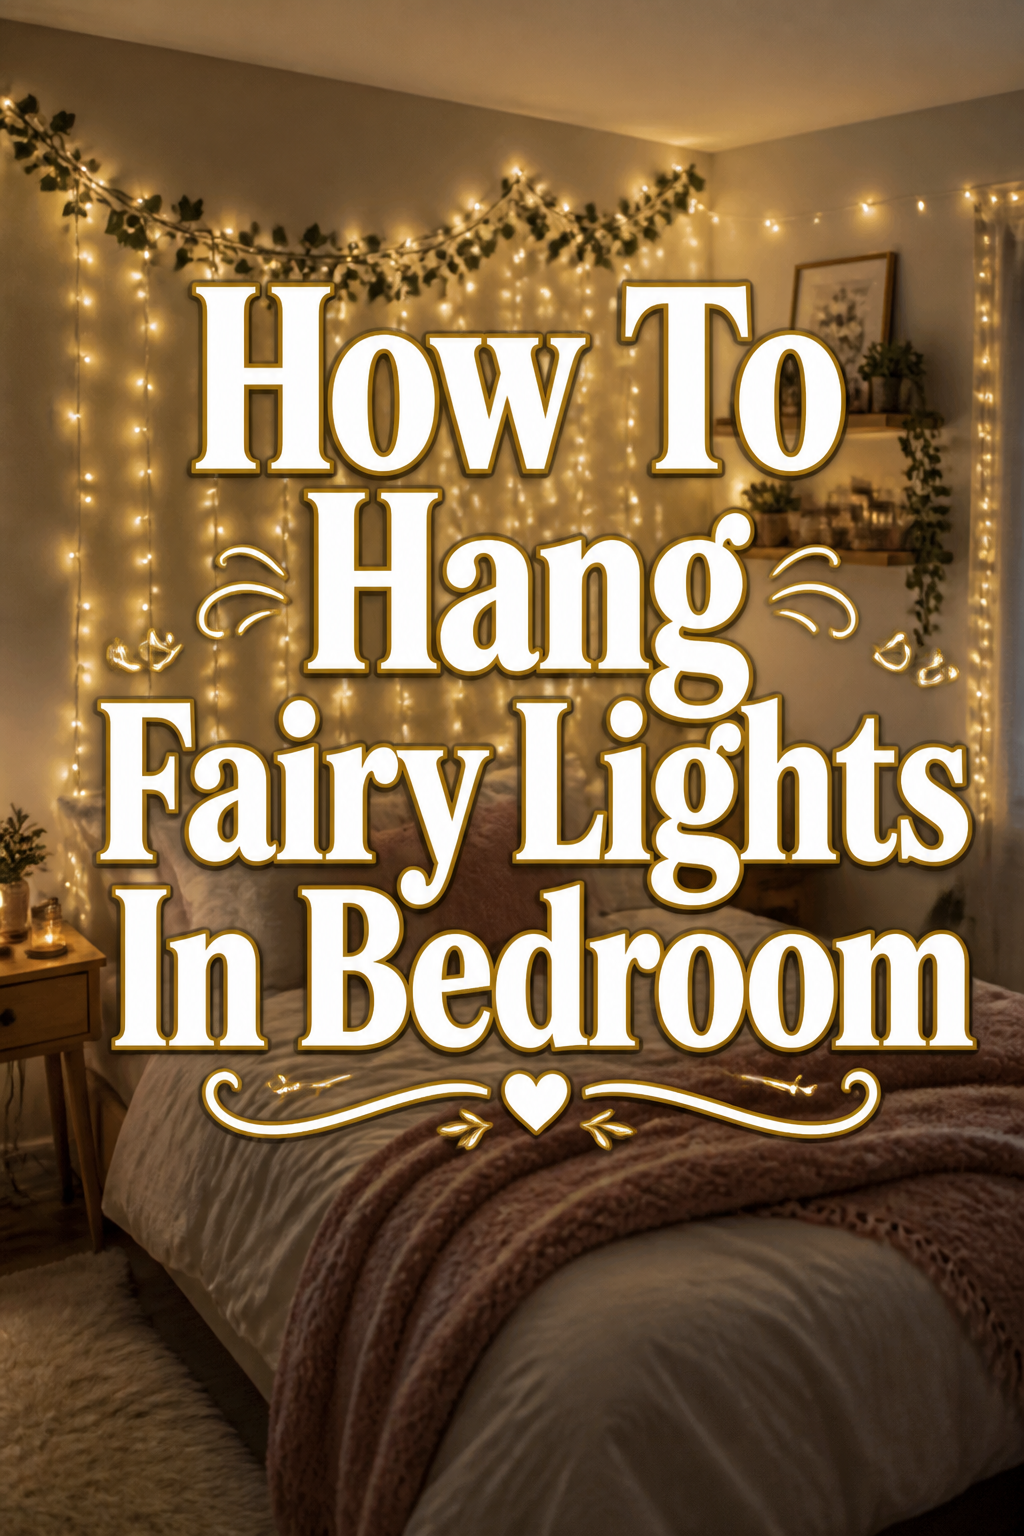
There’s a special kind of magic that fairy lights bring to a room. I remember the first time I strung them up in my own space; it felt like stepping into a dream. This guide will share everything I learned to help you create that same cozy, enchanting escape.
Transforming your bedroom with a gentle glow is simpler than you might think. We’ll walk through each step, ensuring your new lighting is both beautiful and perfectly suited to your style. Get ready to add a touch of sparkle to your personal sanctuary.
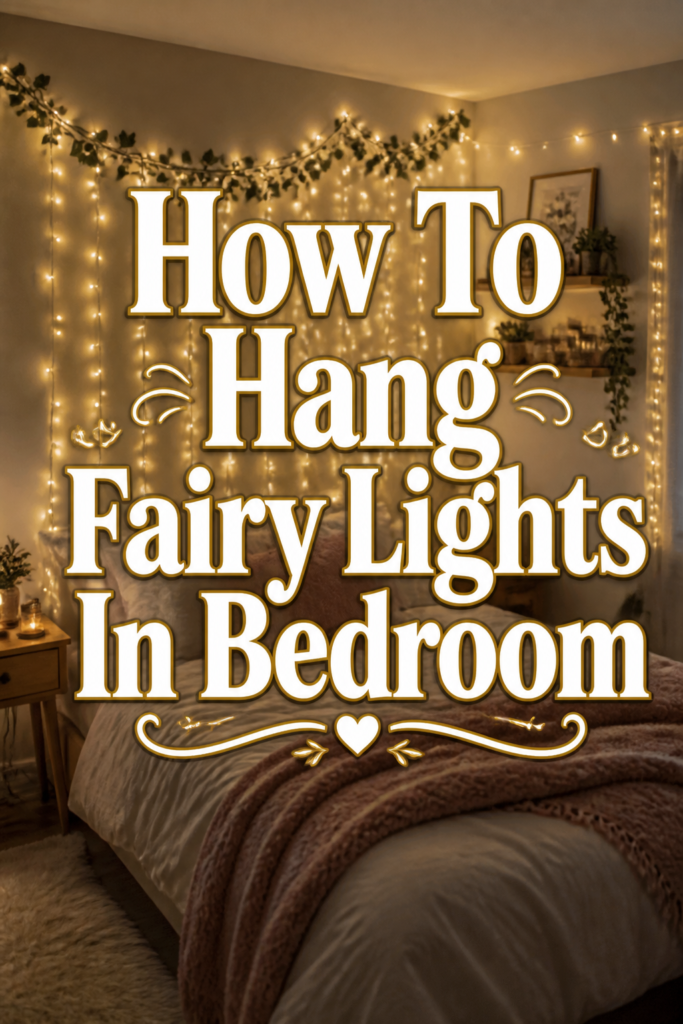
Quick Overview
This guide will help you beautifully install fairy lights, transforming your bedroom into a cozy, twinkling haven. You’ll learn how to plan your design, gather the right tools, and hang your lights safely and stylishly.
- Time needed: 1-3 hours (depending on complexity and room size)
- Difficulty: Beginner
- What you’ll need: Fairy light strands, clear adhesive hooks or clips, measuring tape, scissors, a power source, and your imagination.
Step-by-Step Instructions
Step 1: Dream Up Your Design
Before you even unpackage your lights, take a moment to imagine the atmosphere you want to create. Consider the existing layout and how the lights can enhance your room’s best features.
Do you want a soft, ambient glow around your bed, or a playful twinkle across an entire wall? Think about the mood you wish to evoke—romantic, whimsical, or simply serene.
- Visualize where the lights will go. Sketch a rough plan on paper if it helps.
- Consider different hanging styles: draped across a headboard, outlining a window, cascading down a wall, or even clustered in a jar.
- Decide on the light color and style. Warm white offers a cozy feel, while cool white is more modern. Some lights have different twinkle settings.
Pro Tip: Look for inspiration online! Pinterest and Instagram are full of amazing fairy light setups. Save a few images that resonate with your personal style.
Step 2: Gather Your Glow Gear
Having all your materials ready before you start makes the process smooth and enjoyable. Double-check your list to avoid interruptions.
Choosing the right type of fairy lights and attachment method is crucial for both aesthetics and ease of installation.
- Select your fairy lights. Ensure they are suitable for indoor use and have the desired length. Battery-operated lights offer flexibility, while plug-in lights are brighter and last longer.
- Choose your hanging method. Clear adhesive hooks (like Command hooks) are excellent for damage-free hanging. Small clips or even clear tape can also work for lighter strands.
- Grab a measuring tape to accurately gauge lengths and spacing.
- Have scissors or wire cutters on hand if you need to trim any light strands (check if your specific lights are trimmable first).
- Prepare a power source. If using plug-in lights, identify the nearest outlet. Consider an extension cord if needed.
Step 3: Measure and Mark
Accurate measurements ensure your design looks balanced and you have enough light strands. This step prevents frustrating re-dos later on.
Don’t just eyeball it; a little planning goes a long way in achieving a polished look.
- Measure the area you plan to illuminate. For example, if you’re outlining a window, measure its perimeter.
- Account for any draping or sagging you desire. Add extra length to your measurements if you want a relaxed, wavy look rather than a taut line.
- Mark your desired anchor points lightly with a pencil. This helps visualize the path of your lights before permanent attachment.
- Calculate how many light strands you’ll need. It’s often better to have a little extra length than not enough.
Pro Tip: For a soft, ethereal canopy effect above your bed, measure the length and width of your bed, then multiply by 1.5 to 2 to account for the drape and fullness.
Step 4: Test Your Twinkles
This is a small but mighty step that can save you a lot of hassle. Imagine hanging all your lights only to discover a faulty bulb!
Always plug in your lights and check that every bulb is working perfectly before you begin the hanging process.
- Unwind your fairy light strands carefully.
- Plug them into a power source or insert batteries.
- Confirm that all bulbs illuminate and any special functions (like blinking patterns) work correctly.
- Address any non-working sections or bulbs now. Replace them if possible or set aside the faulty strand if it’s irreparable.
Step 5: Secure Your Strings
Now for the fun part: bringing your vision to life! Start attaching your lights according to your planned design.
Work methodically, starting from your power source or a central point, to ensure an even distribution.
- Attach your first adhesive hook near your power outlet if using plug-in lights, or at your starting point for battery-operated ones.
- Press the hooks firmly against a clean, dry surface for the recommended time (usually 30 seconds). Allow them to set for an hour before hanging lights for maximum adhesion.
- Begin stringing your lights. Follow your pencil marks or visual plan. Place hooks at regular intervals to support the weight of the lights and maintain your desired shape.
- Adjust the tension as you go. For a draped look, leave more slack between hooks. For a neat outline, keep the lights a bit tighter.
Pro Tip: When using Command hooks, ensure the surface is clean and dry. Wipe it down with rubbing alcohol before application for the best hold. This prevents your beautiful display from drooping prematurely.
Step 6: Arrange for Ambiance
Once the main structure is in place, it’s time to refine the look. This step allows for artistic flair and personalization.
Think about how the lights interact with your room’s features and how you can enhance the cozy factor.
- Drape lights around mirrors, bed frames, or window frames for a soft outline.
- Create a cascade by hanging multiple vertical strands from a single horizontal line near the ceiling.
- Weave lights through sheer curtains for a dreamy, diffused glow.
- Cluster sections of lights to create pockets of brighter sparkle, perhaps in a decorative bowl or behind a sheer fabric.
- Layer multiple strands if you desire a denser, more impactful light display.
Step 7: Conceal the Cords
Visible cords can detract from the magical aesthetic you’re creating. A tidy setup looks much more professional and inviting.
This step ensures your fairy light installation is seamless and polished.
- Tuck power cords behind furniture or along baseboards.
- Use small cable clips or clear tape to secure any loose wires against the wall or furniture legs.
- Bundle excess cord length with a zip tie or twist tie and hide it behind a curtain or under a piece of furniture.
- Ensure cords are not tripping hazards. Safety first!
Step 8: Step Back and Sparkle
The final step is to admire your handiwork and make any last-minute adjustments. This is where your vision truly comes to life.
Turn off your main lights, switch on your fairy lights, and bask in the beautiful atmosphere you’ve created.
- Turn off your main room lights to see the full effect of your fairy lights.
- Adjust any strands that look uneven or could be positioned better.
- Consider adding other cozy elements, like soft blankets or scented candles, to complete the ambiance.
- Enjoy your newly transformed, twinkling bedroom sanctuary!
Common Mistakes to Avoid
Underestimating Light Length
Many people buy one strand, thinking it will cover a large area. Fairy lights often look best when layered or used generously. A single, sparse strand can look underwhelming instead of magical.
Always measure your space carefully and consider buying more strands than you think you’ll need. You can always coil up excess or use it in another part of the room.
Ignoring Power Access
Forgetting where your outlets are located can lead to awkward, visible extension cords or a design that can’t be fully powered. This spoils the seamless look.
Plan your light placement with your power source in mind. If an outlet is far away, invest in a discreet extension cord or opt for battery-operated lights.
Skipping the Test Run
It’s incredibly frustrating to spend time hanging lights, only to discover a section isn’t working. This means taking everything down and starting again.
Always uncoil and plug in your lights to test them thoroughly before you begin hanging. This simple step saves a lot of time and effort.
Over-Complicating the Layout
Sometimes, less is more. Trying to incorporate too many different patterns or cover every surface can make a room feel cluttered rather than cozy.
Focus on a few key areas or a simple, elegant design. A subtle glow can be far more impactful than an overwhelming display.
Troubleshooting
Lights Won’t Turn On
This is a common and usually simple fix. Don’t panic if your beautiful new lights aren’t illuminating right away.
First, check that the plug is fully inserted into the outlet and the outlet is working. If battery-operated, ensure batteries are fresh and correctly inserted. Look for a fuse in the plug if applicable, and check for any loose bulbs along the strand.
Lights Keep Falling
If your lights aren’t staying put, it’s often an issue with the adhesive or the weight distribution. A sagging display isn’t very inspiring.
Ensure the surface was clean and dry before applying hooks. Allow adhesive hooks to set for the recommended time before hanging lights. You might need to add more hooks for better support, use stronger adhesive strips, or switch to a different type of clip.
Uneven Glow
Sometimes, once the lights are up, you notice some areas are too bright, and others too dim. This can disrupt the cozy ambiance.
Carefully redistribute the light strands, spreading them out more evenly or adding additional short strands to dimmer areas. Adjusting the draping can also help to balance the light distribution.
Key Takeaways
- Plan Your Design: Visualize your desired aesthetic and layout before you begin.
- Test Before You Hang: Always check your lights are working perfectly to avoid re-installation.
- Choose the Right Tools: Use appropriate adhesive hooks or clips for damage-free and secure hanging.
- Consider Your Power Source: Plan light placement around outlets or opt for battery-operated strands.
- Embrace Your Creativity: Don’t be afraid to experiment with different draping and styling techniques.
- Tidy Up Cords: Conceal wires for a clean, polished, and safe finish.
Frequently Asked Questions
How many strands of fairy lights do I need?
The number of strands depends on the area you want to cover and the density of light you desire. For a subtle accent, one or two strands might suffice. For a fuller, more dramatic effect, especially for canopies or entire walls, you might need 4-6 strands or more. Always measure and estimate generously.
Are fairy lights safe to leave on all night?
Most modern LED fairy lights are very energy-efficient and produce little to no heat, making them generally safe to leave on for extended periods. However, always check the manufacturer’s specific safety instructions and ensure they are not covered by flammable materials. For ultimate peace of mind, consider a timer.
Can I use outdoor fairy lights indoors?
Yes, you can typically use outdoor fairy lights indoors. They are usually more durable and weather-resistant, which means they might be a bit bulkier or have thicker wires. Just ensure they are not too heavy for your chosen hanging method and that their aesthetic fits your indoor design.
How do I clean fairy lights?
To clean fairy lights, first unplug them. Then, gently wipe the bulbs and wires with a soft, dry cloth or a feather duster. For any stubborn spots, a slightly damp cloth can be used, but ensure the lights are completely dry before plugging them back in.
Our Top Recommended Finds
- Warm White LED String Lights: These versatile lights offer a cozy glow and often come with multiple settings, perfect for creating various moods. Look for USB or battery options for flexibility.
- Clear Small Command Hooks: Ideal for damage-free hanging on walls, these hooks blend seamlessly and hold lights securely without leaving residue.
- Mini Cable Clips with Adhesive: Perfect for discreetly securing power cords or light strands along edges, keeping your setup looking neat and professional.
Your Bedroom’s New Glow Awaits!
You’ve now got all the tools and knowledge to transform your bedroom into a twinkling haven. Imagine settling into your space, surrounded by a soft, magical glow.
This simple addition can completely change the feel of your room, making it a truly personal and comforting retreat. It’s an easy way to infuse your personality and create an inviting atmosphere.
Don’t wait to bring this little touch of magic into your life. Gather your lights today and start creating the cozy, dreamy bedroom you deserve!