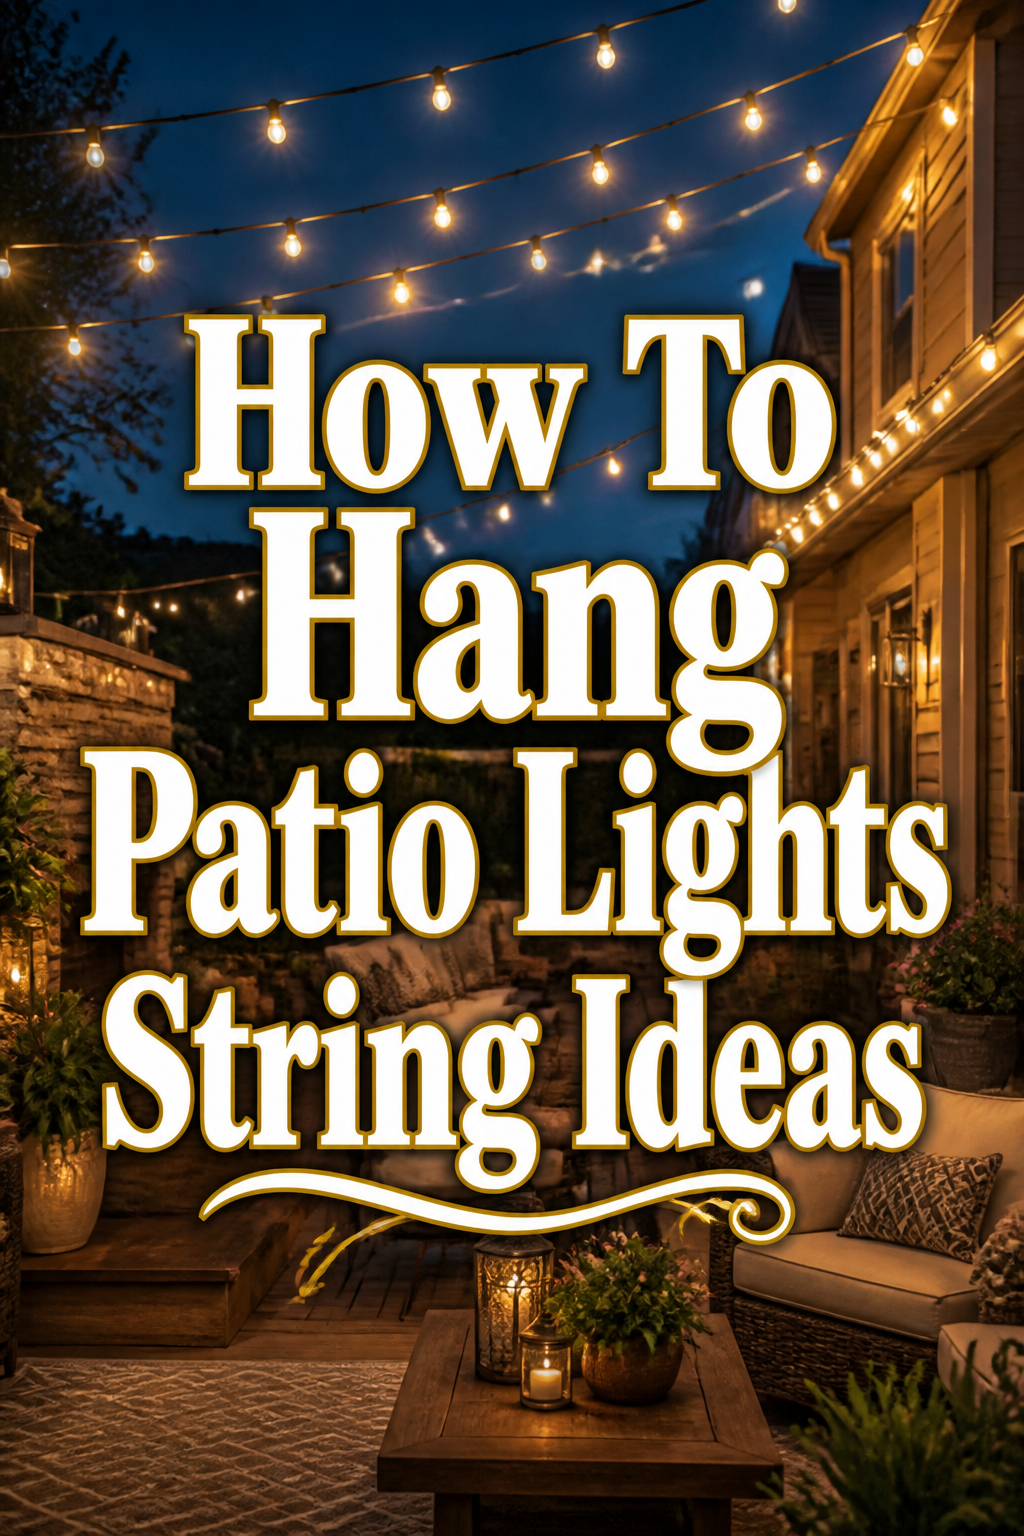
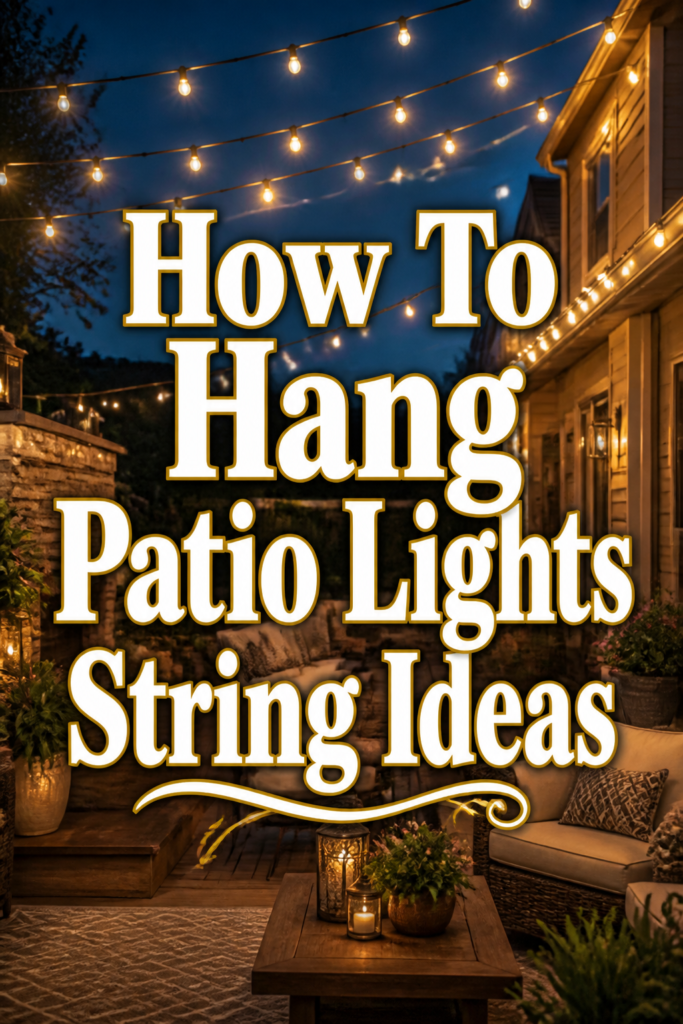
✨ How To Hang Patio Lights String Ideas
There’s nothing quite like the gentle glow of string lights to transform an outdoor space.
I’ve spent countless evenings under their warm embrace, creating a truly magical atmosphere right in my own backyard.
This guide shares all my favorite tips for bringing that same cozy magic to your patio, making it easy for you to create your own inviting retreat.
Quick Overview
You’re about to embark on a delightful project that will elevate your outdoor living area. By the end, you’ll have a beautifully illuminated space, perfect for relaxing or entertaining.
- Time needed: 2-4 hours, depending on your space and design complexity.
- Difficulty: Beginner
- What you’ll need: String lights, measuring tape, mounting hardware, zip ties or clips, ladder, extension cord, exterior-grade power strip.
Step-by-Step Instructions
Step 1: Dream Up Your Design and Measure
Before buying anything, take a moment to envision your ideal illuminated patio. Consider the mood you want to create—romantic, festive, or just softly inviting.
Look at your patio’s architecture. Do you have a pergola, a fence, a wall, or open sky? This will influence your hanging strategy.
Grab a measuring tape and sketch out your space. Measure the perimeter where you plan to hang lights, or the span between attachment points.
Always add an extra 10-15% to your measurement. This accounts for dips, swag, and any unexpected routing.
Pro Tip: Think about different patterns. A simple perimeter creates a defined space, while a crisscross or zigzag pattern overhead offers a more starry sky effect. Consider how the light will fall and enhance existing features.
Step 2: Choose the Right Lights
Selecting the perfect string lights is crucial for both aesthetics and durability. Outdoor lights come in various styles, bulb types, and lengths.
Look for lights specifically rated for outdoor use. They should be weather-resistant to withstand rain, wind, and sun.
Consider the bulb type. LED bulbs are energy-efficient and long-lasting, while incandescent bulbs offer a classic, warm glow.
Edison-style bulbs lend a vintage charm, while globe lights offer a more modern, diffuse look.
Decide on the length you need based on your measurements from Step 1. It’s often better to have slightly too much than too little.
Pro Tip: Dimmer-compatible lights offer incredible flexibility. Being able to adjust the brightness lets you shift the ambiance from bright party mode to a soft, intimate glow with ease.
Step 3: Gather Your Tools and Hardware
Having everything ready before you start makes the process much smoother. A quick inventory prevents frustrating trips back inside.
You’ll need your chosen string lights, a sturdy ladder, and a measuring tape.
For mounting, consider options like screw hooks, cup hooks, zip ties, or light clips. The best choice depends on your attachment surfaces.
You might also need a drill for pilot holes, a screwdriver, and perhaps a tension wire kit for longer spans.
An exterior-grade extension cord and power strip are essential for safe power access.
Step 4: Plan Your Power Source and Safety
Before hanging, identify where your lights will plug in. This dictates how you’ll route your strings.
Ensure your outlet is a GFCI (Ground Fault Circuit Interrupter) outlet. These are designed for outdoor use and provide critical safety against electrical shock.
If your string lights aren’t long enough to reach the outlet, use an outdoor-rated extension cord. Make sure it’s thick enough for the power draw.
Never overload your circuits. Check the wattage of your lights and the capacity of your extension cords and outlets.
Pro Tip: Conceal your extension cords and power strips as much as possible. Run them along walls or under furniture to keep pathways clear and maintain a clean aesthetic. Use outdoor-rated cord covers for added safety and neatness.
Step 5: Install Your Mounting Hardware
This is where your vision starts to take shape. Install your chosen hooks or anchors first, before hanging the lights themselves.
For wooden structures like pergolas or fences, screw hooks are ideal. Pre-drill small pilot holes to prevent wood splitting.
If attaching to walls, use appropriate anchors for brick, stucco, or siding. Ensure they can hold the weight of the lights.
Space your mounting points evenly according to your desired swag. More hooks mean less sag, while fewer hooks create deeper loops.
For very long spans (over 20 feet) or heavy lights, consider running a galvanized steel guide wire. Attach the wire first, then secure the lights to it with zip ties or S-hooks.
Step 6: Hang Your String Lights
Now for the satisfying part—unfurl your lights and begin hanging! Start from your power source and work your way out.
Carefully drape the lights, hooking them onto your pre-installed hardware. Take your time to achieve the desired look.
If using a guide wire, attach the lights to the wire, not directly to the hooks. This distributes the weight and protects the light string from tension.
Adjust the tension and swag as you go. Step back periodically to assess the overall effect and make minor tweaks.
Use small zip ties or light clips to secure any loose sections or to bundle excess cord neatly.
Step 7: Connect and Test
Once all your lights are hung, it’s time to connect them and see your vision come to life. Ensure all connections are tight and secure.
Plug your light string into the extension cord, and then into the GFCI outlet.
Flip the switch and admire your newly illuminated space! If any bulbs are out, check their connection or replace them.
Take a moment to adjust any final sag or straighten a crooked section. Enjoy the warm, inviting glow.
Common Mistakes to Avoid
Underestimating Length Needs
Many people buy string lights based on a rough guess, only to find they’re too short. Always measure your space carefully, including any dips or patterns you want to create. It’s better to have a little extra length to work with than to come up short and have an incomplete look.
Ignoring Weather Resistance
Using indoor-rated lights outdoors is a recipe for disappointment and potential electrical hazards. Rain, humidity, and UV rays will quickly degrade non-weatherproof lights. Always look for strings explicitly labeled for outdoor use to ensure safety and longevity.
Overlooking Power Source Planning
Forgetting to plan where your lights will plug in can lead to messy, unsafe extension cord jungles. Identify your GFCI outlets early. If you need an extension cord, ensure it’s outdoor-rated and heavy-duty enough for the job, and plan its route to be discreet and trip-free.
Creating Too Much Tension
Pulling string lights taut can put undue stress on the wiring and bulbs, leading to premature failure. Allow for a gentle, natural sag or “swag” between attachment points. For longer spans, use a separate guide wire to bear the weight, protecting your light string.
Troubleshooting
Lights Not Turning On
First, check your power source. Ensure the GFCI outlet hasn’t tripped and that your extension cord is securely plugged in at both ends. Next, inspect the light string itself; sometimes a loose bulb or a faulty fuse can interrupt the entire circuit. Try replacing a suspected faulty bulb or checking the fuse in the plug if applicable.
Flickering Lights
Flickering often indicates a loose connection or an inconsistent power supply. Start by tightening all bulbs in their sockets. Check the connection points between multiple strings if you’ve linked them. Ensure your extension cord is fully pushed into the outlet and that the outlet isn’t overloaded by other devices.
Bulbs Burning Out Quickly
Rapid bulb burnout can be caused by excessive vibration, too much tension on the string, or voltage fluctuations. Make sure your lights are not pulled too taut. If you’re using incandescent bulbs, consider switching to LED, which are more durable and less sensitive to movement. Also, verify that the voltage rating of your bulbs matches your power supply.
Key Takeaways
- Always measure your space accurately and plan your design before purchasing lights.
- Choose outdoor-rated string lights for safety and durability in all weather conditions.
- Install appropriate mounting hardware securely, considering your patio’s structure.
- Prioritize safety by using GFCI outlets and outdoor-rated extension cords.
- Allow for a gentle swag in your light strings to prevent tension and prolong their life.
- Test your lights thoroughly after hanging and make any necessary adjustments for the perfect ambiance.
Frequently Asked Questions
Can I leave my patio lights out all year?
Most outdoor-rated string lights are designed to withstand various weather conditions, so you can generally leave them up year-round. However, extreme weather like heavy snowstorms or high winds might warrant taking them down for protection. Always check the manufacturer’s recommendations for your specific lights.
How do I connect multiple strings of lights?
Many outdoor string lights are designed with end-to-end connectors, allowing you to link multiple sets together. Always check the maximum number of strings you can safely connect for your specific product to avoid overloading the circuit. Look for a wattage limit or a “max connectable” specification on the packaging.
What’s the best way to clean patio lights?
Before cleaning, always unplug your lights. For a gentle clean, wipe the bulbs and cords with a damp cloth and mild soap, then dry thoroughly. Avoid harsh chemicals or abrasive scrubbers, which can damage the materials. For stubborn dirt, a soft brush can help, but be gentle around the delicate bulb filaments.
Our Top Recommended Finds
- Commercial-Grade LED String Lights: These offer superior durability and energy efficiency, perfect for long-lasting outdoor ambiance.
- Galvanized Steel Guide Wire Kit: Essential for supporting longer runs of lights, preventing sag and protecting the light strings from tension.
- Outdoor Smart Plug with Dimmer: Allows you to control your lights remotely, set schedules, and adjust brightness for perfect mood lighting.
Illuminate Your Evenings
You now have all the insights to transform your patio into a magical, inviting haven. Imagine the quiet evenings, the joyful gatherings, all bathed in that perfect, cozy glow.
Don’t let another season pass without experiencing the charm of beautifully lit outdoor space. Your patio is waiting for its moment to shine.
Grab your tools and start planning your illuminated oasis today. The perfect evening under the stars is just a few steps away!