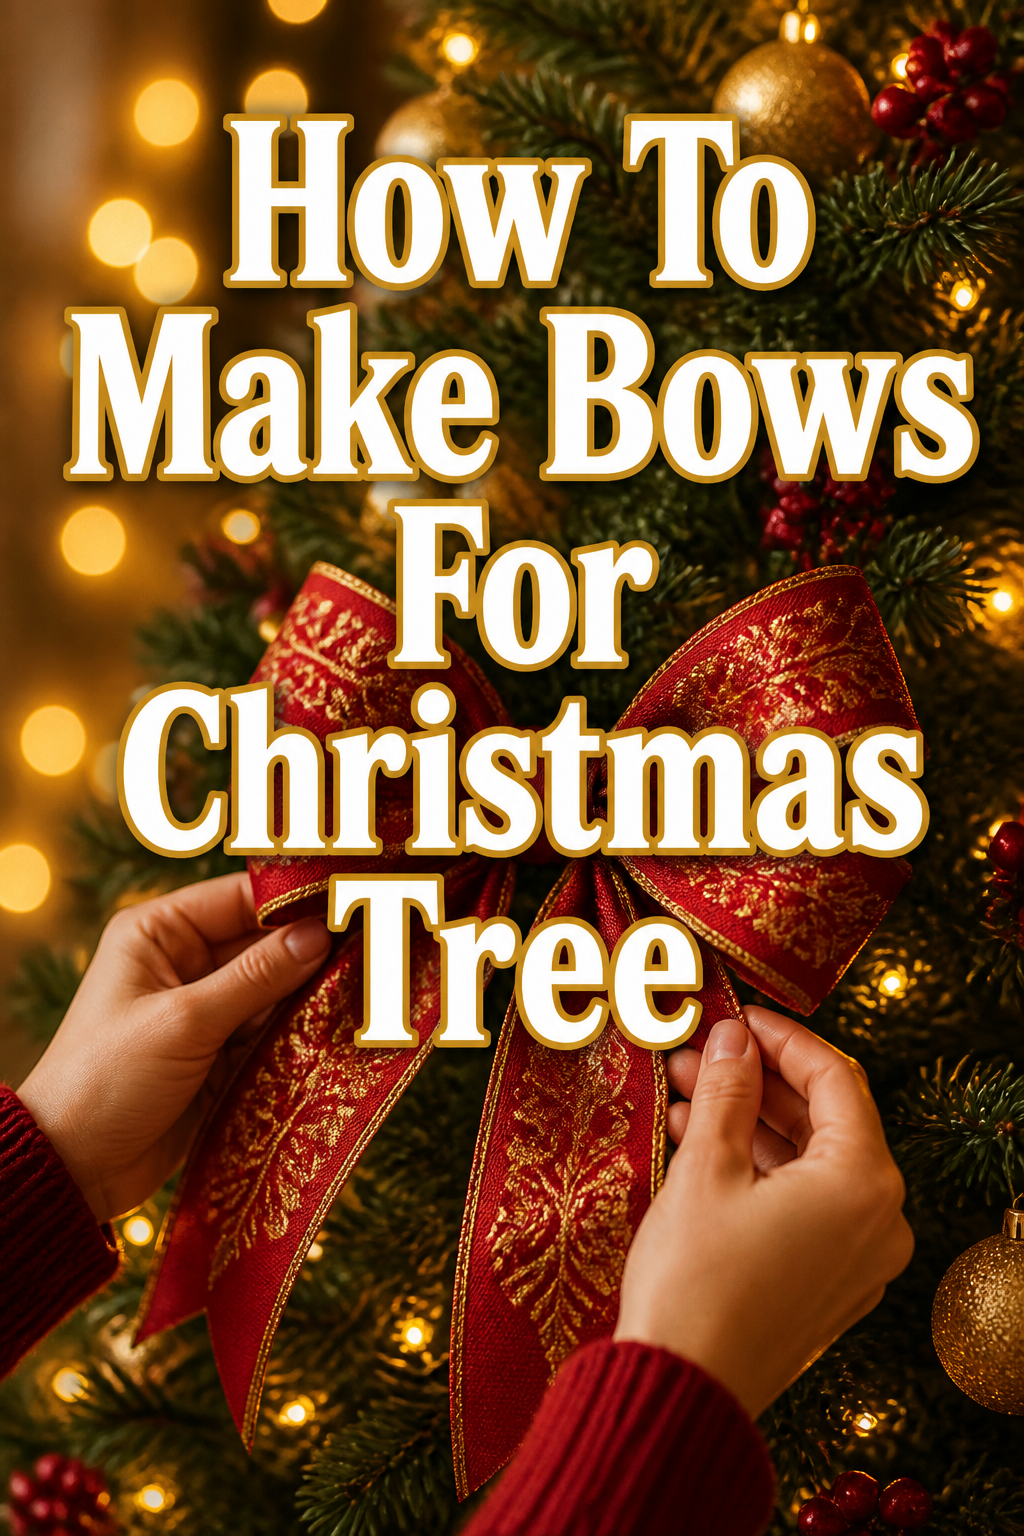
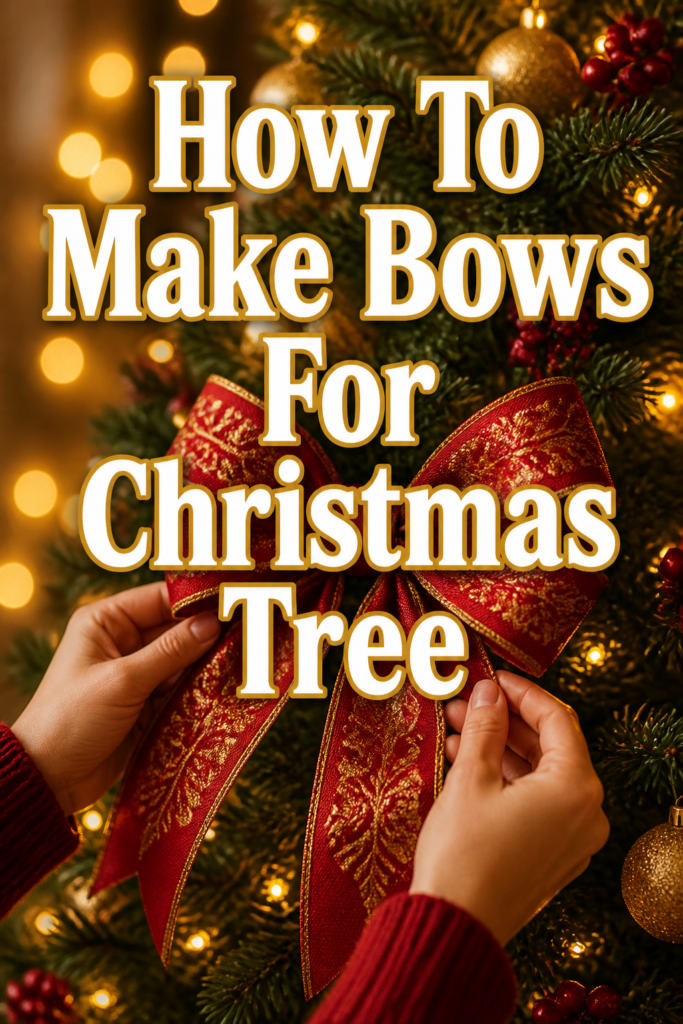
🎄 How To Make Bows For Christmas Tree
There’s something truly special about a Christmas tree adorned with homemade bows. It adds a touch of warmth and personality that store-bought decorations simply can’t replicate.
I remember my grandmother teaching me this craft years ago, her kitchen filled with the scent of pine and cinnamon. Creating these bows brings that cozy, nostalgic feeling right into your home, making your tree uniquely yours.
This guide will walk you through crafting beautiful bows, ensuring your Christmas tree radiates charm and festive spirit.
Quick Overview
You’re about to discover the simple joy of creating bespoke bows that will elevate your Christmas tree’s aesthetic. We’ll cover everything from selecting the perfect ribbon to securely attaching your finished masterpieces. By the end, you’ll have a collection of handcrafted bows ready to transform your holiday display.
- Time needed: 30 minutes to 1 hour (per 5-10 bows, depending on complexity)
- Difficulty: Beginner
- What you’ll need: Wired ribbon, sharp scissors, floral wire or pipe cleaners, measuring tape (optional)
Step-by-Step Instructions
Step 1: Gather Your Materials
First, collect all your necessary supplies before you begin. Having everything at hand makes the process smooth and enjoyable. You’ll want a good pair of sharp scissors, your chosen wired ribbon, and either floral wire or pipe cleaners.
Consider a comfortable, flat workspace where you can spread out. A clean table with good lighting works perfectly. This preparation prevents interruptions and keeps your creative flow going.
Pro Tip: Choose wired ribbon for the best results. The wire edges allow the bows to hold their shape beautifully, giving them a professional, sculpted look on your tree.
Step 2: Choose Your Ribbon Style and Length
Next, select your ribbon. Think about your tree’s overall theme and color scheme. Velvet ribbons offer a luxurious feel, while plaid brings a rustic, cozy charm.
For a classic bow, a good starting length is about 24-36 inches per bow. Longer lengths create more loops and a fuller appearance. Feel free to experiment with different widths and textures for visual interest.
Step 3: Create the First Loop
Now, hold one end of your ribbon in your non-dominant hand, leaving a tail of about 4-6 inches. This will be one of your bow’s “tails.”
With your dominant hand, form your first loop, bringing the ribbon back towards your thumb. The size of this loop determines the size of your bow. Aim for a loop about 3-4 inches tall for a standard tree bow.
Step 4: Form the Second Loop
Then, twist the ribbon at the center, where you’re holding it, to ensure the “right” side of the ribbon always faces outwards. This twist is crucial for a polished look.
Bring the ribbon around to form a second loop on the opposite side, matching the size of your first loop. You should now have two symmetrical loops, resembling a basic shoelace bow.
Step 5: Add More Loops (Optional, for Fuller Bows)
To make a fuller, more luxurious bow, continue forming loops. Twist the ribbon at the center after each loop to maintain the ribbon’s face.
Create a third and fourth loop, slightly smaller than the first two if you desire a layered effect. You can make as many loops as you wish, building up the bow’s volume. Each twist and loop adds depth and character.
Pro Tip: When making multiple loops, try to keep the central pinch point as tight as possible. This makes securing the bow much easier and gives it a neat, professional finish.
Step 6: Secure the Center
With all your loops formed and held tightly at the center, take a piece of floral wire (about 6-8 inches long) or a pipe cleaner. Wrap it tightly around the pinched center of the bow.
Twist the ends of the wire or pipe cleaner together at the back of the bow several times. This secures all your loops firmly in place. Ensure it’s very snug so your bow doesn’t unravel.
Step 7: Trim the Tails
Once the center is secure, trim the remaining ribbon tails. You can cut them straight, at an angle, or create a decorative “V” shape.
Aim for tails that are roughly 6-10 inches long, or longer if you prefer a dramatic drape. Fluff out your loops gently to give the bow its final shape and volume.
Step 8: Attach to Your Christmas Tree
Finally, use the excess floral wire or pipe cleaner from the back of your bow to attach it to a branch on your Christmas tree. Twist the wire securely around the branch, hiding the wire behind the bow.
Distribute your bows evenly around the tree, considering both depth and height. Step back frequently to assess the overall balance and make adjustments as needed.
Common Mistakes to Avoid
Using Non-Wired Ribbon
A common pitfall is opting for ribbon without wire edges. While beautiful, non-wired ribbon struggles to hold its shape once tied. Your meticulously crafted loops will quickly flatten or sag, losing their festive appeal.
Always choose wired ribbon for bows that stand tall and proud. The wire allows you to shape and sculpt each loop, ensuring a lasting, elegant display on your tree.
Not Twisting the Ribbon at the Center
Forgetting to twist the ribbon at the center after each loop is another frequent mistake. This results in bows where the “wrong” side of the ribbon is visible on some loops, creating an inconsistent and less polished look.
Always give the ribbon a half-twist at the central pinch point before forming the next loop. This simple action ensures the decorative side of your ribbon is always facing outwards, giving your bow a professional finish.
Loose Central Securing
Many beginners don’t secure the center of their bow tightly enough. If the floral wire or pipe cleaner isn’t wrapped very snugly, the loops can shift, loosen, or even fall apart over time. This leads to droopy, sad-looking bows.
After forming your loops, wrap the wire or pipe cleaner as tightly as possible around the pinched center. Twist the ends multiple times until the bow feels completely stable and firm.
Overlooking Ribbon Scale
Choosing ribbon that is too wide or too narrow for your tree’s size can throw off the entire aesthetic. A small tree with giant bows can look overwhelmed, while tiny bows on a grand tree might disappear.
Consider the scale of your tree and other ornaments. For most standard trees, 1.5 to 2.5-inch wide ribbon works beautifully. Adjust width for very large or very small trees to maintain visual harmony.
Troubleshooting
My Bows Are Flat and Lifeless
If your bows lack volume and look flat, it’s often due to not using wired ribbon or not fluffing them enough. Wired ribbon is essential for holding shape.
Gently pull and separate each loop after securing the center. Use your fingers to shape and curl the edges of the loops, creating dimension and fullness. Don’t be afraid to manipulate the wire within the ribbon.
The Bows Keep Sliding Down the Tree Branch
Bows that constantly slip down branches usually indicate insufficient attachment. The floral wire or pipe cleaner might not be twisted tightly enough around the branch itself.
Ensure you’re wrapping the securing wire around a sturdy part of the branch, not just loose needles. Twist the wire several times, making it taut against the branch. You can also use a dot of hot glue for extra security on non-delicate branches if you plan to keep the bow there long-term.
My Ribbon Tails Look Messy
Uneven or haphazardly cut tails can detract from an otherwise beautiful bow. This often happens when tails are trimmed too quickly or without a clear plan.
Take your time when trimming the tails. Lay them flat and cut them simultaneously for symmetry. For a classic look, fold the ribbon lengthwise and cut at an angle from the fold to the outer edge, creating a perfect “V” notch.
Key Takeaways
- Always choose wired ribbon for bows that maintain their shape and look elegant.
- Twist the ribbon at the center after each loop to ensure the decorative side is always visible.
- Secure the center of your bow very tightly with floral wire or a pipe cleaner to prevent unraveling.
- Fluff and shape each loop gently after securing to achieve a full, vibrant appearance.
- Consider the scale of your tree and other decorations when selecting ribbon width and bow size.
- Practice makes perfect; don’t be afraid to experiment with different loop sizes and tail lengths.
Frequently Asked Questions
Can I use fabric scraps instead of ribbon?
While you can technically use fabric scraps, they typically won’t hold the classic bow shape as well as wired ribbon. Fabric lacks the internal structure needed for crisp loops and might look more like tied knots than bows. If you want a rustic fabric look, consider using wired burlap ribbon.
How many bows do I need for my Christmas tree?
The number of bows depends on your tree’s size and your desired aesthetic. A general guideline is one bow for every foot of tree height, plus a few extra for density. For a 7-foot tree, aim for 7-10 bows. If you want a very full look, you might use 15-20.
Can I make bows in advance?
Absolutely! Making bows in advance is a fantastic way to spread out your holiday decorating tasks. Store them gently in a box, ideally with tissue paper between layers, to prevent them from getting crushed. A sturdy container will help them retain their shape until you’re ready to decorate.
What’s the best way to store bows after Christmas?
To keep your bows pristine for next year, gently unhook them from the tree. You can store them in a large, rigid plastic container, layering them with tissue paper to prevent crushing. Avoid stacking heavy items on top, which could flatten the loops.
Our Top Recommended Finds
- Wired Velvet Ribbon: Perfect for a luxurious, classic Christmas feel, offering rich texture and deep colors.
- Floral Wire Cutters: Essential for clean, precise cuts on floral wire, making the securing process much easier and safer.
- Assorted Christmas Plaid Wired Ribbon Pack: A great option for creating a cozy, rustic, or farmhouse-inspired tree with variety.
Embrace Your Tree’s Unique Charm
Creating your own bows for the Christmas tree is more than just a craft; it’s an act of love for your home and the festive season. Each bow you tie carries a piece of your personal style, contributing to a truly cozy and inviting atmosphere.
Imagine the soft glow of your tree lights reflecting off your handcrafted bows, bringing a warm smile to everyone who sees it. This simple project transforms your space, making holiday memories that last. So, gather your ribbons, put on some festive music, and start crafting today. Your beautiful, unique Christmas tree awaits!