🖊️ How To Get Pen Ink Out Of Clothes
We’ve all experienced that little jolt of panic.
Perhaps you were sketching out a dreamy new layout for your living room, or simply jotting down a grocery list in your favorite cozy nook, when suddenly – a rogue pen mark appears on your beloved throw pillow or cherished sweater.
As someone who finds immense joy in creating beautiful, serene spaces and caring for the textiles that make them feel like home, I understand that sinking feeling. But don’t worry, this guide is here to gently walk you through restoring your fabric’s pristine beauty.
Quick Overview
You’re about to embark on a simple, effective journey to banish those stubborn ink stains. We’ll focus on gentle methods to protect your cherished items.
- Time needed: 30-60 minutes (active treatment), plus drying time.
- Difficulty: Beginner.
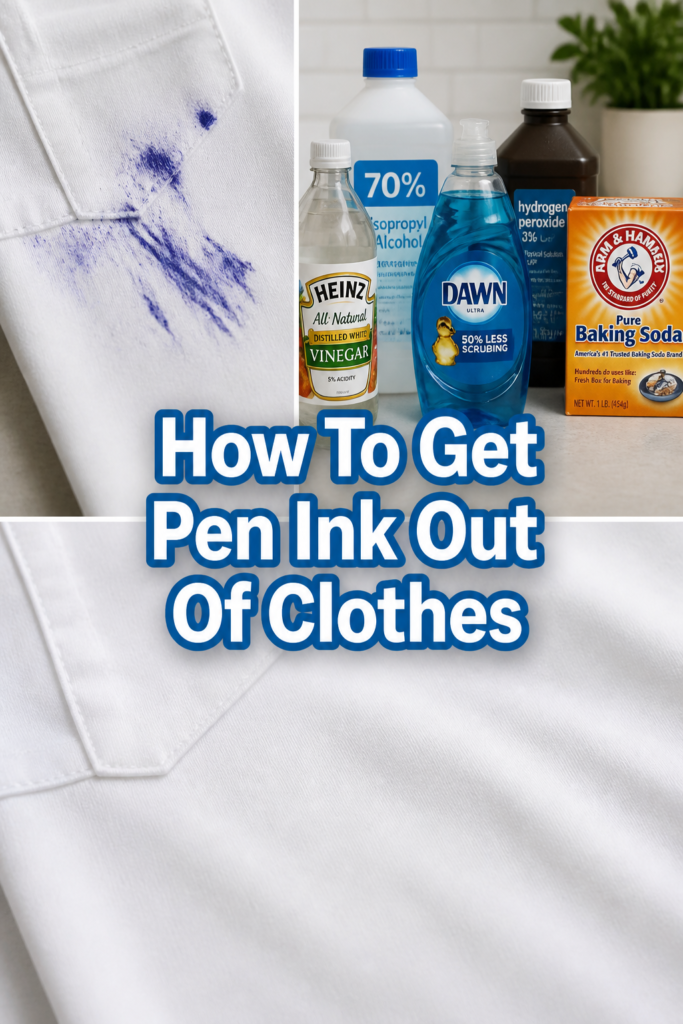
- What you’ll need: Rubbing alcohol (isopropyl alcohol), clean white cloths or paper towels, dish soap, laundry detergent, and a little patience.
Step-by-Step Instructions
Step 1: Act Swiftly and Assess the Ink
The moment you spot that ink mark, pause. Time is truly of the essence when it comes to ink stains, as fresh ink is always easier to remove than dried ink.
Take a deep breath and gently examine the stain. Is it a ballpoint pen, gel pen, or permanent marker? While this guide focuses on common pen inks, understanding the ink type can sometimes guide your approach.
Next, consider the fabric. Is it cotton, linen, silk, wool, or a synthetic blend? Different fabrics react differently to cleaning agents, so always check the care label on your garment or item.
Pro Tip: For delicate fabrics like silk or wool, consider consulting a professional cleaner if you’re unsure. Their expertise can save your cherished piece from accidental damage.
Step 2: Gather Your Gentle Arsenal
Before you begin, collect all your supplies. Having everything within reach prevents rushing and ensures a calm, focused approach.
You’ll need isopropyl alcohol (rubbing alcohol), which is often found in first-aid kits. Grab a few clean, white cloths or a roll of white paper towels – avoid colored cloths that might transfer dye.
Find a gentle liquid dish soap (the kind you use for handwashing dishes) and your regular laundry detergent. A small bowl or saucer for the alcohol can also be handy.
Step 3: Prepare Your Workspace with Care
Choose a well-lit, clean, and flat surface for your work. A kitchen counter or a sturdy table covered with an old towel or newspaper works perfectly.
You want to protect the surface underneath from any potential ink transfer. Lay the stained garment flat with the ink stain facing upwards.
Slip a few layers of clean paper towels or a thick, absorbent white cloth directly underneath the ink stain. This acts as a blotter, drawing the ink away from the garment rather than spreading it to the other side.
Step 4: Test in an Inconspicuous Area
This step is absolutely crucial for preserving your fabric’s beauty. Before applying any cleaning agent directly to the stain, you must perform a patch test.
Dampen a small, hidden area of the garment – such as an inside seam, the hem, or an inconspicuous corner – with a tiny amount of rubbing alcohol.
Observe for a few minutes. Check for any discoloration, fading, or damage to the fabric. If the fabric shows any adverse reaction, do not proceed with alcohol on the stain; seek professional cleaning advice.
Step 5: Blot, Don’t Rub, with Alcohol
Once your patch test is successful, you’re ready to tackle the stain. Pour a small amount of rubbing alcohol into your bowl.
Dip a clean white cloth or a fresh paper towel into the alcohol, just enough to dampen it, not soak it.
Now, gently blot the ink stain from the outside edges inward. This technique helps prevent the stain from spreading. Remember, blotting is key – never rub, as rubbing can push the ink deeper into the fibers or enlarge the stain.
As the cloth absorbs ink, you’ll see the color transfer. Switch to a clean section of your cloth or a fresh paper towel frequently to avoid reapplying ink to the fabric.
Pro Tip: Patience is a virtue here. You might need to repeat the blotting process several times, replenishing your alcohol-dampened cloth, until the ink visibly diminishes. It’s a gentle dance of removal.
Step 6: Rinse and Repeat (If Needed)
After a good blotting session, rinse the treated area under cool running water. This helps flush away the loosened ink and alcohol residue.
Inspect the stain. Has it significantly faded or disappeared? If not, dry the area gently with a clean towel and repeat Step 5.
Continue this cycle of blotting with alcohol and rinsing until you’ve removed as much of the ink as possible. Sometimes, stubborn stains require a few rounds.
Step 7: Pre-Treat with Gentle Dish Soap
Once the ink stain is mostly gone or significantly faded, it’s time for a final pre-treatment. Apply a small dab of gentle liquid dish soap directly onto the remaining stain.
Gently work the dish soap into the fabric with your fingers or a soft brush, creating a light lather. The dish soap helps to break down any remaining ink residue and oils.
Allow the dish soap to sit on the stain for about 5-10 minutes. This gives it time to penetrate the fibers and lift any lingering traces.
Step 8: Launder with Care
Without rinsing the dish soap, place the garment into your washing machine. Wash it according to the fabric care label, using your regular laundry detergent and the warmest water temperature safe for the fabric.
For items that are particularly precious, or if you’re concerned about further spreading, consider washing the stained item separately from other laundry.
Step 9: Air Dry and Inspect Thoroughly
This step is critical. After washing, remove the garment from the machine and immediately inspect the stained area.
If any trace of the ink stain remains, do NOT put the item in the dryer. Heat from a dryer will permanently set the stain, making it nearly impossible to remove later.
If the stain is still there, repeat the entire process from Step 5. If it’s gone, you can safely air dry the item or tumble dry it on a low setting if the care label allows.
Step 10: Restore to Its Cozy Place
Once your beloved item is completely dry and ink-free, take a moment to admire your handiwork. You’ve successfully restored it, bringing back its original beauty and comfort.
Now, you can return it to its rightful place in your home, whether that’s draped over your favorite reading chair, tucked into a neatly organized drawer, or ready to be worn on your next creative adventure. Enjoy that feeling of a job well done!
Common Mistakes to Avoid
Rubbing Vigorously
It’s tempting to scrub at a fresh stain, but rubbing ink only pushes the pigment deeper into the fabric fibers. This makes the stain harder to remove and can even damage delicate threads, leading to pilling or weakening the fabric. Always blot gently from the outside in.
Applying Heat Too Soon
Heat is the enemy of an ink stain. Putting a stained item in a dryer, or using hot water before the stain is completely gone, will “cook” the ink into the fabric. This process chemically bonds the ink to the fibers, making it permanent. Always air dry and inspect before using heat.
Using Bleach on Colored Fabrics
While bleach might seem like a quick fix, it’s incredibly harsh and can strip color from dyed fabrics, leaving an even worse stain or a faded patch. Reserve bleach only for white, bleach-safe fabrics, and even then, use it cautiously and as a last resort. Our gentle methods are far kinder to your textiles.
Ignoring Fabric Type
Treating every fabric the same way is a common pitfall. Delicate materials like silk, wool, or rayon require extra care and might be damaged by harsh chemicals or excessive scrubbing. Always check the care label and perform a patch test to ensure the cleaning agent is safe for your specific fabric.
Troubleshooting
Ink Stain Persists After First Attempt
Sometimes, particularly stubborn or older ink stains need a little more persuasion. Don’t despair if the stain isn’t completely gone after the first wash. Simply allow the item to air dry (remember, no heat!), and then repeat the entire treatment process from Step 5. You might need several rounds of alcohol blotting and washing to fully lift the ink.
Fabric Discoloration or Fading
If you notice any slight discoloration or fading after your patch test or initial treatment, it means the cleaning agent might be too strong for your fabric. Discontinue use of that particular cleaner. For delicate or color-sensitive items, it’s always safest to consult a professional dry cleaner who has specialized knowledge and tools for stain removal.
Delicate Fabric Concerns (Silk, Wool)
Delicate fabrics like silk, wool, or rayon are more susceptible to damage from harsh chemicals or vigorous treatment. For these items, consider using a gentler solvent, such as denatured alcohol (test first!), or even a specialized enzyme cleaner designed for delicate fabrics. If in doubt, a professional cleaner is your best friend for preserving these cherished pieces.
Key Takeaways
- Act fast: Fresh ink is significantly easier to remove than dried ink.
- Test first: Always perform a patch test on an inconspicuous area of the fabric before treating the stain.
- Blot, don’t rub: Gently blot the stain from the outside in to lift the ink without spreading it or damaging the fabric.
- Avoid heat: Never put an item with a remaining ink stain in the dryer, as heat will set the stain permanently.
- Gentle care is key: Use mild cleaning agents and methods to protect your cherished textiles.
- Patience pays off: Stubborn stains might require multiple rounds of treatment, but the effort is worth preserving your beautiful items.
Frequently Asked Questions
Can I use hairspray to remove pen ink?
While hairspray used to be a popular home remedy for ink stains, modern hairsprays often contain less alcohol and more polymers, which can actually set the stain or leave a sticky residue. Rubbing alcohol (isopropyl alcohol) is a more effective and reliable choice for ink removal, as it’s designed to dissolve ink solvents without added ingredients that could cause new problems.
What about dried ink stains? Are they impossible to remove?
Dried ink stains are definitely more challenging than fresh ones, but not necessarily impossible. The key is persistence. You’ll likely need to repeat the alcohol blotting and rinsing process multiple times, allowing the alcohol to sit on the stain for a few minutes before blotting. It might take longer, but with patience, many dried ink stains can still be significantly faded or removed.
Does the type of pen ink matter for removal?
Yes, the type of ink can make a difference. Ballpoint pen ink, which is oil-based, generally responds well to alcohol. Gel pen ink, which is water-based with pigments, might also respond to alcohol but sometimes benefits from a pre-treatment with a gentle dish soap. Permanent marker ink is the most difficult to remove and may require stronger solvents or professional intervention.
Is this method safe for all types of fabrics?
This method is generally safe for most common fabrics like cotton, linen, and many synthetics, provided you perform a patch test first. However, extremely delicate fabrics such as silk, rayon, acetate, or certain wools can be sensitive to alcohol and may require professional cleaning. Always read your garment’s care label and prioritize the patch test for safety.
Our Top Recommended Finds
- High-Quality Microfiber Cloths: These incredibly soft and absorbent cloths are perfect for blotting without scratching or damaging delicate fabrics. Keep a few dedicated white ones just for stain removal.
- Gentle Laundry Spot Treatment: Having a reliable, gentle spot treatment on hand, specifically formulated for various stains, can be a wonderful backup for any lingering residues after the initial alcohol treatment. Look for eco-friendly, fragrance-free options.
- Aesthetic Laundry Hampers: While not directly for stain removal, a beautiful and functional laundry hamper encourages prompt washing. When you love your laundry setup, you’re more likely to tackle spills quickly, preserving the beauty of your home and garments.
Embrace the Art of Restoration
There’s a quiet satisfaction in bringing a cherished item back to its original splendor. That small ink mishap doesn’t have to be the end of your favorite top or a beloved cushion.
By following these gentle steps, you’re not just removing a stain; you’re actively caring for the pieces that make your home feel inviting and uniquely yours.
So, the next time a pen decides to wander, you’ll be ready. Take action today, gather your supplies, and confidently restore harmony to your fabrics and your beautiful space.