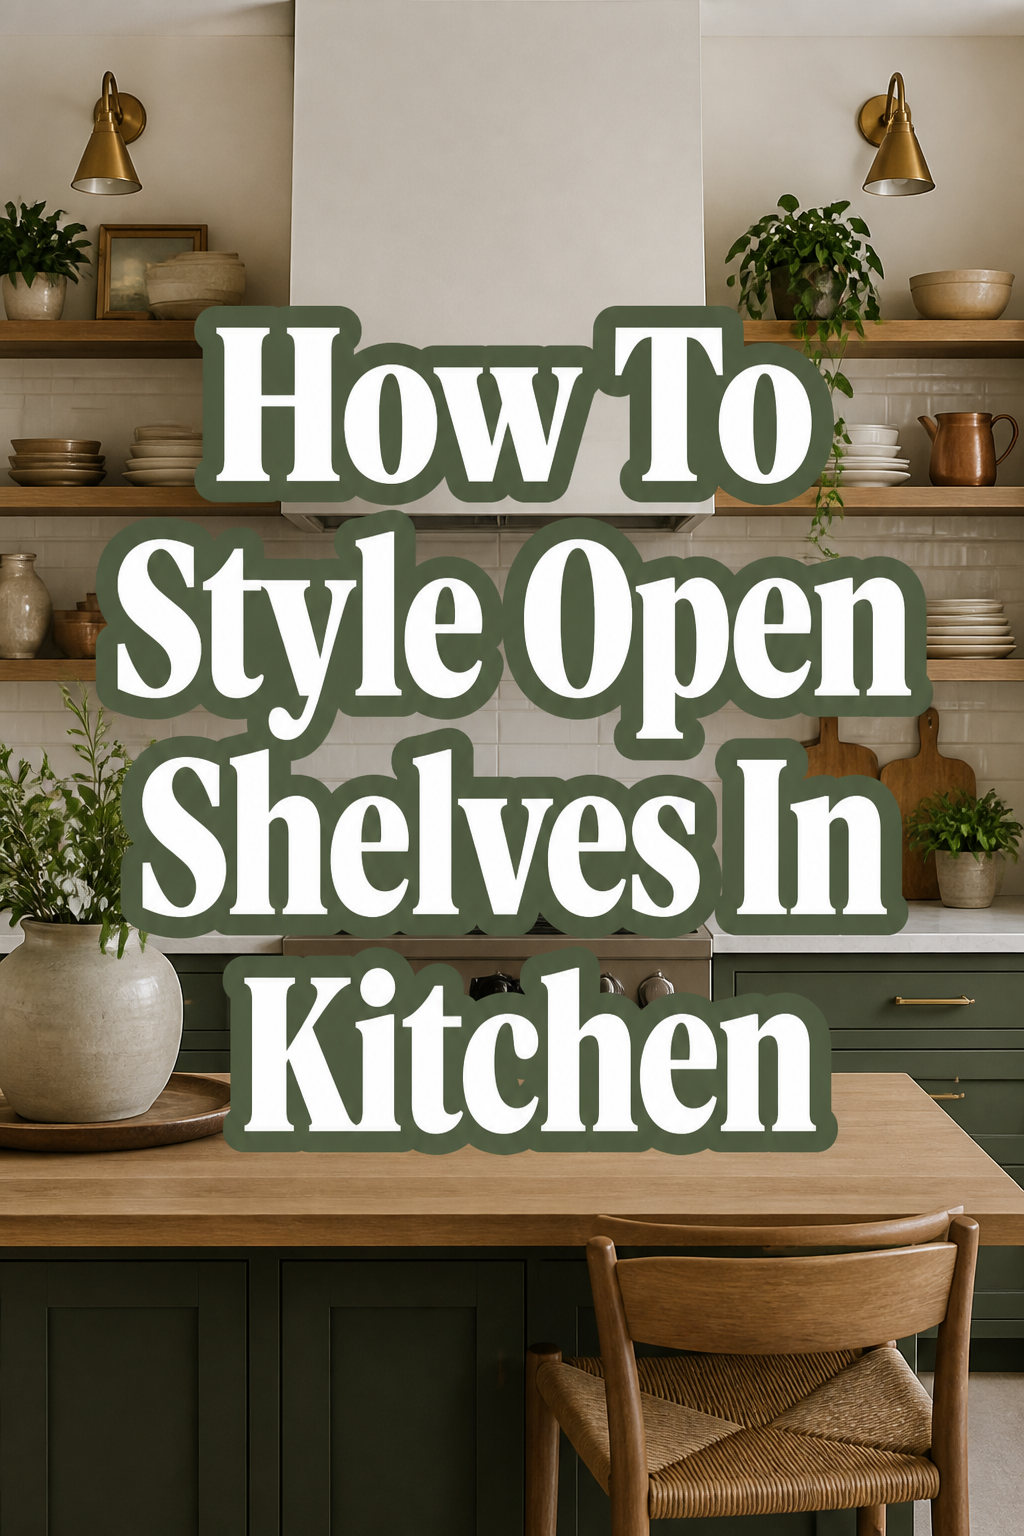
✨ How To Style Open Shelves In Kitchen
I remember standing in my kitchen, staring at my new open shelves with a mix of excitement and absolute panic.
The vision of a beautifully curated space felt miles away from the reality of dusty, empty ledges.
This guide shares the warm, practical steps I learned (and still use!) to transform those bare shelves into a heart-warming, functional display, helping you create a kitchen you truly adore.
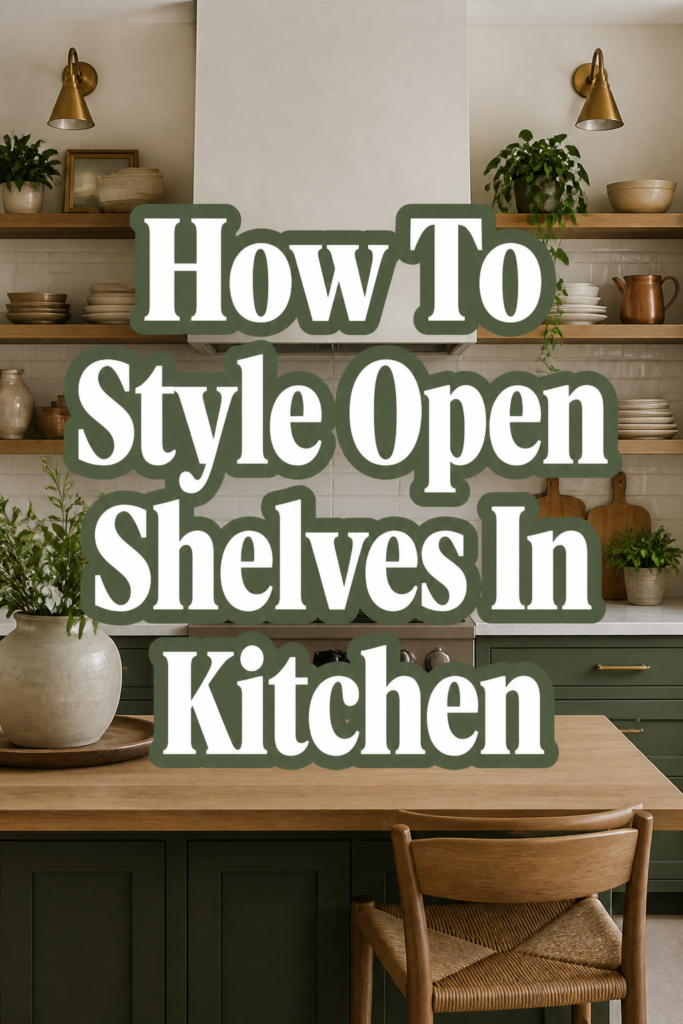
Quick Overview
Styling open shelves can feel daunting, but it’s a wonderfully rewarding project.
You’ll learn to blend practicality with charm, making your kitchen feel more inviting and uniquely yours.
- Time needed: 1-3 hours (depending on item selection)
- Difficulty: Beginner
- What you’ll need: Existing kitchenware, decorative items, small plants, cleaning supplies, and a touch of creativity.
Step-by-Step Instructions
Step 1: Declutter and Cleanse Your Canvas
Before any magic can happen, you need a clean slate.
This step is about removing everything and starting fresh.
- Empty all your open shelves completely.
- Wipe down each shelf thoroughly, removing dust, grease, and any residue. A clean surface is essential for a fresh start.
- Assess the items you’ve removed. Decide what truly belongs back on display and what can be stored elsewhere or donated.
Pro Tip: Use this opportunity to give your shelves a deep clean. A simple wipe with warm, soapy water followed by a dry cloth works wonders for a gleaming base.
Step 2: Define Your Kitchen’s Cozy Vibe
Every beautiful display starts with a clear vision.
Think about the overall feeling you want your kitchen to evoke.
- Consider your existing kitchen style. Is it rustic farmhouse, minimalist modern, eclectic bohemian, or something else?
- Choose a primary color palette or a mood. Warm neutrals, soft pastels, or earthy tones can create a cozy atmosphere.
- Look for inspiration online or in magazines. Pin images that resonate with the feeling you want to achieve.
Step 3: Gather Your Treasures and Essentials
Now for the fun part: collecting the items that will bring your shelves to life.
You’ll want a mix of practical and pretty pieces.
- Collect your everyday dishes, bowls, and mugs that you use regularly. These are your functional anchors.
- Find decorative items like small vases, ceramic pitchers, unique serving bowls, or pretty cookbooks.
- Seek out natural elements such as small potted herbs, trailing plants, or even a beautiful piece of driftwood.
- Include personal touches like a small framed photo, a beloved souvenir, or a handwritten recipe card.
Step 4: Anchor with Practicality and Purpose
Begin by placing the items you use most often.
This ensures your shelves are not just pretty, but also highly functional.
- Place stacks of plates and bowls on the lowest or most accessible shelves. These are easy to grab for daily use.
- Arrange your most-used mugs or glasses in a convenient spot. Grouping similar items keeps things tidy.
- Consider the weight and size of these foundational pieces. Heavier items usually go on lower shelves for stability.
Pro Tip: Don’t feel compelled to display entire sets. Sometimes, a smaller stack of plates or a few favorite mugs looks more curated and less cluttered.
Step 5: Introduce Varied Heights and Textures
Visual interest comes from a dynamic arrangement.
Mix up the shapes, sizes, and materials of your items.
- Use cookbooks or small cutting boards to elevate smaller items, creating different height levels.
- Incorporate items with diverse textures: a smooth ceramic vase next to a rough-hewn wooden bowl, or a shiny metal canister beside a woven basket.
- Vary the orientation of items. Stand some plates upright in a rack, stack others horizontally, or lean a small piece of art.
Step 6: Embrace the Rule of Three (or Odd Numbers)
Odd numbers are often more pleasing to the eye.
This simple trick helps create balanced, natural-looking groupings.
- Group items in threes or fives. For example, three small vases of varying heights, or a mug, a small plant, and a sugar pot.
- Create small vignettes on each shelf. Each grouping tells a mini-story.
- Ensure there’s breathing room around each cluster. Don’t feel every inch needs to be filled.
Step 7: Add Greenery and Life
Plants instantly infuse warmth and vibrancy into any space.
They are essential for that cozy kitchen feel.
- Place small potted herbs like basil or rosemary on a shelf. They add a lovely scent and fresh appeal.
- Drape a trailing plant like Pothos or String of Hearts from an upper shelf. Their leaves spill down beautifully.
- Consider a small succulent or a faux plant if you prefer low maintenance. Even artificial greenery adds charm.
Step 8: Personalize with Art and Sentiment
This is where your kitchen truly becomes uniquely yours.
Infuse personality and warmth with meaningful objects.
- Lean a small piece of art or a framed print against the back of a shelf. Choose something that complements your kitchen’s vibe.
- Display a cherished family photo in a simple frame.
- Showcase unique finds from your travels or a handmade pottery piece that speaks to you.
Step 9: Step Back, Observe, and Edit
Styling is an iterative process; don’t expect perfection on the first try.
Take a moment to evaluate your work.
- Stand back and look at your shelves from different angles in the kitchen. What catches your eye?
- Remove anything that feels out of place or contributes to clutter. Less is often more.
- Adjust the placement of items. Shift things around until the balance feels right to you.
- Take a photo with your phone. Sometimes, seeing it in a picture helps you spot areas for improvement.
Step 10: Embrace Seasonal Swaps and Refresh
Your shelves are not static displays.
Changing them with the seasons keeps your kitchen feeling fresh and inviting.
- Swap out a few key decorative items to reflect the season. Think autumnal gourds in fall or fresh flowers in spring.
- Introduce seasonal colors through towels, small dishes, or even a new plant.
- Rotate your cookbooks or art pieces to keep the look dynamic and interesting throughout the year.
Common Mistakes to Avoid
Overcrowding Your Shelves
A common pitfall is trying to display too many items.
This quickly leads to a cluttered, messy appearance rather than a curated one.
Instead, embrace negative space; it allows your chosen items to truly shine and makes the display feel intentional and serene.
Ignoring Functionality
While aesthetics are important, your kitchen is a workspace.
Placing everyday items out of reach or making them difficult to access defeats the purpose of open shelving.
Always consider how you use your kitchen. Keep frequently used items at an easy-to-grab height and ensure they are simple to put away.
Lack of Cohesion
A collection of random items, no matter how lovely individually, can look disjointed.
Without a unifying theme, color palette, or material, the shelves can appear haphazard.
Before styling, decide on a general aesthetic or a couple of complementary colors. This helps tie everything together into a harmonious display.
Static Displays
Leaving your shelves untouched for years can make them feel stale and uninspiring.
Life happens, seasons change, and your tastes might evolve.
Treat your open shelves as a living canvas. Enjoy refreshing them occasionally, whether it’s for a new season, a holiday, or simply because you found a new favorite piece.
Troubleshooting
My Shelves Look Messy/Cluttered, Not Curated
This is a very common feeling, especially when you’re starting out.
The best solution is to edit ruthlessly. Take everything off, and only put back half of what you initially planned.
Consider using trays or small baskets to contain smaller items, creating a more organized visual. Remember, empty space is your friend.
The Display Feels Flat or Lifeless
If your shelves lack visual excitement, it’s likely due to a lack of variety.
Introduce more items with different heights, textures, and shapes. Stack books to elevate a small vase, or lean a cutting board behind a grouping.
Adding a small plant, even a faux one, can instantly bring life and a touch of nature to the display.
Items Don’t Seem to Match My Kitchen Style
Sometimes, individual pieces are beautiful but don’t quite fit the overall aesthetic you’re aiming for.
Re-evaluate your chosen items against your kitchen’s defined vibe (Step 2). Try to introduce unifying colors or materials, like adding a few pieces in a consistent accent color.
If an item truly doesn’t fit, it might be better placed elsewhere in your home or stored away for another time.
Key Takeaways
- Start with a Clean Slate: Always declutter and clean your shelves before styling.
- Blend Form and Function: Prioritize accessibility for frequently used items while also making them look appealing.
- Vary Heights and Textures: Create visual interest by mixing different sizes, materials, and orientations.
- Embrace the Power of Odd Numbers: Group items in threes or fives for a balanced and natural look.
- Infuse Life with Greenery: Plants add warmth, color, and a fresh, cozy feel.
- Personalize Your Space: Include meaningful objects that tell your story and reflect your style.
Frequently Asked Questions
How often should I restyle my open shelves?
There’s no strict rule, but refreshing them seasonally (about four times a year) or whenever you feel inspired is a great way to keep your kitchen feeling current and inviting.
What if my open shelves are very small?
For small shelves, focus on fewer, impactful items. Choose one or two key pieces that fit well, perhaps a small plant and a decorative mug, avoiding clutter. Vertical stacking can also maximize limited space.
Can I mix modern and vintage items on my shelves?
Absolutely! Mixing styles often creates the most interesting and personal displays. The key is to find a unifying element, like a consistent color palette, a common material (e.g., wood), or a shared texture, to tie the different pieces together harmoniously.
How do I keep my open shelves clean and dust-free?
Regular maintenance is crucial. Quickly wipe down shelves and items weekly or bi-weekly. For items you use daily, they’ll naturally stay cleaner. For decorative pieces, a soft cloth or a quick rinse will keep them sparkling.
Our Top Recommended Finds
- Small Ceramic Planters: Perfect for adding a pop of green with herbs or succulents, bringing life and organic texture.
- Wooden Cutting Boards: Excellent for layering, adding warmth, and creating height variation behind other items.
- Woven Storage Baskets: Ideal for discreetly tucking away smaller, less attractive items while adding beautiful texture.
Your Kitchen’s Cozy Story Awaits
Styling your open kitchen shelves is more than just arranging objects; it’s about crafting a warm, welcoming narrative in the heart of your home.
Each piece you choose contributes to the cozy, inspiring atmosphere you’re building.
Don’t wait. Gather your favorite mugs, that special little plant, and a cherished cookbook, and start telling your kitchen’s beautiful story today.