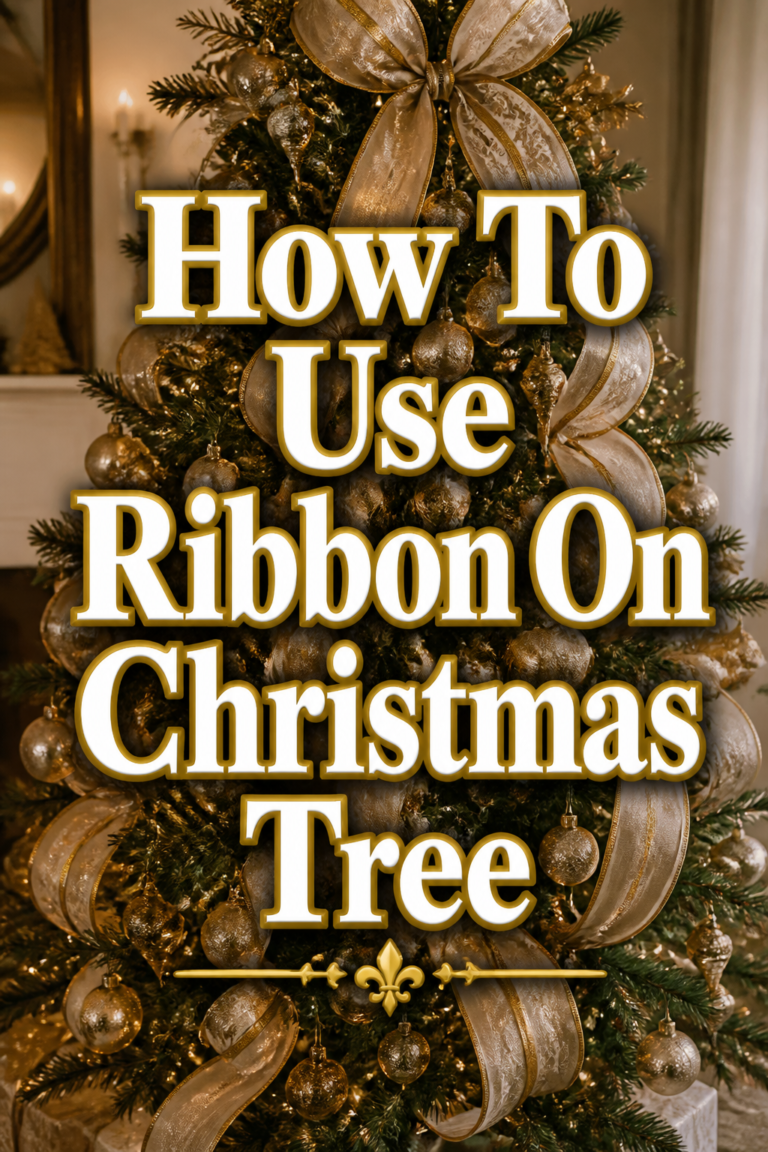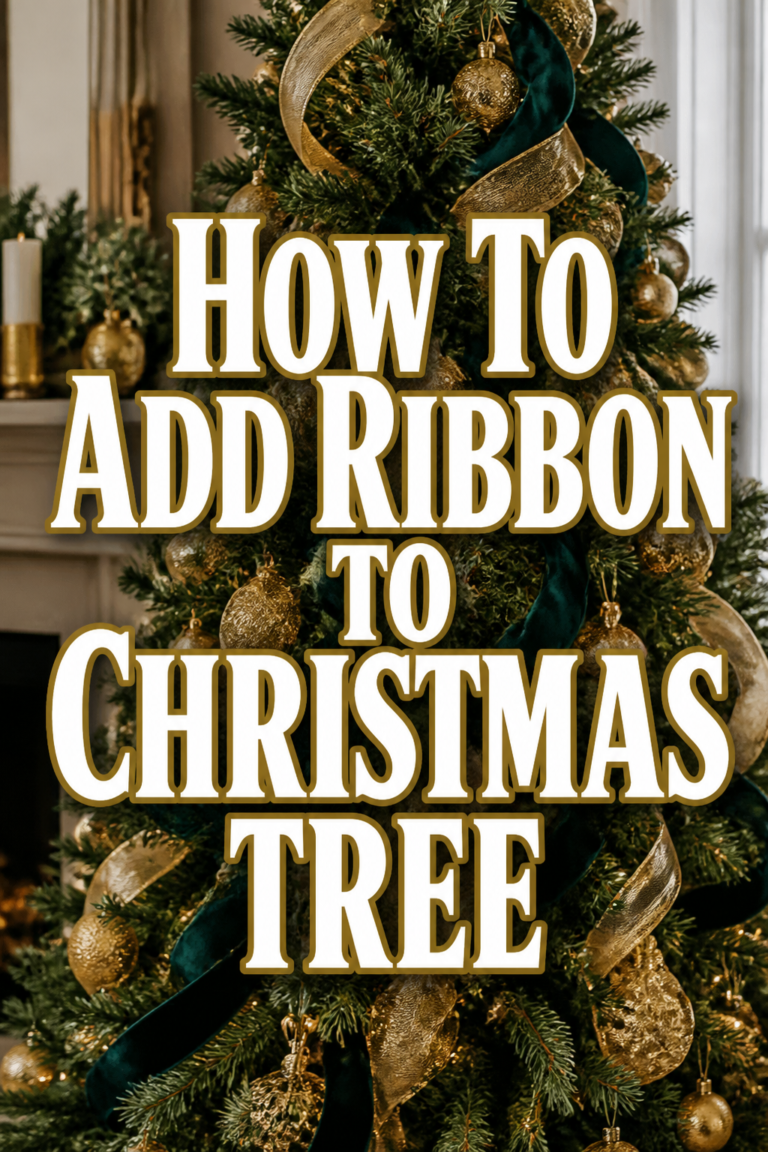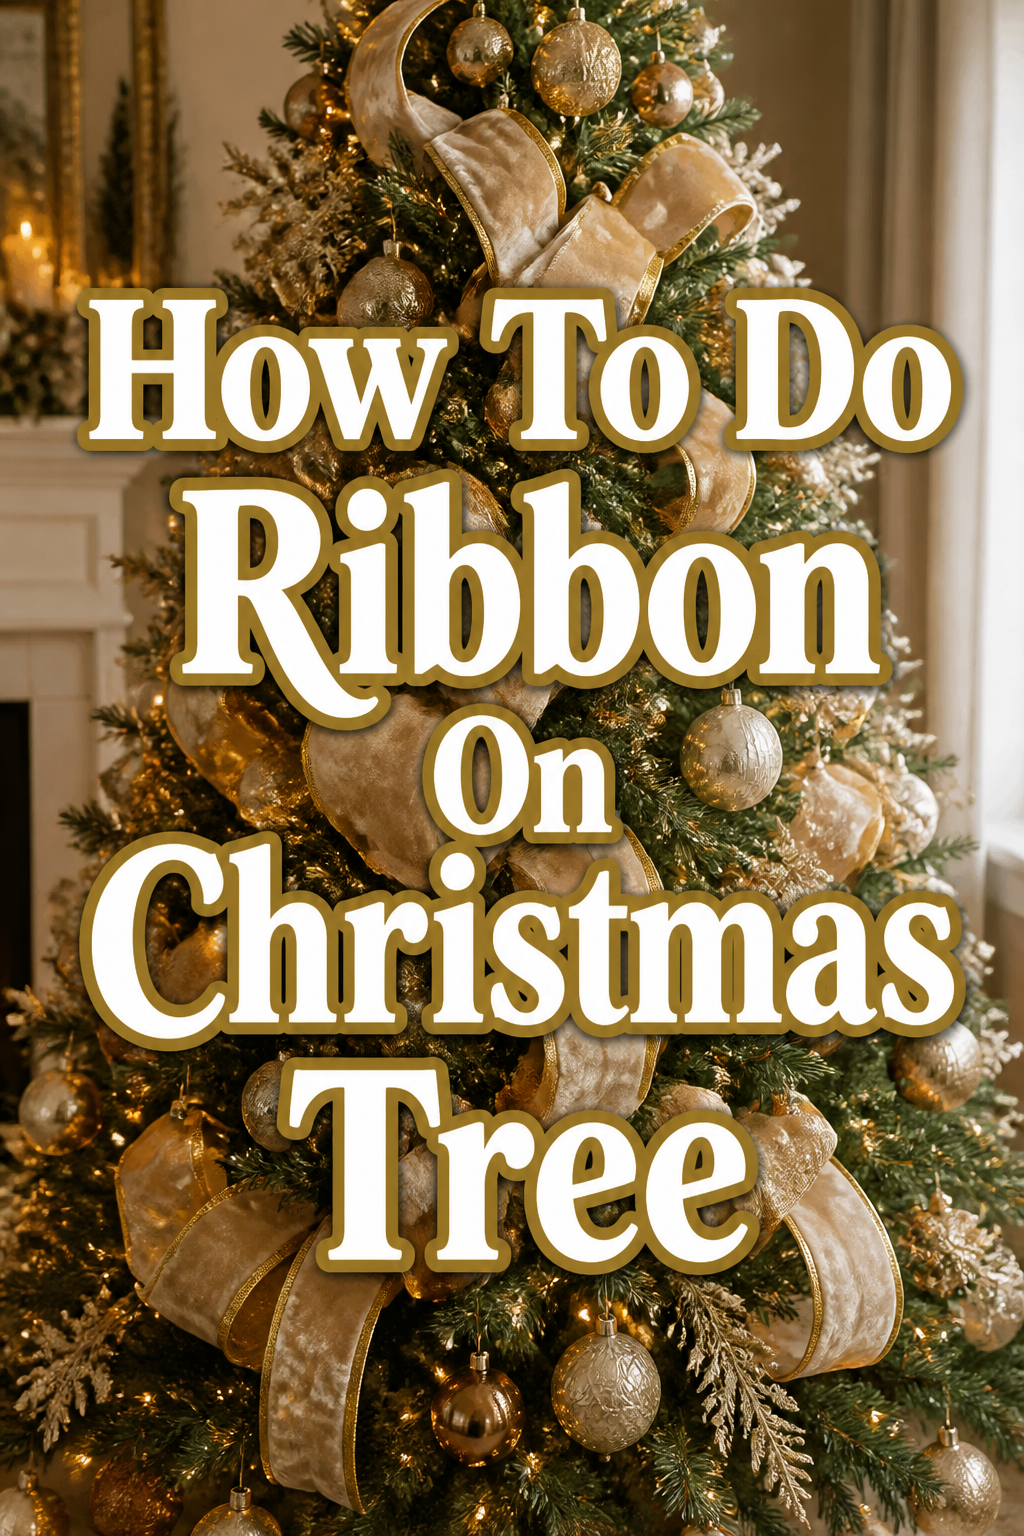
🎄 How To Do Ribbon On Christmas Tree
There’s a special magic that ribbon brings to a Christmas tree, transforming it from lovely to truly enchanting. It adds depth, texture, and a touch of old-world charm that feels incredibly cozy. I remember the first time I really tried to integrate ribbon, feeling a bit overwhelmed, but the result was so rewarding.
This guide will walk you through creating that beautiful, flowing look, making your tree the heart of your festive home. You’ll soon discover how simple it is to achieve a professional, warm aesthetic.
Quick Overview
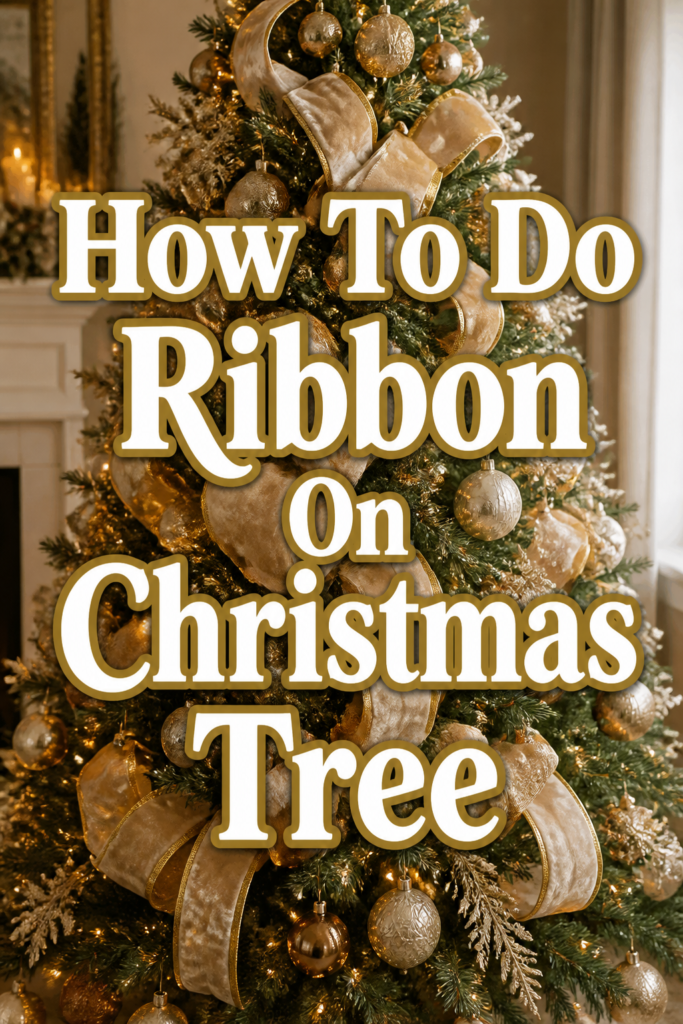
Transforming your Christmas tree with ribbon is a wonderfully creative process that brings a unique charm to your holiday decor. You’ll learn how to select the perfect ribbons and weave them through your branches, creating a lush, elegant display. This guide covers both cascading and tucked methods, ensuring your tree looks stunning from every angle.
- Time needed: 1-3 hours (depending on tree size and ribbon complexity)
- Difficulty: Beginner
- What you’ll need: Ribbon, scissors, floral wire or pipe cleaners, a step stool or ladder
Step-by-Step Instructions
Step 1: Gather Your Supplies
Before you begin, ensure all your materials are within easy reach. A little preparation makes the decorating process much smoother and more enjoyable. Think of it as setting the stage for your festive masterpiece.
You’ll need a good selection of ribbon, sharp scissors, and something to secure the ribbon like floral wire or pipe cleaners. A step stool or ladder is also essential for reaching the top of your tree safely.
Pro Tip: Choose wired ribbon for ease of shaping and holding its form. It’s far more forgiving and creates those beautiful, dramatic drapes effortlessly.
Step 2: Choose Your Ribbon Style and Quantity
Selecting the right ribbon sets the tone for your entire tree’s aesthetic. Consider the overall theme of your room and the mood you want to create. Ribbons come in various widths, materials, and patterns.
For a classic, opulent look, combine a wide (2.5-4 inch) ribbon with a narrower (1.5-2 inch) complementary one. For a more rustic or cozy feel, consider burlap or velvet. As for quantity, a good rule of thumb is 9 feet of ribbon per foot of tree height for a moderate look, or 12 feet per foot for a very full effect.
Step 3: Prepare Your Tree
Your Christmas tree should already be set up, fluffed, and strung with lights. Ribbon is typically added after lights but before most ornaments. This allows the ribbon to nestle beautifully into the branches.
Make sure your tree is stable and positioned exactly where it will stay for the holidays. This prevents any shifting that could disrupt your carefully placed ribbons. A clean slate helps you visualize the flow.
Step 4: Start at the Top with the Cascading Method
The cascading method creates elegant, flowing ribbons that weave down the tree. Begin by finding a secure branch near the very top of your tree. Anchor the end of your first ribbon piece here using floral wire or a pipe cleaner, twisting it tightly around the branch.
Let the ribbon drape naturally, forming a gentle curve or “swag.” Push the ribbon into the tree a bit, creating depth, then pull it out again. Secure it to another branch further down and slightly to the side.
Pro Tip: Don’t pull the ribbon too taut. The beauty of this method lies in its soft, organic movement. Allow it to dip and curve, mimicking falling snow or gentle waves.
Step 5: Work Your Way Down the Tree
Continue the cascading pattern, working your way around and down the tree. Create varying lengths of swags to add visual interest. Some drapes can be longer and more dramatic, while others are shorter and tighter.
Angle your ribbons diagonally and horizontally, crisscrossing them occasionally. This creates a lovely interwoven effect. Remember to step back frequently to assess your progress and make adjustments.
Step 6: Integrate the Tucked Method for Texture
For a fuller, more textural look, especially if you have a dense tree, incorporate the tucked method. Cut shorter pieces of ribbon, typically 12-24 inches long. These pieces don’t drape; instead, they “burst” from within the tree.
Take a shorter piece of ribbon and push one end deep into the tree, securing it to a branch. Let the other end fan out or curl slightly. Repeat this with other short pieces, filling in any bare spots or adding pops of color.
Pro Tip: Use the tucked method to highlight specific areas or to add a different ribbon type. A contrasting color or texture can truly pop when used in shorter, deliberate bursts.
Step 7: Fill in Gaps and Refine
Once you’ve completed the main ribbon application, take a step back and examine your tree from all angles. Look for any areas that appear sparse or where the ribbon flow seems interrupted. This is your chance to refine.
Add smaller lengths of ribbon, either cascading or tucked, to fill in these gaps. Adjust any existing ribbons, fluffing them out or repositioning them to create a more balanced and harmonious look. Your goal is a cohesive, inviting appearance.
Step 8: Add Bows or Embellishments (Optional)
To elevate your ribbon design, consider adding handmade bows or other ribbon embellishments. Large, multi-loop bows can be strategically placed at key points where ribbons intersect or at the top of the tree. Smaller bows can accent individual branches.
You can also create simple ribbon curls by wrapping thin ribbon around a pencil and letting it spring free. These little details add a sophisticated touch and a touch of whimsy. Secure bows with floral wire.
Step 9: Final Flourishes and Enjoy
With your ribbons beautifully placed, you can now add your ornaments. Hang them carefully, ensuring they don’t flatten your ribbon work. The ribbon provides a wonderful backdrop, making your ornaments stand out even more.
Step back, turn on the lights, and admire your handiwork. The warmth and charm that ribbon brings to a tree are undeniable. Settle in with a warm drink and enjoy the cozy ambiance you’ve created.
Common Mistakes to Avoid
Using Unwired Ribbon for Cascading
Unwired ribbon, while beautiful, struggles to hold its shape when draped. It tends to hang limp and flat, losing the voluminous, elegant curves you want to achieve. This can make your tree look less dynamic and more messy.
Always opt for wired ribbon, especially for the cascading method. The wire edges allow you to mold and shape the ribbon, creating those beautiful, full loops that stay exactly where you want them, adding incredible depth and dimension.
Over-stuffing the Tree with Ribbon
While ribbon adds fullness, using too much can overwhelm your tree and detract from its other decorations. An overly “ribboned” tree can look cluttered and lose its charm, making it difficult to appreciate individual ornaments.
Aim for balance. The ribbon should enhance the tree, not dominate it. Use enough to create a flowing pattern and fill gaps, but leave plenty of space for your beloved ornaments and the natural beauty of the branches to shine through.
Ignoring the Tree’s Shape
Every tree has its own unique silhouette, and ignoring this can lead to an awkward ribbon display. Trying to force a uniform pattern on an asymmetrical tree, for example, can look unnatural and detract from its character.
Work with your tree’s natural shape. Let the ribbon follow its contours, highlighting its best features. Embrace any unique characteristics, using the ribbon to create a harmonious flow that complements the tree’s individual personality.
Cutting Ribbon Pieces Too Short Initially
It’s tempting to cut many short pieces, but this can limit your design options, especially for the cascading method. Short pieces prevent you from creating those long, graceful drapes that give the tree an elegant, flowing appearance.
Start with longer lengths of ribbon, several feet long, especially for your main cascading pieces. You can always trim them shorter later if needed, but you can’t add length once it’s cut. This gives you maximum flexibility to experiment with different drape sizes.
Troubleshooting
Ribbon Looks Flat or Lifeless
If your ribbon isn’t looking as full and vibrant as you’d hoped, it might be due to a lack of shaping or insufficient tucking. Flat ribbon often indicates it hasn’t been properly fluffed or secured to create depth.
To fix this, gently pull the edges of your wired ribbon to expand it and give it more body. Push sections of the ribbon deeper into the tree, then pull it out again to create a more dynamic, undulating effect. Ensure your securing points are hidden and holding the shape.
Ribbon Keep Falling Off
Ribbon that repeatedly detaches from branches is frustrating and usually a sign that it’s not securely anchored. This can happen if the floral wire is too loose or if the branch itself isn’t strong enough to hold the ribbon’s weight.
Make sure to twist your floral wire or pipe cleaner tightly around both the ribbon and a sturdy branch. Don’t just loop it; truly secure it. If a branch seems too weak, try anchoring to a thicker branch nearby or reinforcing the weak branch with another wire.
Uneven Ribbon Distribution
Sometimes, after stepping back, you might notice that one side of the tree looks much fuller with ribbon than the other. This uneven distribution can make the tree look unbalanced and less appealing.
The best way to address this is to work slowly and step back frequently during the decorating process. If you notice an imbalance, gently remove some ribbon from the fuller side and re-distribute it to the sparser areas. Use shorter, tucked pieces to fill small gaps and create a more even spread.
Key Takeaways
- Wired Ribbon is Your Best Friend: It holds its shape beautifully and is easy to manipulate.
- Start with the Cascading Method: Create flowing drapes first, then fill in with shorter pieces.
- Secure Your Ribbon Firmly: Use floral wire or pipe cleaners to prevent slippage.
- Step Back Often: Regularly assess your work from a distance to ensure balance and flow.
- Mix Widths and Textures: Combine different ribbons for a rich, layered look.
- Don’t Overdo It: Ribbon should enhance your tree, not overwhelm it.
Frequently Asked Questions
How much ribbon do I need for a 7-foot tree?
For a 7-foot tree, a good estimate is between 63 to 84 feet of ribbon, depending on how full you want the look to be. This allows for generous draping and some tucked pieces. It’s always better to have a little extra than to run out midway.
Can I use multiple types of ribbon?
Absolutely! Using multiple types of ribbon, such as a wide patterned ribbon with a narrower solid one, or mixing textures like velvet and satin, adds incredible depth and visual interest to your tree. Just ensure their colors and styles complement each other.
Should I put ribbon on before or after ornaments?
It’s generally best to put ribbon on after the lights but before most of your ornaments. This allows the ribbon to settle deep into the branches and flow naturally. You can then strategically place ornaments around the ribbon without flattening it.
How do I store ribbon after Christmas?
To keep your ribbon in good condition for next year, gently remove it from the tree. Roll longer pieces onto cardboard spools or empty paper towel rolls to prevent creasing. Store shorter pieces in clear containers, ensuring they are clean and dry before packing away.
Our Top Recommended Finds
- High-Quality Wired Ribbon Assortment: Look for sets that offer varying widths and complementary colors. This gives you flexibility and a cohesive look.
- Thin Floral Wire on a Spool: Essential for securely anchoring your ribbon without being visible. It’s easy to cut and strong enough for the job.
- Ergonomic Craft Scissors: A sharp, comfortable pair of scissors makes cutting ribbon a breeze and prevents frayed edges.
Embrace Your Inner Decorator This Season
There’s something incredibly satisfying about stepping back and admiring a Christmas tree that truly reflects your style and warmth. Adding ribbon isn’t just a decorating step; it’s an act of creating beauty and comfort in your home. It’s about crafting those cherished holiday memories.
Don’t hesitate to experiment with different colors, textures, and patterns. Your tree is a canvas, and the ribbon is your brush, painting a picture of festive joy. So, gather your supplies, put on some holiday music, and let your creativity flow. You’ll be amazed at the cozy, inviting masterpiece you create.