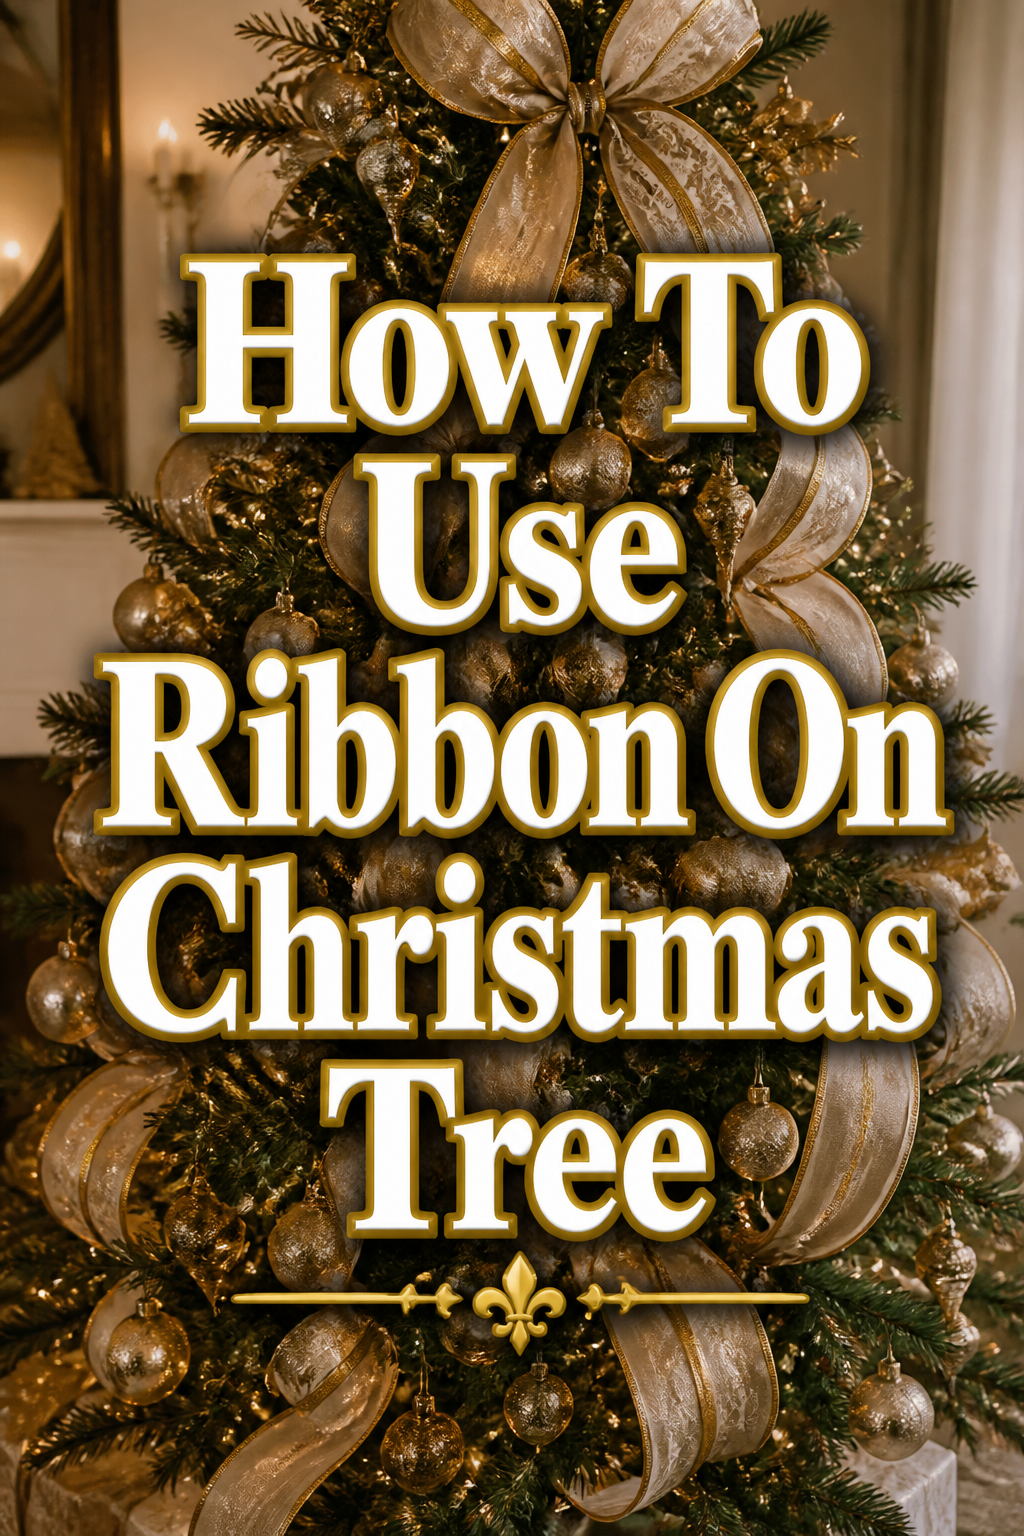
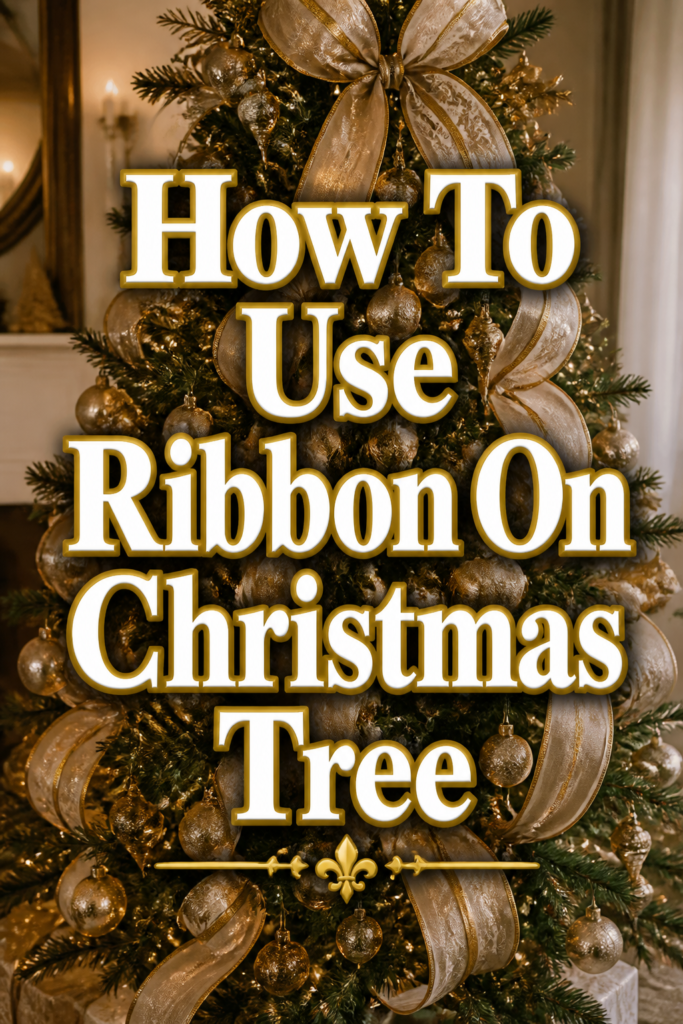
✨ How To Use Ribbon On Christmas Tree
There’s a special kind of magic that unfolds when you adorn your Christmas tree with flowing ribbons.
I remember my first attempt, a tangled mess, until I discovered the simple techniques that transform a tree into a showstopper.
This guide shares those secrets, helping you create a cozy, beautifully designed centerpiece for your holiday home.
Quick Overview
You’re about to learn how to weave beautiful ribbons into your Christmas tree, adding depth, texture, and a touch of professional elegance. We’ll cover everything from choosing your ribbon to perfecting its placement.
- Time needed: 1-3 hours (depending on tree size and detail)
- Difficulty: Beginner
- What you’ll need: Assorted ribbons, floral wire or pipe cleaners, scissors, a step stool or ladder
Step-by-Step Instructions
Step 1: Gather Your Ribbons and Inspiration
Begin by selecting ribbons that complement your existing Christmas decor and room aesthetic. Think about the colors already present in your ornaments and lighting.
Consider your desired style. A rustic look might use burlap and plaid, while an elegant tree could feature velvet and metallic sheer ribbons.
Choose a variety of widths and textures. Combining a wide, structured ribbon with a narrower, more delicate one creates visual interest and depth.
Aim for at least two different styles or colors of ribbon for a dynamic display. You might even pick three for a truly layered effect.
Pro Tip: Lay out your chosen ribbons on a table. This helps you visualize how they will look together before you even touch the tree. You can easily swap out options this way.
Step 2: Prepare Your Tree
Ensure your Christmas tree is fully assembled and securely standing. All lights should be in place and tested.
Fluff every branch thoroughly. This creates a full canvas for your ribbon work and helps hide any gaps.
Clear the area around the tree, giving yourself ample space to move and step back to assess your progress.
Have your floral wire or pipe cleaners cut into small, manageable pieces, about 4-6 inches long. These will be your hidden anchors.
Step 3: Decide on Your Ribbon Application Style
Visualize how you want the ribbon to flow. There are several popular methods, each creating a unique look.
Consider a vertical cascade, where ribbons drape downwards from top to bottom. This creates long, elegant lines.
Think about a spiraling wrap, where the ribbon winds around the tree, reminiscent of a garland. This adds continuous movement.
Experiment with tucking and looping, pushing sections of ribbon deep into the branches. This gives the illusion of the ribbon emerging naturally from within the tree.
Choose the method that best suits your tree’s shape and your design vision. For a first-timer, a combination of tucking and vertical cascades is often easiest.
Step 4: Start with Your Primary Ribbon (The Foundation)
Select your widest or most dominant ribbon to start. This will be the foundation of your ribbon design.
Begin at the top of the tree, near the trunk. Don’t start at the very tip, but a few inches down where branches are more substantial.
Gather a section of ribbon, about 8-12 inches long, and push it deep into the tree, securing it to a branch with a piece of floral wire. Twist the wire tightly.
Let the ribbon drape naturally. Create a soft “C” or “S” curve as it falls.
Measure about 12-18 inches down, then gather another section of ribbon. Push this section into the tree, securing it again with wire to a branch.
Repeat this process, working your way down the tree in vertical sections. Vary the length of your drapes slightly for a more organic look.
Create multiple vertical lines around the tree. Imagine dividing your tree into 4-6 sections and applying ribbon in each.
Trim the end of each ribbon section with a diagonal or “V” cut for a professional finish. These ends should ideally tuck into branches or hang gracefully.
Step 5: Incorporate Your Secondary Ribbons
Introduce your narrower or complementary ribbons next. These will add layers and texture to your primary ribbon.
Mirror the flow of your primary ribbon. For example, if your first ribbon is cascading vertically, follow a similar path.
Layer the secondary ribbon slightly over or alongside the primary one. This creates a cohesive, rich look.
Use the same tucking and securing method with floral wire. Ensure the wire is hidden deep within the branches.
Vary the starting and ending points slightly from your primary ribbon. This prevents a stiff, overly uniform appearance.
Allow some sections of the secondary ribbon to peek out from behind the primary, and vice versa. This interplay of textures is visually appealing.
Step 6: Create Loops and Puffs for Volume
Add dimension by creating soft loops and puffs. This technique gives the ribbon a fuller, more luxurious feel.
Take a section of ribbon and form a loose loop, about 6-8 inches in length. Pinch the base of the loop.
Secure the pinched base deep within a branch using floral wire. The loop should gently spring out from the tree.
Make these loops in various spots around the tree, particularly in areas that feel a bit sparse.
Consider creating small “puffs” by gathering a short section of ribbon, twisting it, and securing it into a branch. This creates a fluffy, gathered look.
Mix these loops and puffs with your cascading ribbons. They break up the straight lines and add organic movement.
Distribute them evenly, but not symmetrically. Random placement often looks more natural and appealing.
Step 7: Step Back and Refine Your Design
Periodically step away from the tree to view your work from a distance. This helps you identify any unbalanced areas.
Look for areas where ribbon might be too concentrated or too sparse. Adjust as needed by adding more tucks or pulling sections out slightly.
Ensure the ribbon flows smoothly. Gently reshape any stiff or awkwardly placed sections.
Check for visible wires. Carefully push them deeper into the branches to conceal them completely.
Assess the overall aesthetic. Does it feel cozy? Elegant? Does it match your room’s design?
Make small adjustments until you are happy with the visual balance and flow of the ribbons.
Step 8: Add Ornaments and Final Touches
Hang your ornaments, placing them strategically around and within the ribbon design. The ribbon should act as a backdrop, enhancing the ornaments.
Tuck smaller ornaments into the loops or behind the cascades of ribbon. This creates depth and integrates the elements.
Ensure your ornaments don’t obscure too much of the ribbon’s beauty. Let both elements shine.
Consider adding a few decorative picks or sprigs that complement your ribbon colors. These can be tucked into branches near ribbon sections.
Finally, illuminate your tree and admire your beautiful, ribbon-adorned creation. The light will highlight the textures and colors of your chosen ribbons.
Common Mistakes to Avoid
Using Too Much Ribbon of the Same Type
Relying solely on one type of ribbon can make your tree look flat and uninspired. It lacks the visual interest that different widths and textures provide.
Instead, choose at least two, preferably three, different ribbons. Mix widths, patterns, and materials like velvet, sheer, or wired plaid. This layering creates depth and a more luxurious feel.
Failing to Secure the Ribbon Properly
Loose ribbon that slips and slides will quickly ruin your festive display. Gravity is not your friend when it comes to tree decorating.
Always secure your ribbon sections with floral wire or pipe cleaners twisted tightly around a sturdy branch. Tuck the wire ends deep into the tree so they are invisible. This ensures your beautiful arrangement stays put throughout the season.
Placing Ribbon Only on the Outer Tips of Branches
If ribbon only sits on the very tips of your branches, it can look tacked on and disconnected from the tree. It doesn’t integrate into the overall design.
Push sections of ribbon deep into the tree, close to the trunk, then let it emerge and drape outwards. This technique makes the ribbon appear as if it’s naturally flowing through the tree, adding fullness and dimension from within.
Cutting Ribbon Sections Too Short
Using many small, choppy pieces of ribbon can create a disjointed and cluttered look. It breaks up the flow and elegance you’re trying to achieve.
Work with longer sections of ribbon. Aim for drapes of 12-18 inches between tuck-in points. This allows for graceful curves and a more fluid, continuous movement that truly elevates the tree’s appearance.
Troubleshooting
Ribbon Looks Flat and Lifeless
If your ribbon isn’t standing out or appears to be just lying flat against the branches, it’s often due to lack of dimension. The ribbon isn’t interacting with the tree’s depth.
To fix this, go back and create more loops and puffs. Pinch and secure sections of ribbon into small, outward-facing loops. Also, ensure you’re pushing the ribbon deep into the tree at various points, allowing it to emerge rather than just resting on the surface. Wired ribbon is particularly helpful for holding shape.
Ribbon Keeps Slipping Down
A common frustration is ribbon that refuses to stay in place, sliding down branches or unraveling. This typically happens when it’s not adequately secured or the anchors are too weak.
Reinforce your anchor points. Use stronger floral wire and twist it more tightly around a thicker branch. For heavier ribbons, consider doubling up on the wire at crucial points. Ensure the wire is twisted around the ribbon itself, not just holding it against a branch.
Color Scheme Feels Overwhelming or Cluttered
Sometimes, after adding ribbons, the tree can feel too busy or the colors clash. This suggests an imbalance in your ribbon choices or their distribution.
Step back and identify the dominant colors. If there are too many competing elements, remove one of the ribbons. Simplify your palette to two primary ribbons and one accent. Distribute the ribbons more evenly, creating clear lines and allowing space between different types of ribbon so each can be appreciated.
Key Takeaways
- Vary Your Ribbons: Combine different widths, textures, and patterns for a rich, dynamic look.
- Secure Properly: Always use floral wire or pipe cleaners to firmly attach ribbon sections to branches.
- Integrate Deeply: Push ribbon sections into the tree’s interior for a natural, flowing appearance, not just on the tips.
- Create Dimension: Use loops, puffs, and varying drape lengths to add volume and movement to your ribbon design.
- Step Back and Adjust: Regularly view your tree from a distance to ensure balance and make necessary refinements.
- Complement Ornaments: Let ribbons enhance your ornaments, not compete with or hide them; they should work together.
Frequently Asked Questions
How much ribbon do I need for my tree?
A good rule of thumb is 9 feet of ribbon per foot of tree height for a moderate application. So, a 7-foot tree would need about 63 feet of ribbon. If you’re going for a very full, luxurious look with multiple ribbons, you might need closer to 12-15 feet per foot of tree.
Should I use wired or unwired ribbon?
Wired ribbon is highly recommended, especially for beginners. Its edges contain thin wire, allowing you to shape, curl, and manipulate it easily. This helps the ribbon hold its form and creates beautiful volume. Unwired ribbon is softer but much harder to control and tends to lie flat.
When should I put the ribbon on the tree?
Ribbon is typically applied after the lights are on and tested, but before you hang your ornaments. This allows the ribbon to form the foundational design element, and then you can strategically place ornaments around and within it, ensuring nothing is hidden.
Can I mix different ribbon patterns?
Absolutely! Mixing patterns adds visual interest and character. The trick is to choose patterns that share a common color or theme. For example, a wide plaid ribbon can pair beautifully with a narrower solid velvet ribbon in one of the plaid’s colors, or a sheer metallic ribbon for sparkle.
Our Top Recommended Finds
- Wired Velvet Ribbon: Offers a luxurious texture and holds shape beautifully for elegant cascades and loops.
- Sheer Metallic Ribbon: Adds a delicate sparkle and lightness, perfect for layering with heavier ribbons.
- Green Floral Wire: Essential for securing ribbons discreetly, blending in with the tree’s foliage.
Crafting Your Holiday Masterpiece
You now have the tools and techniques to transform your Christmas tree into a stunning focal point. Imagine the cozy glow, the elegant lines of ribbon, and the joy it will bring.
Don’t wait for next year. Gather your ribbons, put on some festive music, and start creating your own holiday masterpiece today.
Embrace the process, enjoy the transformation, and let your tree reflect the warmth and beauty of your home this season.