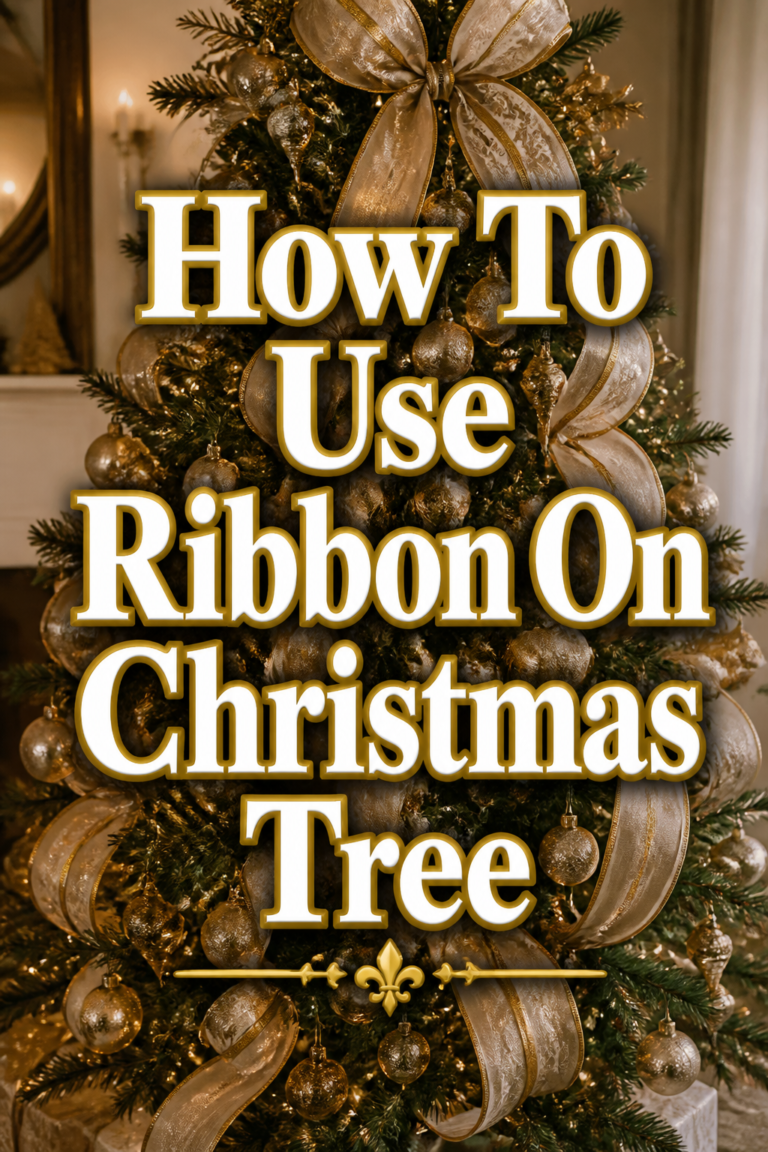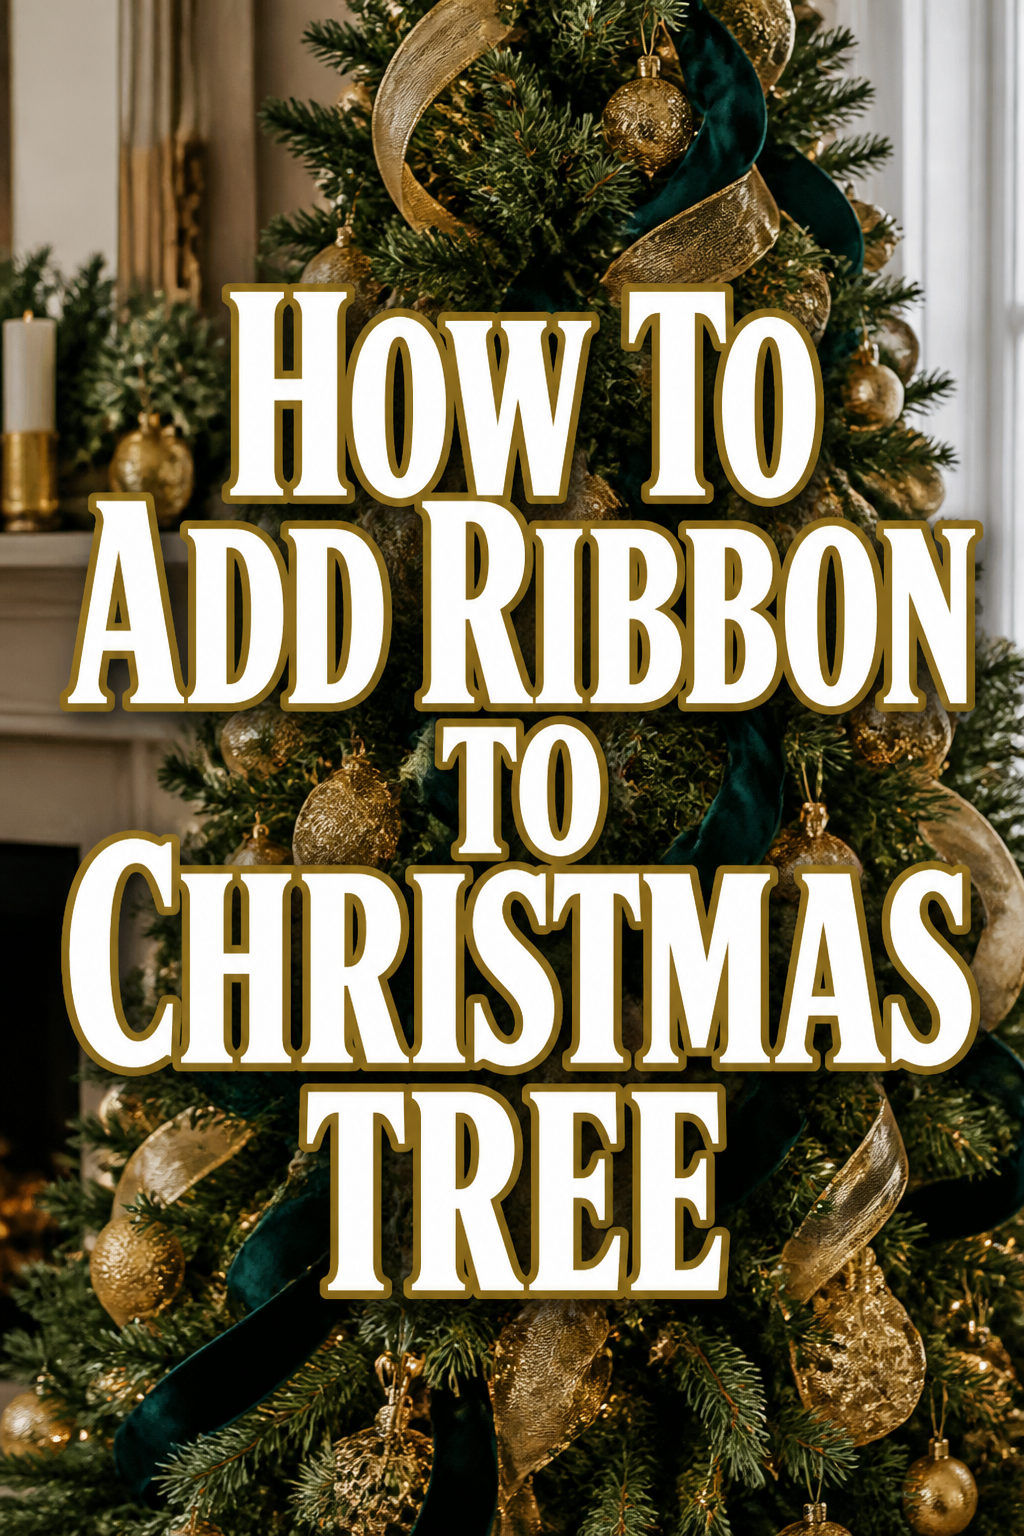
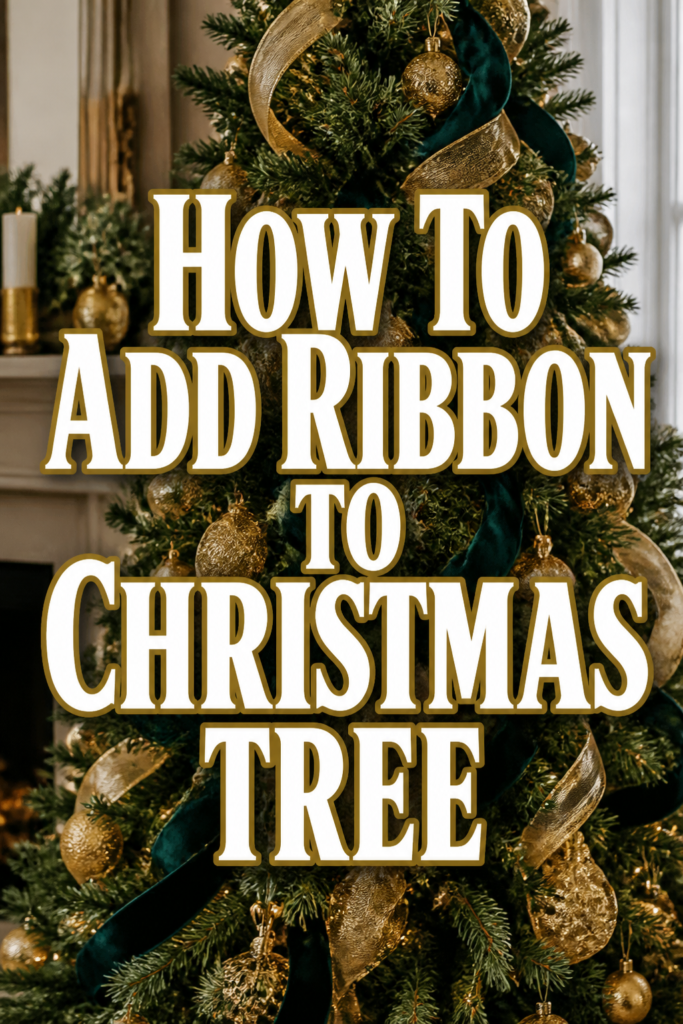
🎄 How To Add Ribbon To Christmas Tree
There’s a special kind of magic that settles over your home when the Christmas tree goes up. It becomes the heart of your festive decor, radiating warmth and joy.
Adding ribbon is a simple yet transformative step that elevates your tree from lovely to truly breathtaking. I remember my first attempt, a tangled mess, but over the years, I’ve discovered the secrets to a beautifully draped tree that feels straight out of a holiday magazine.
This guide shares those insights, helping you create a cozy, elegant centerpiece for your celebrations.
Quick Overview
Transform your Christmas tree into a stunning focal point with beautifully draped ribbons. You’ll learn how to choose the right styles, apply them with flair, and create a cohesive, inviting aesthetic.
- Time needed: 1-2 hours (depending on tree size and detail)
- Difficulty: Beginner
- What you’ll need: Various ribbons, floral wire or pipe cleaners, scissors, a step stool or ladder
Step-by-Step Instructions
Step 1: Gather Your Inspiration and Supplies
Before you even touch your tree, take a moment to envision your desired look. Scroll through Pinterest, flip through magazines, or simply close your eyes and imagine the perfect festive scene in your living room. This helps define your aesthetic.
Consider your existing room decor and color palette. Do you want a traditional look with deep reds and greens, or a modern, monochromatic scheme with silvers and whites? Your ribbon choice should complement your home’s overall design.
Gather all your ribbons, floral wire (or pipe cleaners cut into small pieces), and sharp scissors. Having everything at hand makes the process smoother and more enjoyable.
Pro Tip: Lay out all your chosen ribbons on a flat surface to see how they interact. This helps you confirm your color and texture combinations before you start.
Step 2: Fluff Your Tree and Add Lights
A well-fluffed tree provides the perfect canvas for your ribbons. Gently separate and spread out each branch, filling in any gaps to create a full, natural shape. This step is crucial for both artificial and real trees.
Once your tree is fluffed, it’s time to add your lights. Weave them evenly from the trunk outwards, ensuring a warm glow emanates from within the branches. The lights should be on and tested before you add any decorations.
Ribbons will sit beautifully over the lights, creating depth and highlighting their sparkle. A solid base makes all the difference for a stunning final display.
Step 3: Choose Your Ribbon Styles and Widths
Variety in your ribbon selection adds visual interest and dimension. Aim for at least two to three different styles or widths to create a dynamic look. Think about mixing textures and patterns.
A wide, wired ribbon (2.5-4 inches) makes a strong statement and forms the foundation of your design. This ribbon holds its shape well, making it ideal for dramatic drapes and loops.
Supplement your wide ribbon with a narrower, perhaps glittery or patterned, ribbon (1-1.5 inches). This adds delicate accents and subtle sparkle, filling in smaller spaces and complementing the main design.
Pro Tip: Wired ribbon is your best friend for tree decorating. It allows you to shape and mold it exactly how you want, holding those beautiful curves and loops in place.
Step 4: Start with Your Main, Wide Ribbon
Begin at the top of your tree, near the trunk. Take one end of your wide, wired ribbon and secure it to a branch using a small piece of floral wire or a pipe cleaner. Twist it tightly around both the ribbon and the branch to ensure it’s firmly anchored.
Allow the ribbon to cascade down the tree in gentle, sweeping curves. Think of it as creating elegant, soft swags or spirals. Don’t pull it too taut; a little slack creates a beautiful, natural drape.
As you move down, tuck the ribbon deeper into the branches at various points, creating depth. Secure it again with floral wire every 18-24 inches, or wherever you want to change its direction or create a new “tuck.”
Step 5: Create Vertical Drapes and Spirals
For a classic, elegant look, create vertical drapes. Start at the top, securing your ribbon, then let it fall in a straight line or a gentle spiral down to the bottom. Tuck and secure it every foot or so, letting it billow out slightly between anchor points.
To add more movement, try a spiraling effect. Begin at the top and weave the ribbon around the tree, working your way down in a continuous, flowing motion. This creates a sense of dynamic energy.
Vary the angle and tightness of your spirals. Some sections can be tighter to hug the tree, while others can be looser, forming graceful, wide curves.
Pro Tip: Step back frequently to assess your progress. This helps you identify areas that need more ribbon or adjustments to ensure balance and symmetry across the tree.
Step 6: Add Shorter Pieces and Loops
Beyond continuous strands, shorter pieces of ribbon can add wonderful texture. Cut ribbons into 18-24 inch lengths and tuck them into the tree, letting the ends curl out. This creates a fuller, more layered look.
You can also create elegant loops or “tails” with these shorter pieces. Form a loop, secure its base to a branch with wire, and let the ends trail downwards. This adds softness and movement.
Experiment with different placements: some loops can be deep within the branches, while others can sit closer to the surface. This variety makes the tree feel richer and more inviting.
Step 7: Incorporate Your Secondary Ribbons
Now, bring in your narrower or complementary ribbons. These are perfect for adding finer details and breaking up the larger ribbon sections. Weave them through the tree in a similar fashion to your main ribbon, but with a lighter touch.
Use your secondary ribbons to fill in smaller gaps or to accent specific areas. They can run parallel to your wide ribbon, cross over it, or simply be tucked into empty spots. This layering creates visual richness.
Consider using these ribbons to create smaller bows or cascades that spill out from key points on the tree. Their delicate nature makes them ideal for intricate embellishments.
Step 8: Fluff and Adjust Your Ribbons
Once all your ribbons are in place, take a final walk around your tree. Gently fluff out any crushed sections of ribbon, ensuring they look full and vibrant. Adjust any drapes that seem too tight or too loose.
Shape the wired ribbons to create beautiful curves and volume. You can bend them outwards to give them more presence or tuck them slightly inwards for a more integrated look. This final touch makes a huge difference.
Ensure the ribbons are evenly distributed, creating a harmonious and balanced design from every angle. Your goal is a tree that feels inviting and beautifully adorned.
Common Mistakes to Avoid
Using Too Much Ribbon of the Same Style
Relying on only one type or width of ribbon can make your tree look flat and uninspired. A single style lacks the visual depth and interest that makes a tree truly captivating.
Instead, mix it up! Combine wide, textured ribbons with narrower, shimmering ones. Introduce a patterned ribbon alongside a solid color to create a dynamic and rich display.
Pulling Ribbons Too Taut
When ribbons are pulled tightly around the tree, they lose their natural flow and elegance. This creates a stiff, rigid appearance that detracts from the cozy, inviting aesthetic you want to achieve.
Allow your ribbons to drape gently, creating soft swags and billows. Give them room to breathe and curve naturally between anchor points. This relaxed approach lends itself to a much more luxurious look.
Forgetting to Secure Ribbons Properly
Ribbons that aren’t firmly attached will slip, sag, and eventually fall off the tree. This leads to a messy and frustrating experience, ruining your carefully crafted design.
Always use floral wire or pipe cleaners to secure your ribbons to the branches, especially at the start, end, and at regular intervals along their length. A few extra seconds of securing will save you headaches later.
Not Considering the Tree’s Shape and Size
Trying to force a specific ribbon style onto a tree that doesn’t suit it can lead to an unbalanced look. A very wide ribbon on a small, sparse tree can overwhelm it, while narrow ribbons might disappear on a grand, full tree.
Choose ribbon widths and drapes that complement your tree’s proportions. Match your design to the tree’s natural form, allowing the ribbons to enhance its shape, not fight against it.
Troubleshooting
Ribbons Keep Slipping Down
If your ribbons aren’t staying in place, they likely aren’t secured firmly enough. The weight of the ribbon can cause it to slide down branches, especially if they are smooth.
Revisit your anchoring points. Use stronger floral wire or twist pipe cleaners more tightly around both the ribbon and a sturdy branch. For heavy ribbons, use multiple anchor points close together.
Tree Looks Too Busy or Overwhelmed
Sometimes, a generous application of ribbon can feel like too much, making the tree lose its sparkle. This often happens when too many different patterns or colors compete for attention.
Take a step back and identify the dominant ribbon. Consider removing one or two of the less impactful ribbon styles to simplify the design. Less can often be more, allowing each element to shine.
Ribbons Look Flat and Lack Dimension
If your ribbons are lying flat against the branches, your tree might lack the desired depth and visual interest. This can make the display appear one-dimensional and less inviting.
Gently fluff and shape your wired ribbons. Pull them slightly forward from the branches, creating loops and billows that add volume. Tuck some sections deeper into the tree while others sit closer to the surface, creating layers.
Key Takeaways
- Fluff your tree and add lights first: This creates the perfect foundation for your ribbons.
- Mix ribbon widths and textures: Combine wide, wired ribbons with narrower, complementary ones for visual interest.
- Secure ribbons firmly: Use floral wire or pipe cleaners to prevent slipping and maintain your design.
- Drape, don’t pull: Allow ribbons to flow in gentle curves and swags for an elegant, natural look.
- Step back and adjust: Regularly assess your tree from a distance to ensure balance and harmony.
- Embrace variety: Use both continuous strands and shorter pieces to add depth and dimension.
Frequently Asked Questions
How much ribbon do I need for my tree?
A good rule of thumb is 9 feet of ribbon per foot of tree height. So, for a 7-foot tree, you’d want around 63 feet of ribbon. If you’re using multiple types, divide this total among your chosen ribbons.
Should I put ribbon on before or after ornaments?
It’s generally best to add ribbon before your ornaments. The ribbon creates a beautiful backdrop and structural element, allowing you to place ornaments around and within its drapes for a cohesive look.
What kind of ribbon is best for a Christmas tree?
Wired ribbon is highly recommended. Its edges contain a thin wire that allows you to shape and mold it, helping it hold its form beautifully on the tree. Velvet, burlap, satin, and sheer organza are popular material choices.
Can I use more than one color of ribbon?
Absolutely! Using two or three complementary colors or shades can add incredible depth and sophistication to your tree. Just ensure your chosen colors work well together and fit your overall design aesthetic.
Our Top Recommended Finds
- High-Quality Wired Velvet Ribbon: Perfect for creating luxurious, rich drapes that hold their shape beautifully. It adds a touch of classic elegance.
- Sheer Glitter Organza Ribbon: This delicate ribbon adds a magical sparkle and ethereal quality, perfect for layering with heavier textures. It catches the light wonderfully.
- Floral Wire Spool: An absolute essential for securing ribbons discreetly and effectively. It blends in and ensures your design stays put.
Embrace the Art of Festive Decor
There’s a unique joy in crafting a Christmas tree that truly reflects your personal style. Adding ribbon is more than just decorating; it’s about weaving warmth and character into your holiday home. It transforms a simple evergreen into a beacon of festive charm.
Don’t let the idea of perfection hold you back. The most beautiful trees are often those that feel lovingly handmade and thoughtfully adorned. Grab your ribbons, put on some festive music, and start creating your stunning centerpiece today. Your cozy, elegant Christmas awaits.