🌱 How To Hide Air Conditioner Unit Outside
That large, humming air conditioner unit can really detract from your beautiful outdoor living space.
I remember staring at my own unit, feeling it ruined the cozy patio vibe I worked so hard to create.
Having explored many solutions, I’m excited to share practical, aesthetically pleasing ways to blend it seamlessly into your home’s exterior.
Quick Overview
Transforming your outdoor space by artfully concealing your AC unit is a rewarding project.
You’ll create a more inviting environment while ensuring your unit functions perfectly.
- Time needed: 3-8 hours (depending on complexity)
- Difficulty: Intermediate
- What you’ll need: Measuring tape, safety glasses, gloves, basic hand tools, chosen materials (wood, plants, fasteners).
Step-by-Step Instructions
Step 1: Assess Your Space and Unit
Look at your AC unit from all angles in your yard. Note its exact dimensions: height, width, and depth.
Measure the surrounding area. Think about how much space you have available for a screen or planting without feeling cramped.
Consider the unit’s clearances. AC units need specific amounts of open space around them for proper airflow, often 12-24 inches on all sides and above. Check your unit’s manual for precise recommendations.
Observe the sun’s path and prevailing winds. This helps in choosing plants or materials that will thrive and won’t hinder air circulation.
Pro Tip: Always prioritize airflow. Restricting it can cause your unit to work harder, consume more energy, and potentially shorten its lifespan.
Step 2: Choose Your Hiding Method
Select a method that complements your home’s aesthetic and your personal style. Do you love natural elements or a more structured look?
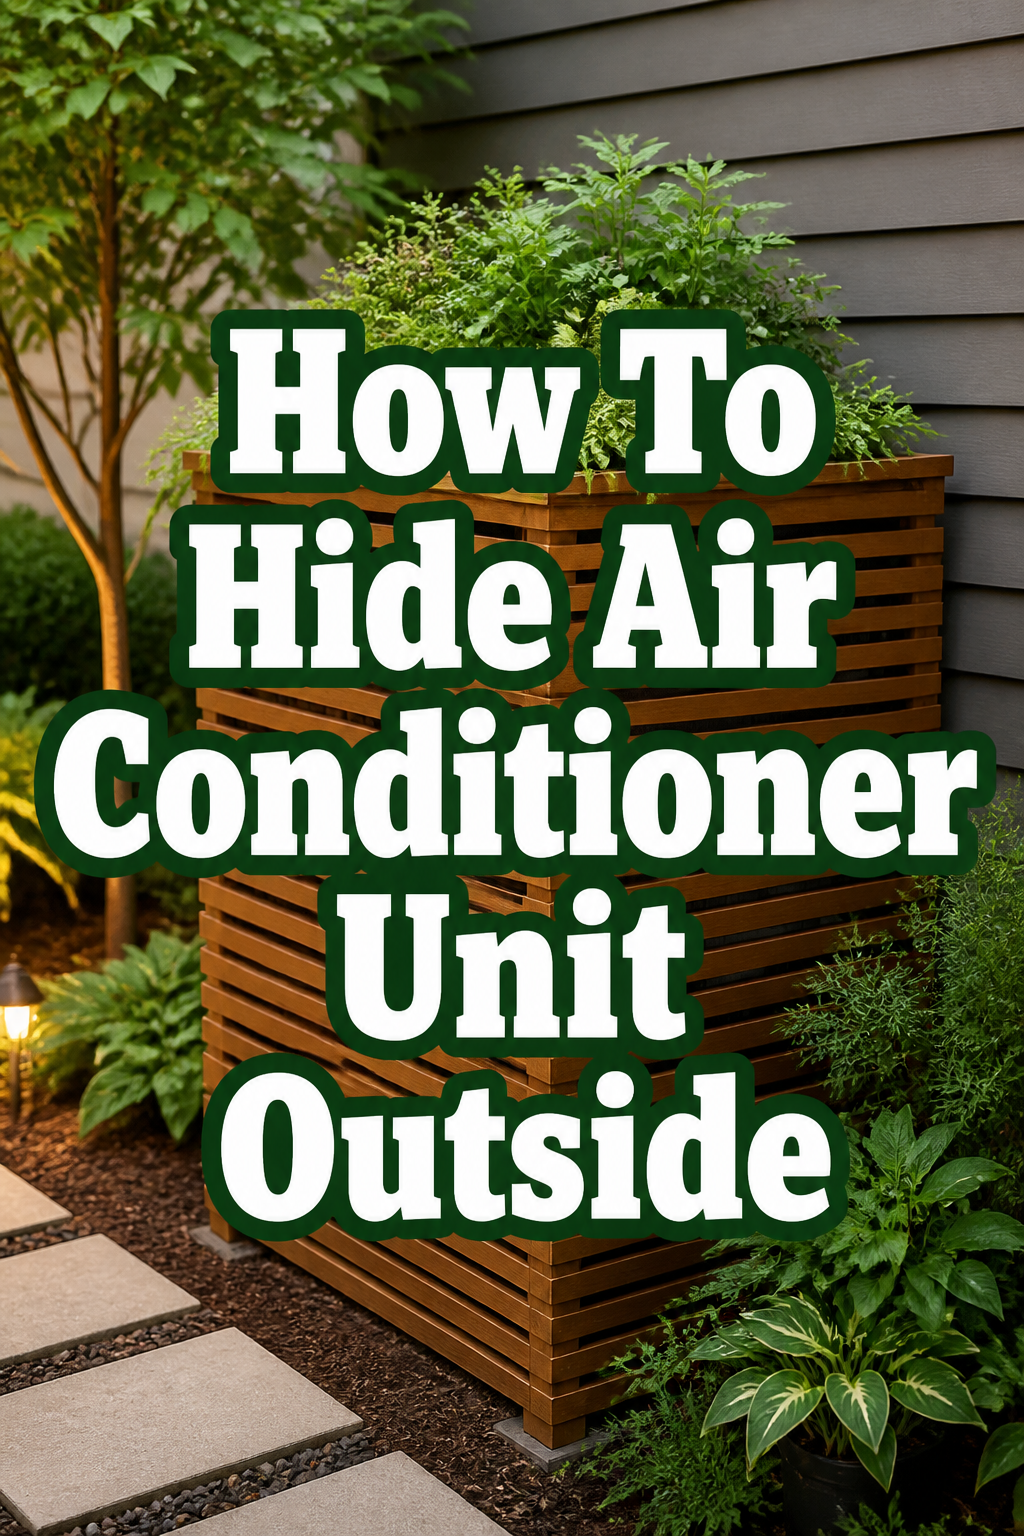
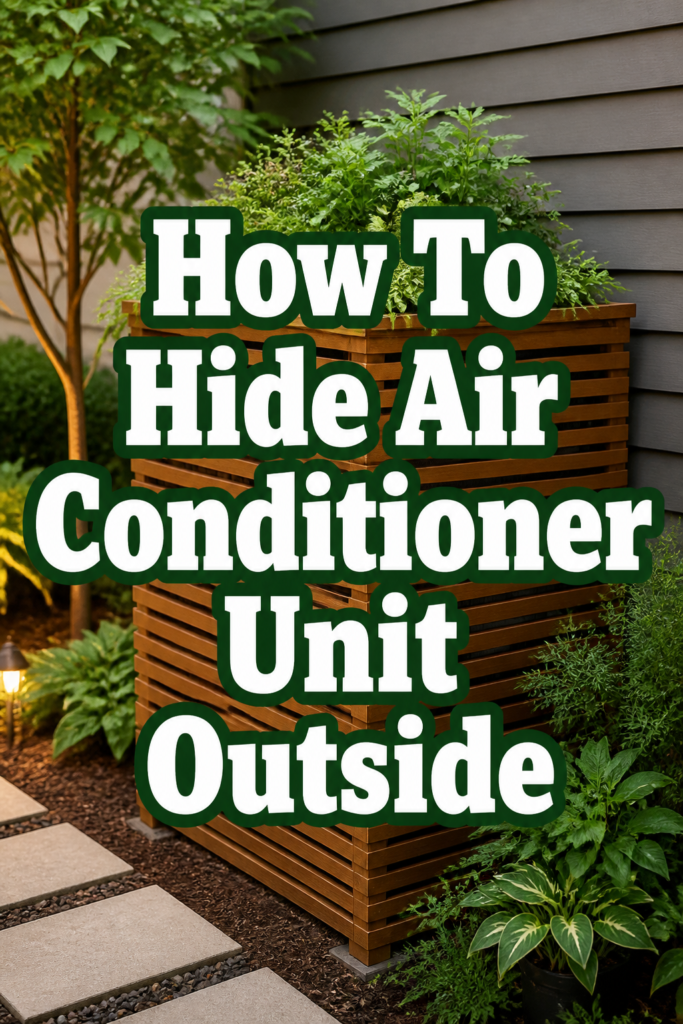
Consider a slatted wood screen for a modern, clean feel. These are versatile and can be stained to match your home.
Think about decorative metal panels for a contemporary touch. Many designs offer excellent airflow and visual appeal.
Explore living screens using strategically placed planters or climbing plants on a trellis. This brings lush greenery to the space.
Imagine a small, custom-built pergola or arbor that incorporates the unit. This can become a beautiful focal point.
Step 3: Gather Your Materials and Tools
Create a detailed shopping list based on your chosen method. This prevents multiple trips to the store.
Purchase weather-resistant materials. Cedar, redwood, pressure-treated lumber, composite decking, or powder-coated metals are excellent choices for longevity.
Acquire appropriate fasteners. Stainless steel screws or galvanized hardware will resist rust and corrosion outdoors.
Ensure you have essential tools. A drill, saw, level, measuring tape, and safety gear are usually sufficient for most projects.
Collect any plants, planters, or gardening tools if you’re opting for a living screen.
Step 4: Prepare the Area
Clear away any debris, weeds, or existing clutter around the AC unit. A clean slate makes the project easier.
Level the ground where your screen or structure will stand. Use a shovel or rake to even out the soil or add gravel for a stable base.
Mark the precise locations for your posts or screen panels. Use stakes and string to visualize the footprint and ensure it meets clearance requirements.
Remove any obstacles that might interfere with your construction, such as loose rocks or overgrown bushes.
Step 5: Build or Install Your Structure
Construct your screen or enclosure with careful attention to detail. If building a slatted screen, cut your vertical posts and horizontal slats to size.
Dig post holes if your design requires them. Ensure they are deep enough for stability, typically 18-24 inches, and use concrete for a firm foundation.
Assemble the panels. Attach slats evenly spaced, ensuring gaps are wide enough for airflow (at least 1-2 inches for horizontal slats). Remember to leave one side easily removable or hinged for maintenance access.
Secure your structure firmly to the ground or to existing fence posts if applicable. Use your level frequently to ensure everything is plumb and straight.
Follow manufacturer instructions precisely if you are installing a pre-made cover or panel system.
Step 6: Add Greenery and Embellishments
Enhance your new AC cover with beautiful plants. Choose varieties that thrive in your climate and sun exposure.
Plant low-growing shrubs or perennials around the base of the screen, leaving ample space from the unit itself. Think about plants that offer year-round interest.
Integrate climbing vines on a trellis panel, ensuring they are guided away from the unit. Consider fragrant options like jasmine or honeysuckle.
Place decorative planters with colorful flowers or lush foliage near the screen. This adds softness and visual appeal.
Install subtle outdoor lighting, such as solar path lights or string lights, to highlight your new feature and create ambiance in the evenings.
Step 7: Ensure Proper Airflow
Double-check all clearances. There should be at least 12-24 inches of open space around all sides and the top of the AC unit.
Verify that your chosen design allows air to move freely. Slatted designs or open trellises are ideal for this purpose.
Avoid solid walls or dense planting directly against the unit. This will trap heat and impede its efficiency.
Trim any nearby plants regularly. Overgrowth can quickly block vents and reduce airflow over time.
Step 8: Test and Adjust
Turn on your AC unit after installation. Listen for any unusual noises and feel for proper air circulation.
Monitor its performance for a few days. Ensure it’s cooling your home effectively and not running constantly.
Observe the aesthetic. Does it blend well with your outdoor space? Are there any small adjustments you can make for a more polished look?
Refine your planting arrangement if needed. Sometimes a plant looks better in a slightly different spot.
Step 9: Maintain Your Oasis
Regularly clean around the AC unit and your new enclosure. Remove leaves, dirt, and debris that can accumulate.
Prune any surrounding plants. Keep them from growing into the unit or blocking its vents.
Inspect your structure periodically. Check for loose screws, rot, or damage, especially after harsh weather.
Re-stain or re-seal wood components as needed. This protects them from the elements and keeps them looking fresh.
Ensure the access panel remains functional. You’ll need it for annual servicing of the AC unit.
Common Mistakes to Avoid
Blocking Airflow
One of the most critical errors is designing an enclosure that restricts the AC unit’s airflow. The unit needs to draw in air from all sides and expel hot air efficiently.
A solid fence or dense planting directly against the unit will cause it to overheat, work harder, and potentially fail prematurely. Always maintain the recommended clearances, typically 12-24 inches, and use slatted or open designs.
Ignoring Maintenance Access
AC units require regular maintenance and occasional repairs. Building a permanent, inaccessible enclosure creates a huge headache for technicians.
Always design your screen with at least one easily removable or hinged panel. This allows a technician to service the unit without damaging your beautiful new cover.
Using Non-Weatherproof Materials
Outdoor elements like rain, sun, and frost can quickly degrade unsuitable materials. Using untreated wood or non-galvanized hardware will lead to rot, rust, and a short lifespan for your cover.
Choose materials specifically designed for outdoor use, such as cedar, redwood, pressure-treated lumber, composite, or powder-coated metals. Use stainless steel or galvanized fasteners for durability.
Underestimating Unit Size or Clearance Needs
Starting a project without precise measurements of your AC unit and its required clearances is a recipe for frustration. A cover that’s too small or too close will either not fit or compromise the unit’s function.
Always measure your unit’s dimensions carefully and consult its manual for recommended airflow clearances. Build your enclosure slightly larger than these minimums to be safe.
Troubleshooting
AC Unit Overheating
If your AC unit is running constantly, shutting off prematurely, or blowing warm air, it might be overheating. This is often due to restricted airflow around the unit.
Check the clearances around your enclosure. Ensure there’s at least 12-24 inches of open space on all sides and above. Trim any overgrown plants that might be blocking vents. Consider adding more gaps or larger openings to your screen for better air circulation.
Difficulty Accessing for Maintenance
You’ve built a beautiful enclosure, but now the AC technician can’t get to the unit for its annual tune-up. This is a common oversight.
Evaluate which panel of your enclosure can be easily removed or hinged. If none are, you may need to modify one side to create an access point. This could involve adding hinges, quick-release latches, or designing a panel that slides out.
Plants Not Thriving Around the Unit
If your carefully chosen plants are wilting, browning, or not growing well near the AC unit, several factors could be at play.
The unit expels hot air, which can stress nearby plants. Ensure your plants are heat-tolerant and placed at a safe distance from the direct blast. Also, consider their specific light and water needs for that location. The soil might be drier due to the heat, requiring more frequent watering.
Key Takeaways
- Prioritize adequate airflow and easy maintenance access when designing your AC unit cover.
- Measure your AC unit and its required clearances precisely before starting any construction.
- Select weather-resistant materials for your enclosure to ensure longevity and durability.
- Integrate the design and materials of your cover with your home’s existing outdoor aesthetic.
- Regularly maintain both your AC unit and its new enclosure, including trimming plants and checking for wear.
- A well-designed cover enhances your yard’s beauty without compromising AC efficiency.
Frequently Asked Questions
How much space does an AC unit need for airflow?
Most AC manufacturers recommend a minimum of 12-24 inches of clear space around all sides of the unit, and often more above it. Always consult your specific unit’s manual for the exact requirements to ensure optimal performance and prevent overheating.
Can I just paint my AC unit to hide it?
While painting might seem like a quick fix, it’s generally not recommended. The unit’s exterior is designed to withstand weather and dissipate heat. Applying paint can interfere with heat exchange, potentially damage components, and void your warranty. Focus on external covers instead.
What’s the best material for an AC cover?
The best material depends on your aesthetic and budget. Cedar, redwood, or pressure-treated wood are popular for their natural look and durability. Composite materials offer low maintenance. Metal screens or panels provide a modern, sleek option. For living screens, trellises with climbing plants work beautifully.
Will hiding my AC unit affect its efficiency?
No, hiding your AC unit will not affect its efficiency, provided you maintain proper airflow and clearances. In fact, a well-designed cover that provides shade could even slightly improve efficiency by keeping the unit out of direct, intense sunlight, though this effect is usually minor.
Our Top Recommended Finds
- Cedar Lattice Panels: These offer a natural, attractive look, are easy to cut and assemble, and provide excellent airflow for your AC unit.
- Large Weatherproof Planters: Perfect for creating a living screen around your unit, allowing you to choose plants that thrive in your climate.
- Heavy-Duty Outdoor Screws and Hardware: Investing in stainless steel or galvanized fasteners ensures your enclosure remains sturdy and rust-free for years to come.
Embrace Your Beautiful Outdoor Space
You now have all the tools and inspiration to transform that unsightly outdoor AC unit into a harmonious part of your home’s exterior.
Imagine enjoying your patio or garden without that mechanical distraction, replaced by beauty and thoughtful design.
Why wait? Take the first step today and measure your unit. Your cozy, beautiful outdoor oasis awaits!