🏠 How To Get Rid Of Carpenter Bees
That gentle hum outside your window can quickly turn into a source of worry, especially when it signals uninvited guests like carpenter bees. I remember the first time I heard that distinctive buzz, followed by the discovery of tiny, perfectly round holes appearing in my beloved porch beams. It felt like a direct threat to the cozy charm I’d worked so hard to create.
Those little holes were starting to unravel the peaceful aesthetic of my outdoor haven. This guide shares the warm, practical steps I learned to reclaim my home’s tranquility and beauty, ensuring your spaces remain inviting and structurally sound.
Quick Overview
This guide will walk you through transforming your home from a carpenter bee hotspot into a serene, protected sanctuary. You’ll learn how to identify, treat, and prevent these wood-boring visitors, restoring the beauty and integrity of your cherished wooden structures.
- Time needed: 1-2 weekends (initial treatment), ongoing maintenance
- Difficulty: Beginner to Intermediate
- What you’ll need: Bee traps, wood filler, exterior paint/sealant, insecticide dust/spray (optional), safety gear
Step-by-Step Instructions
Step 1: Spot the Signs: Unmasking Your Guests
Before you can send your uninvited guests packing, you need to confirm who they are and where they’re making themselves at home. Look for tell-tale signs that disrupt your home’s smooth, charming surfaces.
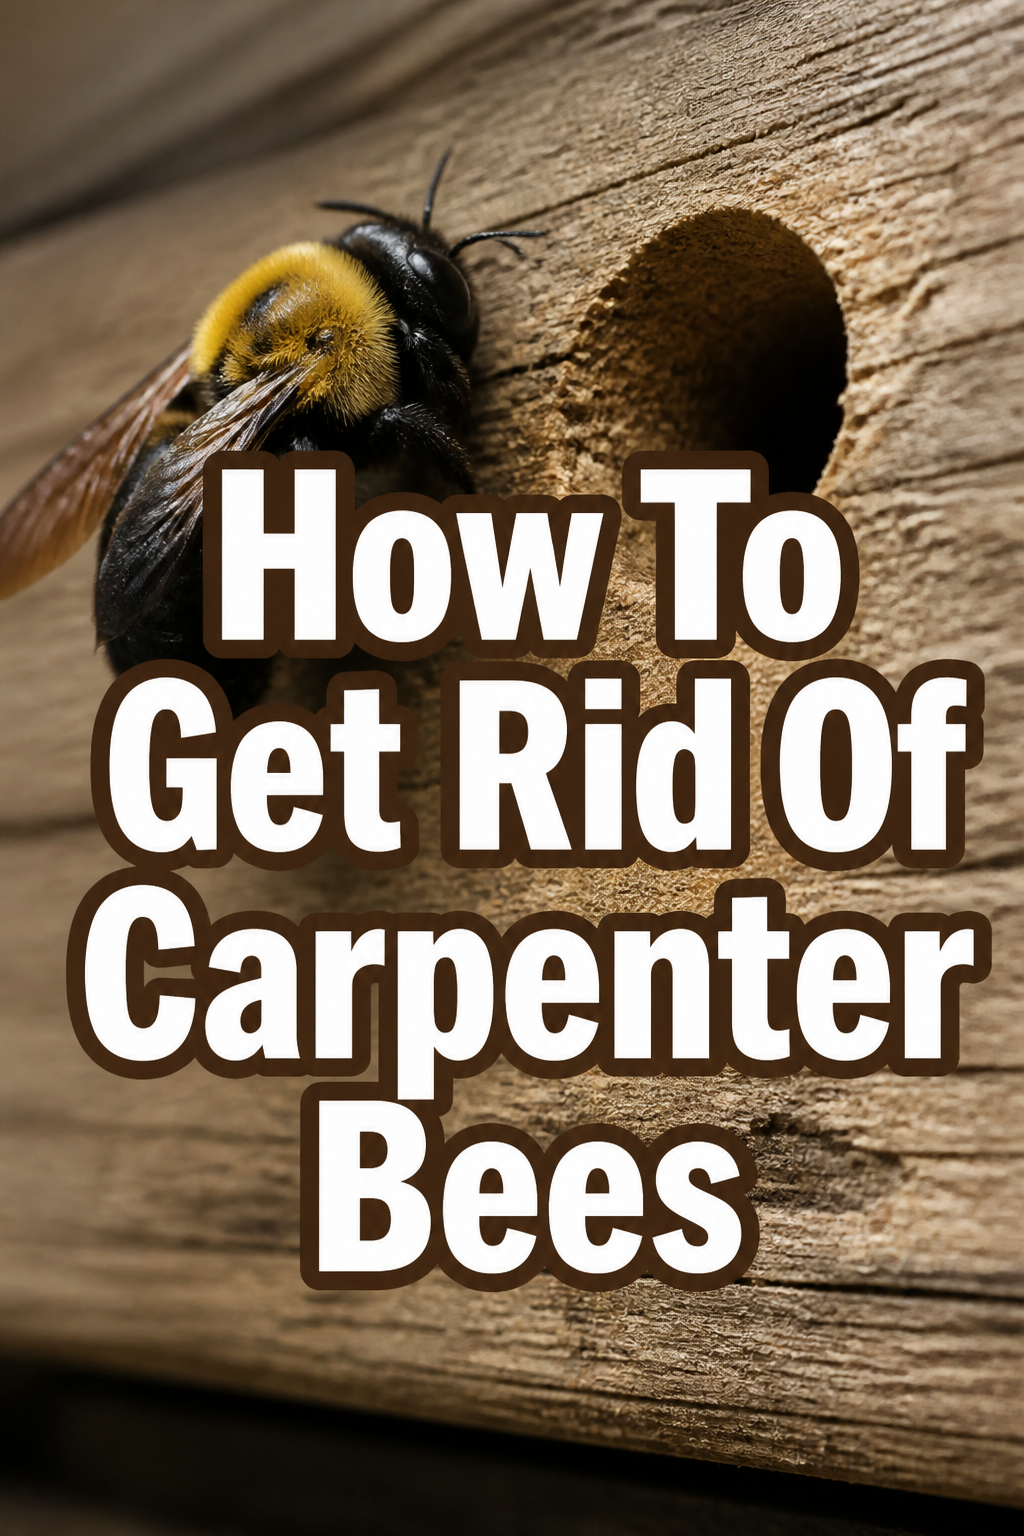
You might notice perfectly round, dime-sized holes, often on the underside of eaves, deck railings, or fascia boards. These are the entry points to their tunnels. You might also see coarse sawdust, called frass, accumulating beneath these holes, a sure sign of their busy tunneling.
You’ll also hear a distinct, deep buzzing sound, especially on warm, sunny days. This often comes from the areas where they are actively boring or from the bees themselves flying around. Observe where they seem most interested, as this indicates their preferred nesting spots.
Pro Tip: Carpenter bees prefer soft, unpainted, or unstained wood. Pay extra attention to these areas, as they are prime targets for nesting and can quickly become an eyesore.
Step 2: Plan Your Approach: Gentle Solutions for Your Home
Deciding on your treatment method is key to a successful, lasting solution. You have a few options, ranging from gentle, non-toxic approaches to more targeted treatments, all aimed at protecting your home’s beautiful wood.
Consider starting with methods that won’t disrupt your home’s natural surroundings or harm other beneficial insects. Traps and natural deterrents are excellent initial choices for a less invasive approach. For more persistent issues, targeted insecticides can be very effective when used carefully.
Step 3: Set Up Traps: A Welcoming Diversion
Carpenter bee traps are a fantastic, non-toxic way to reduce their population without resorting to chemicals. These traps often mimic a natural nesting site, luring the bees inside where they become unable to escape.
Place these traps strategically near areas of known activity, but also consider placing them where they blend with your home’s aesthetic. Hang them from eaves, pergolas, or deck railings, ensuring they are positioned to capture bees flying in the vicinity of their nests.
Empty the traps regularly to keep them effective and prevent them from becoming too full. This also allows you to monitor your progress and see how many bees you are catching.
Step 4: Apply Treatments: Targeted Care for Your Wood
For active nests, a targeted treatment can be very effective. Insecticide dusts are often recommended because they can be puffed directly into the holes, reaching the bees and their larvae within the tunnels.
Wait until evening when the bees are less active and likely inside their tunnels. Dust each hole thoroughly using a hand duster, ensuring the product reaches deep into the galleries. This helps to eliminate the current occupants and prevents them from emerging.
If using a liquid spray, apply it directly into the holes and onto the surrounding wood surfaces where you see activity. Always follow the product instructions carefully, paying attention to safety precautions to protect yourself, your family, and your home’s delicate finishes.
Pro Tip: Look for products specifically designed for carpenter bees, as these are formulated to be effective against them. Natural options like citrus oil sprays can also deter them if you prefer a chemical-free approach.
Step 5: Plug the Openings: Restoring Your Home’s Smooth Finish
Once you’ve treated the active nests and are confident the bees are gone, it’s time to repair the damage and restore your wood’s pristine appearance. This step is crucial for both aesthetics and long-term prevention.
Plug the holes with a durable material like wood putty, wood filler, or wooden dowels. If using dowels, cut them to size, insert them firmly into the holes with wood glue, and sand them flush with the surface. This creates a smooth, unbroken finish that looks much better and discourages new bees.
Ensure the holes are completely sealed, leaving no gaps or crevices. This physical barrier is your first line of defense against future infestations, making your home less appealing for new nesting sites.
Step 6: Paint and Protect: A Fresh Coat of Defense
Now that the holes are plugged, it’s time to give your wood a beautiful, protective makeover. This step not only enhances your home’s curb appeal but also makes it much less attractive to carpenter bees.
Apply a fresh coat of paint, stain, or clear sealant to all exposed wooden surfaces, especially those previously affected. Carpenter bees prefer raw, unfinished wood, so a good protective coating acts as a strong deterrent.
Choose high-quality exterior paints or stains that offer excellent weather protection. This will keep your wood looking lovely for years and provide a hard barrier that bees find difficult to penetrate. Think of it as giving your home a stylish, armored suit.
Step 7: Maintain Your Sanctuary: Ongoing Prevention
Protecting your home from carpenter bees is an ongoing commitment, much like maintaining a beautiful garden. Regular checks and proactive measures will keep your spaces serene and bee-free.
Conduct annual inspections of all wooden structures, especially in early spring before nesting season begins in earnest. Look for any new signs of activity, no matter how small, and address them immediately. Early detection makes prevention much easier.
Reapply paint or sealant as needed, especially on surfaces that face harsh weather. Keeping your wood well-maintained is the best long-term strategy for deterring carpenter bees and preserving your home’s charm.
Step 8: Consider Landscaping: Natural Deterrents
Your garden and outdoor decor can play a subtle role in deterring carpenter bees. While they prefer wood, certain plants can make your outdoor spaces less inviting to them.
Plant species with strong scents that carpenter bees dislike, such as citrus plants, almond trees, or garlic. While not a foolproof solution, these can contribute to an overall less appealing environment for them.
Avoid leaving untreated wood scraps or lumber piles near your home, as these can become attractive nesting sites. Keeping your yard tidy and free of potential bee havens helps maintain your home’s pristine look and feel.
Common Mistakes to Avoid
Ignoring the Problem Early
Many homeowners might notice a few bees or small holes and think it’s not a big deal. However, carpenter bees return to the same areas year after year, expanding their tunnels and creating new ones. What starts as a small issue can quickly escalate into significant structural damage, compromising the integrity and beauty of your home. Addressing the problem as soon as you spot it saves you a lot of hassle and expense down the line.
Improper Hole Repair
Simply plugging a carpenter bee hole without treating the tunnel first is a common mistake. If you seal an active nest, the bees inside will either chew their way out, creating new damage, or die within the wood, attracting other pests. Always ensure the tunnel is free of bees (either by waiting or treating) before sealing it up. This ensures the repair lasts and truly protects your wood.
Forgetting Prevention
Treating existing carpenter bee activity is only half the battle. If you don’t take steps to prevent their return, they will likely come back to the same familiar spots. This means not only filling holes but also painting, staining, or sealing all exposed wood. Without a protective barrier, your beautiful wooden structures remain vulnerable, undoing all your hard work.
Using Harmful Chemicals Recklessly
While some chemical treatments are effective, using them without care can harm beneficial insects, pets, or even your family. Always read and follow product labels precisely. Opt for targeted applications directly into the holes rather than broad sprays, and consider less toxic options first, especially in areas where children or pets play.
Troubleshooting
Bees Keep Coming Back
If you’ve treated and sealed, but new activity appears, it often means not all bees were eliminated from the tunnels, or new bees are attracted to the pheromones left by previous occupants. Re-treat the affected areas with an insecticide dust. Consider adding more carpenter bee traps around your property to intercept new arrivals and catch any stragglers.
New Holes Appearing
New holes, even after treatment, indicate that either your prevention methods aren’t strong enough, or there’s an untreated area nearby. Inspect your entire home, paying close attention to eaves, fascia, and deck railings. Ensure all exposed wood is painted or sealed. You might need to expand your treatment zone to cover all vulnerable wooden surfaces.
Large Infestation
If you’re facing a widespread problem with numerous nests and extensive damage, it might be time to call in the professionals. A pest control expert has the tools and experience to handle large infestations safely and effectively. They can assess the full extent of the issue and provide a comprehensive treatment plan, restoring your home’s peace of mind.
Key Takeaways
- Early identification of carpenter bee activity is crucial for effective treatment.
- Combining traps with targeted treatments offers a comprehensive approach.
- Always treat the tunnels before plugging the holes to avoid trapped bees.
- Sealing and painting all exposed wood is the most important preventive measure.
- Regular inspections and maintenance are key to long-term protection.
- Consider professional help for severe or persistent infestations.
Frequently Asked Questions
Are carpenter bees dangerous?
Carpenter bees are generally docile and not aggressive. Males lack stingers, and females will only sting if directly provoked or handled. Their main danger is the structural damage they can cause to your home’s wooden components, not to people.
Do they eat wood?
No, carpenter bees do not eat wood like termites. They bore into wood to create tunnels for nesting and laying eggs. They excavate wood to create galleries, pushing out the sawdust (frass) you might see.
Can I use natural deterrents?
Yes, some natural deterrents can help. Strong scents from citrus oils, almond oil, and even loud music or vibrations are sometimes suggested. However, these are often more effective as deterrents to prevent new activity rather than eliminating existing nests. A holistic approach combining natural methods with physical barriers is often best.
When is the best time to treat them?
The best time for treatment is typically in late spring or early summer, when adult carpenter bees are most active and beginning to bore new tunnels or expand existing ones. Treating the holes in the evening ensures the bees are inside their nests, making the treatment more effective.
Our Top Recommended Finds
- Carpenter Bee Traps: These non-toxic traps are excellent for reducing populations without chemicals, often designed to blend into your outdoor decor.
- Quality Wood Filler/Putty: Essential for seamlessly plugging holes, restoring the smooth finish of your wood, and preventing re-entry.
- Exterior Wood Sealant/Paint: A high-quality protective coating is your ultimate defense, making wood unappealing to bees and preserving your home’s beauty.
Reclaim Your Home’s Serenity Today
Imagine sipping your morning coffee on a pristine porch, free from buzzing worries and unsightly holes. Your home, your sanctuary, deserves to be a place of undisturbed beauty and comfort. Taking action against carpenter bees today means preserving the charm and integrity of your living spaces for years to come.
Don’t let these tiny architects undermine your home’s aesthetic or structural health. With these practical steps, you’re well-equipped to restore peace to your property. Your beautiful home deserves to be free from these uninvited guests – let’s make that happen!