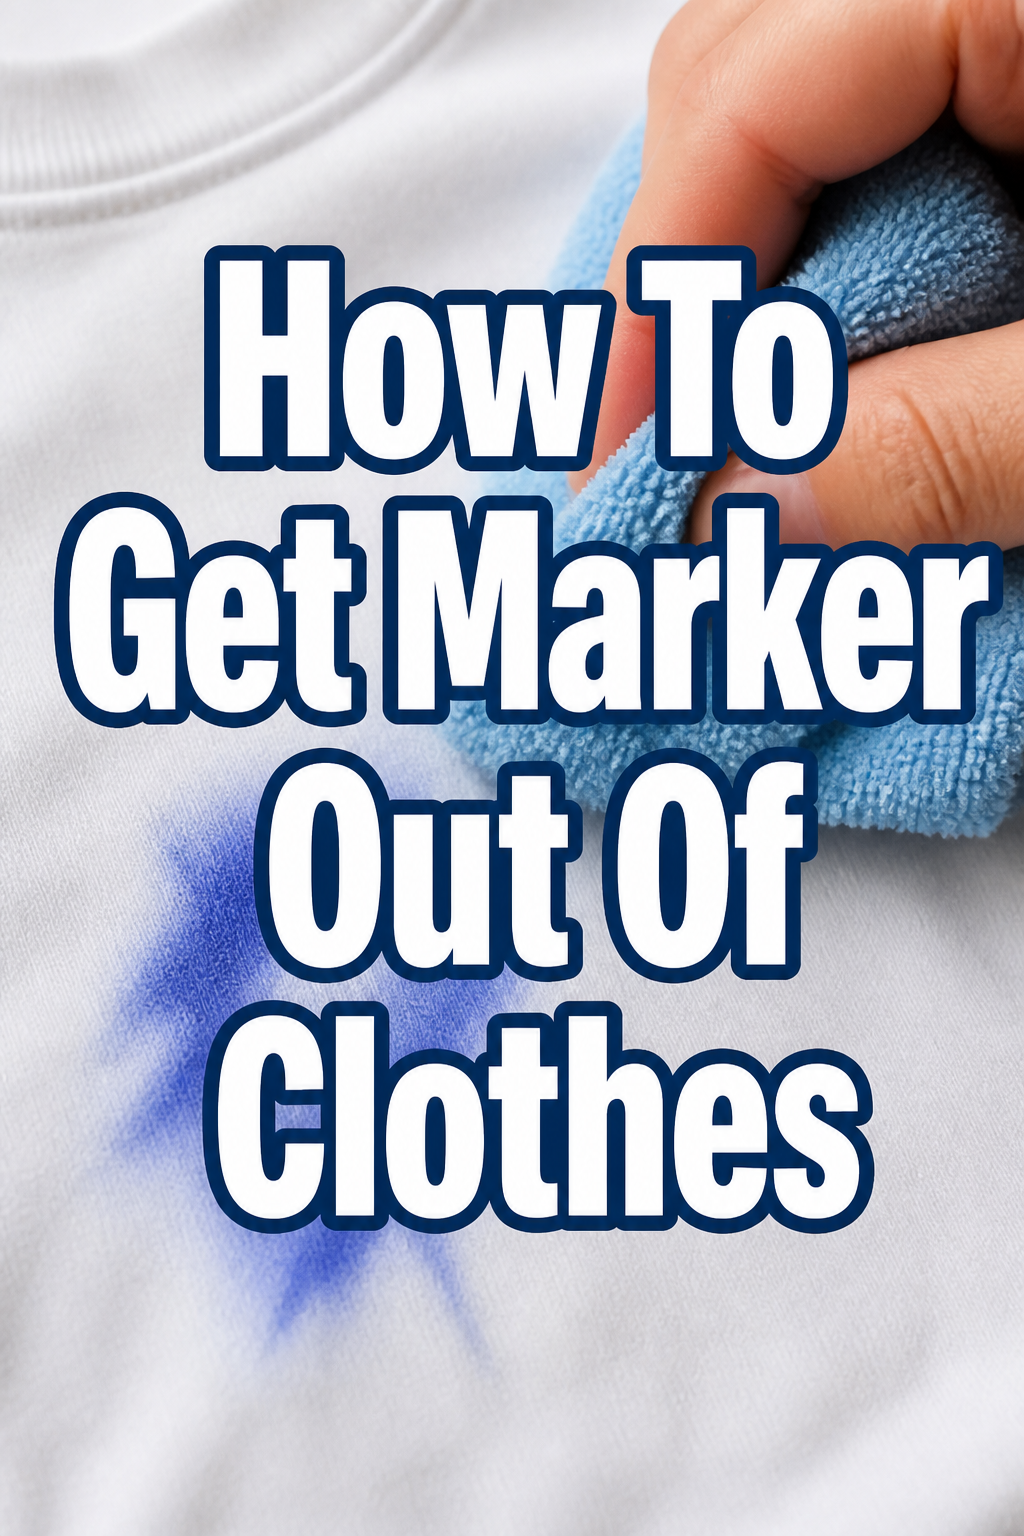
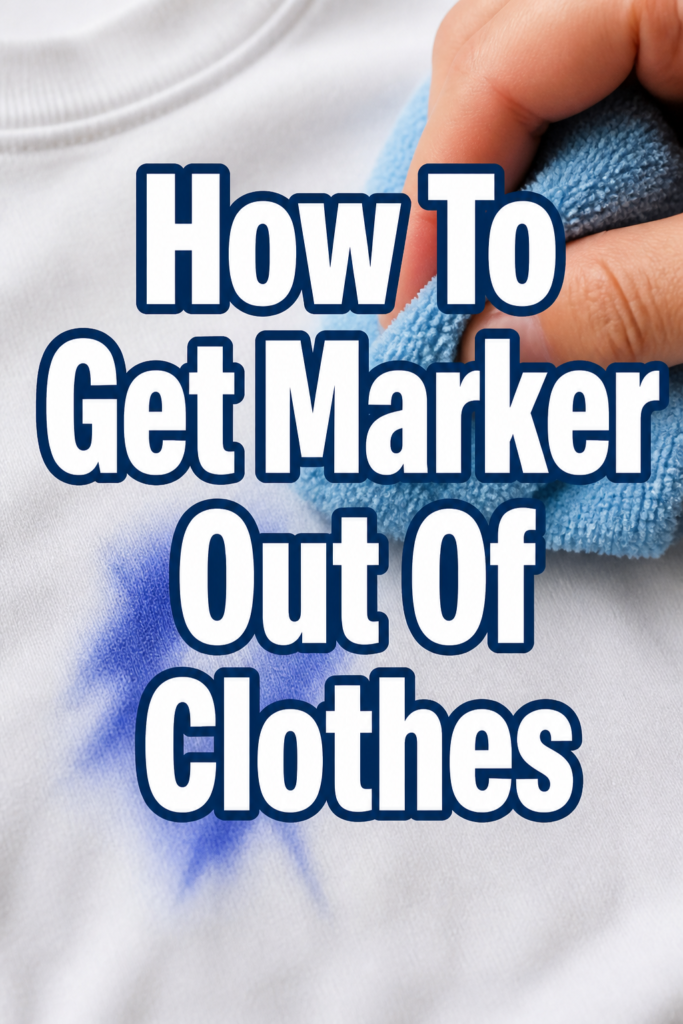
✨ How To Get Marker Out Of Clothes
We’ve all been there: a moment of creative inspiration, a busy afternoon, and suddenly, a vibrant marker streak graces your favorite throw pillow or a cozy sweater.
It feels like a small design disaster, threatening to disrupt the serene harmony of your carefully curated space.
Having navigated countless such spills in my own home, from playful crayon mishaps to accidental permanent marker incidents on cherished fabrics, I’m here to share the gentle, effective methods that truly work to restore your textiles.
Quick Overview
This guide will gently walk you through the process of lifting those stubborn marker stains, helping you reclaim the beauty and peace of your home textiles.
You’ll learn how to approach different marker types with confidence and care.
- Time needed: 30-60 minutes (plus drying time)
- Difficulty: Beginner
- What you’ll need: Rubbing alcohol, dish soap, clean cloths, paper towels, old toothbrush, laundry detergent, stain remover, cotton balls.
Step-by-Step Instructions
Step 1: Identify Your Marker Type
Before you begin, take a moment to understand what kind of marker you’re dealing with. Is it water-based, like a washable kid’s marker, or oil-based, like a permanent marker?
This initial assessment is crucial, as it guides your choice of cleaning agent, much like selecting the right paint finish for a room.
Check the marker itself if possible, or test a small, hidden area of the fabric with water to see if the color runs easily.
Pro Tip: Most permanent markers contain alcohol-soluble dyes. Washable markers often respond well to simple soap and water. Knowing this saves time and potential fabric damage.
Step 2: Prepare Your Workspace and Fabric
Find a well-lit, clean area, perhaps a kitchen counter or a utility sink, where you can work comfortably. Lay down several layers of clean paper towels or an old, absorbent cloth underneath the stained area.
This barrier is essential to prevent the marker ink from bleeding through to other parts of the garment or your work surface. Think of it as preparing your canvas before a delicate painting project.
Step 3: Test Your Cleaning Solution
Always, always perform a patch test on an inconspicuous area of the fabric first. This could be an inner seam, a hem, or a hidden corner.
Apply a tiny amount of your chosen cleaning agent (rubbing alcohol for permanent markers, or dish soap for washable ones) and gently blot. Wait a few minutes to ensure there’s no discoloration or damage to the fabric.
This step protects your beloved textiles from unforeseen reactions, much like sampling paint colors before committing to a whole wall.
Step 4: Blot, Don’t Rub, the Stain
For water-based markers, start with a dab of liquid dish soap mixed with a little water on a clean white cloth. For permanent markers, reach for rubbing alcohol, hand sanitizer, or hairspray (which contains alcohol).
Gently blot the stained area from the outside edge inward. The goal is to lift the ink, not spread it further into the fibers.
Keep changing to a clean section of your cloth or a fresh cotton ball as you pick up the ink. This meticulous process ensures you’re removing the stain, not just moving it around.
Pro Tip: Apply the cleaning agent directly to a cloth or cotton ball, not directly onto the fabric, to better control the application and prevent oversaturation. This precision helps maintain the fabric’s integrity.
Step 5: Rinse and Repeat If Necessary
After blotting for a few minutes, rinse the treated area thoroughly with cool water. You might notice the stain has lightened considerably, or perhaps it’s still quite visible.
Don’t despair if it’s not completely gone. This is a process of gentle persuasion. Repeat Step 4, applying more cleaning solution and blotting with fresh cloths, until no more ink transfers to your clean cloth.
Patience here is key, much like waiting for a slow-drying paint to achieve its full effect.
Step 6: Apply a Pre-Treatment Stain Remover
Once you’ve removed as much of the marker as possible using the initial blotting method, apply a good quality laundry pre-treatment stain remover directly to the remaining mark.
Gently work it into the fabric with your fingers or an old, soft toothbrush. Allow it to sit for the recommended time on the product label, usually 5-10 minutes.
This step helps to break down any lingering pigment, preparing the fabric for a comprehensive wash.
Step 7: Launder the Item
Now, it’s time to wash the garment or textile as you normally would, following the care label instructions. Use the warmest water setting safe for the fabric and your regular laundry detergent.
Consider adding an oxygen-based bleach (color-safe) to the wash cycle for an extra boost, especially if the fabric is white or light-colored.
A thorough wash helps to flush away any remaining stain particles and cleaning solution residues.
Step 8: Air Dry and Inspect
This step is absolutely critical. After washing, air dry the item completely. Do not put it in the dryer, even for a moment, until you are absolutely certain the stain is gone.
The heat from a dryer can permanently set any remaining ink, making it nearly impossible to remove later. Once dry, inspect the area under good light.
If you still see a faint trace of the marker, repeat the entire process from Step 4. You might need a few rounds to fully banish the mark, but the effort is worth preserving your cherished items.
Common Mistakes to Avoid
Rubbing the Stain Vigorously
It’s a natural instinct to scrub at a stain, but with marker ink, this is counterproductive. Rubbing can push the ink deeper into the fabric fibers, making it harder to remove.
It can also damage the fabric itself, creating a fuzzy or worn spot. Always use a gentle blotting motion to lift the ink out.
Using Heat Too Soon
Applying heat, whether from a dryer, hot water, or an iron, before the stain is completely gone is a major pitfall. Heat can permanently set the ink, bonding it to the fabric fibers.
This makes subsequent removal attempts far less effective, often leaving a permanent shadow. Always air dry until you are certain the stain is gone.
Ignoring Fabric Care Labels
Every fabric is unique, and its care label provides essential guidance. Using harsh chemicals or high temperatures on delicate fabrics can lead to irreparable damage, shrinkage, or color loss.
Always consult the care label and perform a patch test to ensure your chosen method is safe for that particular textile.
Giving Up After One Attempt
Marker stains, especially permanent ones, can be stubborn. It’s rare for them to disappear completely after a single round of treatment and washing.
Patience is your ally. Be prepared to repeat the blotting, pre-treatment, and washing steps multiple times. Each cycle helps to lift more of the pigment.
Troubleshooting
Stain is Fading but Not Gone
This is a common scenario and a good sign that your method is working! The ink is breaking down, but more pigment remains.
Simply repeat the entire treatment process from the blotting stage (Step 4), ensuring you use fresh cleaning cloths and plenty of patience. Consider trying a different alcohol-based solvent if rubbing alcohol isn’t quite cutting it, like nail polish remover (acetone-free, if synthetic fabric) or a dedicated stain remover for inks.
Fabric Appears Discolored After Treatment
If your fabric looks lighter or has an odd tint, it might be due to a reaction with the cleaning agent or vigorous scrubbing. First, thoroughly rinse the area with cool water to remove any residue.
If the discoloration persists, a gentle wash with a color-safe brightener might help. In some cases, especially with delicate or dyed fabrics, a slight alteration in color can occur if the cleaning agent was too harsh or left on too long.
Stain Looks Worse After Washing
This usually means the stain was set by heat, or the ink spread during the wash cycle because it wasn’t fully removed beforehand. If the stain was set by heat, it will be much harder to remove, but not impossible.
Try re-treating the stain with a stronger solvent like Goo Gone or a dedicated ink remover, followed by another wash, but always air dry afterward. For future stains, ensure complete removal before washing.
Key Takeaways
- Act quickly: Fresh stains are always easier to remove.
- Identify your marker: This guides your choice of cleaning agent.
- Blot, don’t rub: Gentle dabbing lifts the ink without spreading it.
- Test first: Always check cleaning solutions on an inconspicuous area.
- Avoid heat: Never dry an item until the stain is completely gone.
- Be patient: Stubborn stains may require multiple treatment rounds.
Frequently Asked Questions
Can I use hairspray to remove permanent marker?
Yes, hairspray can be effective for removing permanent marker stains. Many hairsprays contain alcohol, which acts as a solvent for the ink. Apply it directly to the stain, let it sit for a moment, then blot with a clean cloth. Always follow up with a wash.
What if the clothes are dry-clean only?
For dry-clean-only items, it’s best to take them to a professional cleaner as soon as possible. Point out the stain and inform them it’s marker ink. Attempting home remedies on these delicate fabrics can cause irreversible damage.
Does hand sanitizer work on marker stains?
Absolutely! Hand sanitizer is largely alcohol-based, making it an excellent, readily available option for treating permanent marker stains. Apply a generous amount, let it penetrate, then blot and wash as directed in the guide.
Is baking soda effective for marker stains?
Baking soda can be helpful as a mild abrasive or deodorizer, but it’s generally not a primary solvent for marker ink. While it might help lift some residue, it’s not as effective as alcohol-based solutions for breaking down the ink itself.
Our Top Recommended Finds
Having the right tools at hand makes all the difference in maintaining the beauty of your home.
- Rubbing Alcohol (Isopropyl Alcohol): An inexpensive, multi-purpose solvent that’s a true hero for permanent marker mishaps.
- Oxygen Bleach (Color-Safe): A gentle yet powerful additive for your laundry that brightens whites and helps lift stubborn stains without damaging colors.
- Microfiber Cleaning Cloths: Soft, absorbent, and lint-free, these cloths are perfect for blotting stains without leaving behind fibers.
Reclaim Your Sanctuary, One Spot at a Time
There’s a quiet satisfaction in restoring something beautiful, isn’t there? That feeling of reclaiming a cherished item from the clutches of a stubborn marker stain is a small victory, contributing to the overall tranquility and aesthetic of your home.
Don’t let a tiny mark disrupt the cozy harmony you’ve worked so hard to create. Embrace these gentle, practical steps and watch those unwanted artistic expressions fade away.
Consider tackling that dusty corner or reorganizing a cluttered shelf next. Each small act of care brings more peace and beauty into your living space, making your home truly feel like a sanctuary.