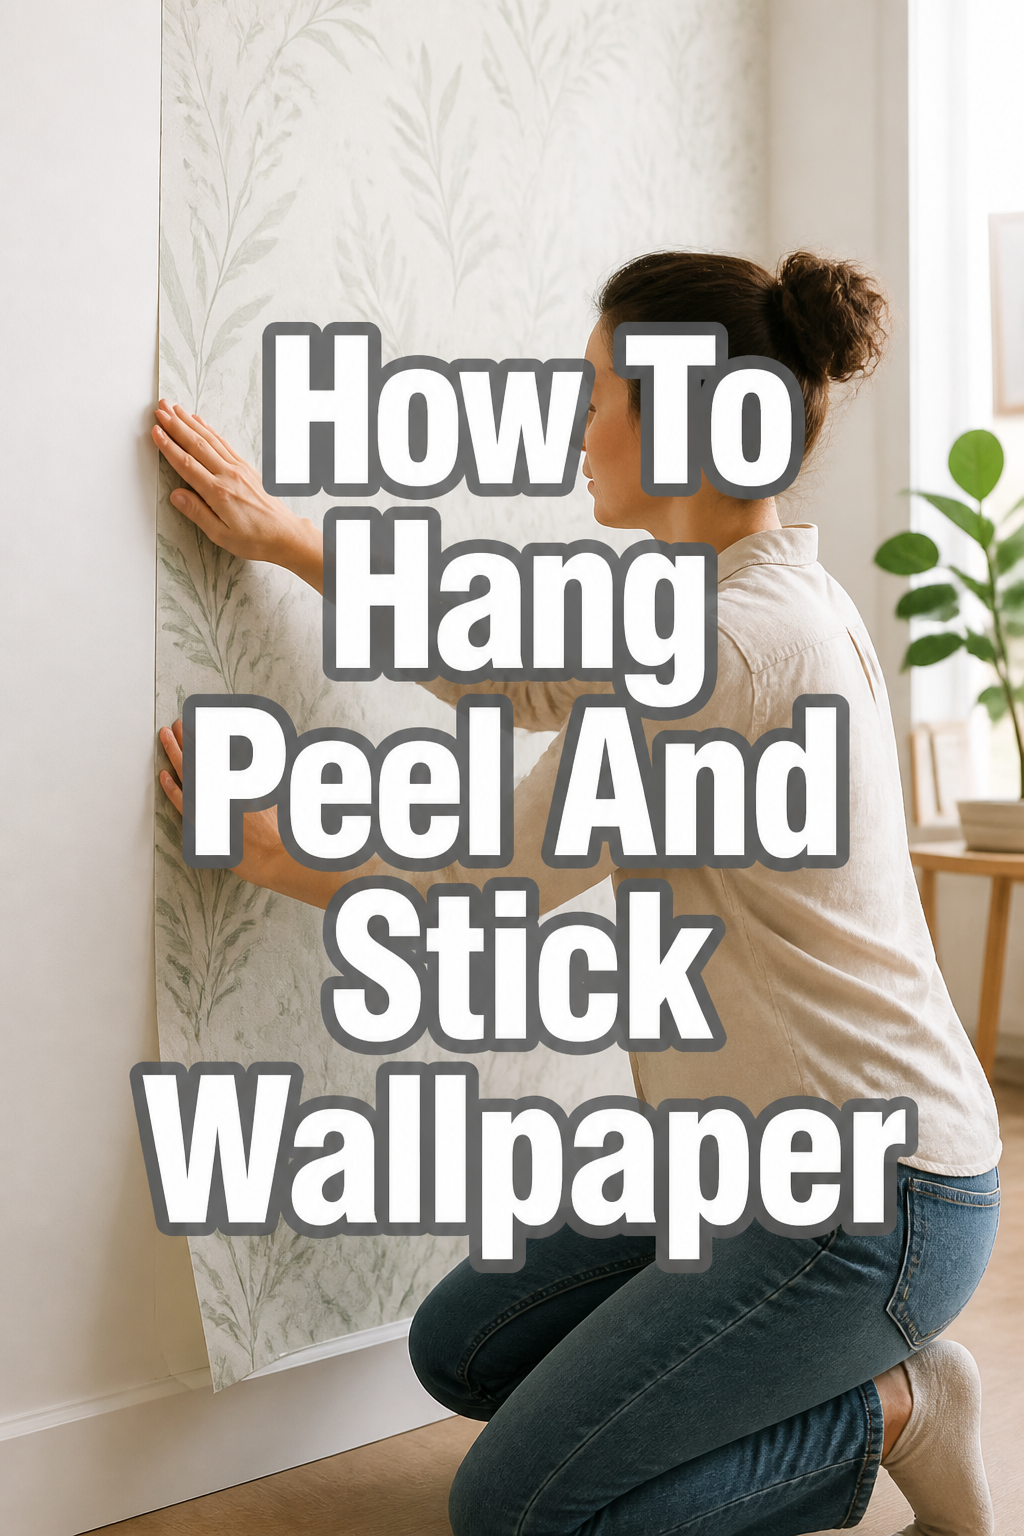
✨ How To Hang Peel And Stick Wallpaper
Transforming a room can feel like a big project, but it doesn’t have to be. I remember the first time I wanted to add a touch of personality to my little reading nook, imagining a cozy floral pattern to bring it to life. The thought of traditional wallpaper felt overwhelming, but then I discovered peel and stick.
It completely changed my perspective on home decor. This guide comes from countless hours spent carefully smoothing, aligning, and admiring the instant magic peel and stick wallpaper brings. You’re about to discover how simple it truly is to create a beautiful, inviting space with this amazing material.
Quick Overview
You’re about to embark on a delightful journey to refresh your home, adding character and warmth with minimal fuss. This guide will walk you through every stage, from preparing your walls to achieving that perfectly smooth finish. Get ready to love your space even more.
- Time needed: 4-8 hours for a small to medium room, depending on pattern complexity and experience.
- Difficulty: Beginner
- What you’ll need: Peel and stick wallpaper, measuring tape, pencil, level, smoothing tool/squeegee, utility knife, straight edge, clean cloth, mild cleaner, optional primer.
Step-by-Step Instructions
Step 1: Choose Your Wallpaper & Prep Your Space
The first, most exciting step is selecting your wallpaper. Think about the mood you want to create in your room. Soft botanicals can evoke a serene, cottagecore vibe, while geometric patterns add a modern, chic touch.
Consider the room’s function and existing furniture. A bold pattern might be perfect for an accent wall behind a headboard or a cozy reading nook, while a subtle texture can wrap an entire room in gentle warmth. Don’t be afraid to order samples to see how patterns and colors truly look in your home’s unique lighting.
Once you have your beautiful wallpaper, it’s time to prepare your canvas. Clear the room of furniture, wall hangings, and anything that might obstruct your work. You need plenty of space to move around and handle large wallpaper panels.
Pro Tip: When choosing your wallpaper, consider the pattern repeat. Larger, more intricate patterns often require more waste to align perfectly, so order an extra roll or two to be safe. For a truly cozy feel, look for patterns with warm undertones or soft, inviting textures.
Step 2: Gather Your Tools
Having all your tools within reach makes the process so much smoother. It prevents frustrating pauses and helps you maintain your rhythm. Think of it like a chef prepping their ingredients before cooking.
You’ll need a good quality measuring tape, a pencil for marking, and a reliable level to ensure your first panel is perfectly straight. A smoothing tool or wallpaper squeegee is essential for removing bubbles, and a sharp utility knife with snap-off blades will give you clean, precise cuts. A long straight edge, like a metal ruler or a yardstick, will guide your knife. Keep a clean, damp cloth handy for wiping away any dust or adhesive residue.
Step 3: Clean & Prime Your Walls
This step is critical for ensuring your wallpaper adheres properly and lasts. Dirt, dust, and grime can prevent the adhesive from bonding effectively, leading to peeling later on.
Start by wiping down your walls with a mild all-purpose cleaner and a clean cloth. Make sure to remove any grease, dust, or smudges. Allow the walls to dry completely before moving on.
If your walls are freshly painted, wait at least three to four weeks for the paint to fully cure. For glossy or highly textured walls, or if you’re concerned about paint adhesion, a high-quality, oil-based primer can create a smoother, more uniform surface for the wallpaper to stick to. This extra step can make a big difference in the longevity of your project.
Step 4: Measure & Cut Your First Panel
Accuracy here sets the stage for the entire project. Don’t rush this part. Measure the height of your wall from ceiling to baseboard.
Add about 2-4 inches to this measurement for both the top and bottom. This extra material gives you a buffer for trimming and ensures you have enough length even if your ceiling or floor isn’t perfectly level. Use your measuring tape and a pencil to mark the cut line on the back of your wallpaper.
Lay your wallpaper flat on a clean, large surface. Use your straight edge and utility knife to cut along your marked line. Take your time to make a clean, straight cut.
Step 5: Start Hanging: The First Panel
This is where the magic begins! The first panel is the most important one, as it guides all subsequent panels. Do not start directly in a corner, as corners are rarely perfectly plumb.
Instead, measure out from the corner about 1/2 inch less than the width of your wallpaper panel. Use your level to draw a perfectly straight, vertical line from ceiling to floor at this mark. This line will be your guide for the edge of your first panel.
Gently peel back about 6-12 inches of the backing paper from the top of your first wallpaper panel. Align the top edge of the wallpaper with the ceiling line, ensuring the side edge lines up perfectly with your plumb line. Press the top portion of the wallpaper to the wall.
Step 6: Smooth It Out
With the top section adhered, slowly peel down more of the backing paper in 6-12 inch increments. As you peel, use your smoothing tool to press the wallpaper onto the wall, working from the center outwards.
Use firm, overlapping strokes to push out any air bubbles or wrinkles. If you encounter a stubborn bubble, gently lift the wallpaper back to that point and re-smooth it. Take your time and be patient; a smooth finish is worth the effort.
Step 7: Align & Hang Subsequent Panels
Once your first panel is up, it’s time for the next one. Peel and stick wallpaper is designed for easy alignment, often with a slight overlap or butt joint depending on the product. Most designs require you to align the pattern.
Hold the next panel up to the wall without removing the backing. Slide it horizontally until the pattern perfectly matches the edge of the previous panel. Once aligned, repeat the peeling and smoothing process, working carefully to maintain that pattern match as you go down the wall. If your wallpaper specifies a slight overlap, ensure you maintain a consistent overlap for every panel.
Pro Tip: For seamless results, especially with intricate patterns, take a moment to step back after each panel. This helps you catch any misalignments early, making corrections much easier before the adhesive fully sets. A perfectly matched pattern creates a truly cohesive and professional look.
Step 8: Trim Excess
After each panel is smoothed onto the wall, you’ll have excess wallpaper at the top and bottom. Use your utility knife and a straight edge to carefully trim these edges.
Press the straight edge firmly against the ceiling or baseboard and cut along it with a sharp blade. Change your blade frequently, as a dull blade can tear the wallpaper, leading to a jagged edge. Clean cuts make for a much more polished finish.
Step 9: Detailing & Finishing Touches
Corners and outlets require a bit more finesse. For inside corners, hang the wallpaper panel as usual, allowing it to wrap slightly around the corner (about 1/2 inch). Then, take your next panel and butt it up against the corner, overlapping the wrapped portion of the previous panel. Use your straight edge and utility knife to cut a clean line right in the corner, removing the excess from both panels.
For outlets and light switches, turn off the power at the breaker first for safety. Apply the wallpaper over the outlet, then use your utility knife to carefully cut an “X” from corner to corner over the opening. Trim away the excess wallpaper around the edges of the outlet box, ensuring it’s neat and snug. Replace the cover plate once you’re done.
Step 10: Step Back & Admire
You’ve done it! Take a deep breath and step back to admire your beautiful new wall. The transformation can be quite dramatic, especially when you’ve chosen a pattern that truly speaks to your aesthetic.
Adjust your furniture back into place, perhaps adding a new throw pillow or a plant to complement your wallpaper. Enjoy the fresh, inviting atmosphere you’ve created with your own hands. This cozy space is now a testament to your creativity and effort.
Common Mistakes to Avoid
Skipping Wall Preparation
Many people rush into hanging wallpaper without properly cleaning or priming their walls. This is a common oversight that can lead to frustration. Dust, grime, or uncured paint can prevent the adhesive from sticking, causing the wallpaper to peel prematurely or develop bubbles. Always clean your walls thoroughly and consider priming, especially if you have glossy paint or a textured surface.
Not Using a Plumb Line for the First Panel
Starting a wallpaper project directly from a corner often leads to disaster. Walls and corners are rarely perfectly straight or plumb. If your first panel is even slightly off-kilter, every subsequent panel will be crooked, making pattern matching impossible and creating a noticeably unprofessional finish. Always use a level to draw a plumb line for your first panel.
Overstretching the Wallpaper
Peel and stick wallpaper, especially vinyl-based types, can stretch when pulled too hard during application. If you stretch the paper to smooth out a wrinkle or align a pattern, it will try to return to its original size over time. This can cause gaps between panels, pattern distortion, or even lifting at the seams. Be gentle and patient when applying and smoothing.
Using a Dull Utility Knife
A sharp blade is your best friend when trimming wallpaper. A dull blade won’t cut cleanly; instead, it will tear and snag the paper, leaving ragged, unprofessional edges. This is particularly noticeable at the ceiling and baseboard. Change your utility knife blade frequently, ideally after every few cuts, to ensure crisp, clean lines.
Troubleshooting
Bubbles or Wrinkles
It’s common to find a few bubbles or wrinkles, especially if you’re new to wallpapering. Don’t panic; most can be fixed. Gently lift the wallpaper from the closest edge or seam back to the bubble.
Then, slowly re-apply it, using your smoothing tool to work the air out from the center towards the edges. For small, stubborn bubbles, you can sometimes use a tiny pin to prick the bubble and then smooth it flat.
Seams Showing
Visible seams can detract from the seamless look you’re aiming for. This might happen if panels aren’t perfectly butted together or if the wallpaper shrinks slightly. If your wallpaper allows for a slight overlap, ensure it’s consistent.
If seams are gapping, you might be able to gently push the edges together with your smoothing tool, being careful not to stretch the material. For slight visibility, some people use a very fine-tipped marker in a matching color to subtly blend the seam, but this requires a steady hand.
Wallpaper Not Sticking Properly
If your wallpaper isn’t adhering well, several factors could be at play. The wall might not have been clean enough, or it could be too porous or too glossy. Ensure the wall surface is clean, dry, and smooth.
For persistent adhesion issues, especially on challenging surfaces, consider applying a wallpaper primer specifically designed to improve adhesion for peel and stick products. This creates a uniform, grippy surface for the wallpaper. Sometimes, simply applying more pressure with your smoothing tool can help.
Key Takeaways
- Preparation is paramount: Clean and potentially prime your walls thoroughly for the best adhesion.
- Start with a plumb line: Always use a level to ensure your first panel is perfectly straight, guiding all subsequent panels.
- Work in small sections: Peel the backing paper incrementally and smooth as you go to avoid large bubbles and wrinkles.
- Be patient and gentle: Avoid stretching the wallpaper, and take your time aligning patterns for a seamless finish.
- Sharp tools are essential: Use a fresh, sharp utility knife blade for clean, professional-looking trims.
- Don’t be afraid to lift and re-smooth: Peel and stick wallpaper is forgiving, allowing for minor adjustments during application.
Frequently Asked Questions
Can I use peel and stick wallpaper in a bathroom?
Yes, you can! Many peel and stick wallpapers are moisture-resistant, making them suitable for bathrooms and other high-humidity areas. Look for products specifically labeled as “bathroom safe” or “washable.” Ensure proper ventilation in the room to help prevent moisture buildup behind the paper.
How long does peel and stick wallpaper last?
With proper application and good wall preparation, peel and stick wallpaper can last for several years, often 3-5 years or even longer. Its lifespan depends on the quality of the wallpaper, the condition of your walls, and the environment of the room. High humidity or direct sunlight can sometimes impact its longevity.
Is peel and stick wallpaper truly removable without damage?
Yes, it’s designed to be easily removable without damaging your walls or leaving sticky residue. This is one of its biggest advantages. For best results, peel it off slowly at a 45-degree angle. If it feels too stubborn, a little heat from a hairdryer can soften the adhesive, making it easier to remove.
Can I apply peel and stick wallpaper over textured walls?
While it’s possible, it’s generally not recommended for heavily textured walls. The texture will show through the wallpaper, and the adhesive may not bond effectively to all the nooks and crannies, leading to peeling. For best results, consider smoothing out significant textures with skim coating before application, or choose a thicker, more forgiving wallpaper designed for minor textures.
Our Top Recommended Finds
- High-Quality Smoothing Tool/Squeegee: Essential for pushing out air bubbles and ensuring firm adhesion without scratching the wallpaper surface.
- Utility Knife with Snap-Off Blades: A sharp blade is crucial for clean, precise cuts. The snap-off feature means you always have a fresh edge ready.
- Self-Leveling Laser Level: While a traditional level works, a laser level can project a perfectly straight line across your wall, making it even easier to hang that crucial first panel.
Your Cozy Space Awaits
You now have all the tools and knowledge to embark on your own peel and stick wallpaper adventure. Imagine the possibilities: a vibrant accent wall, a serene backdrop for your bedside, or a playful pattern in a child’s room. This isn’t just about covering a wall; it’s about infusing your home with personality and warmth.
Don’t let the idea of “decorating” feel daunting. Peel and stick wallpaper is your friendly guide to effortless style. Pick a pattern that sparks joy, gather your simple tools, and give your space the refresh it deserves. Start creating that cozy, inspiring haven today.