🌱 How To Get Rid Of Moles In Yard
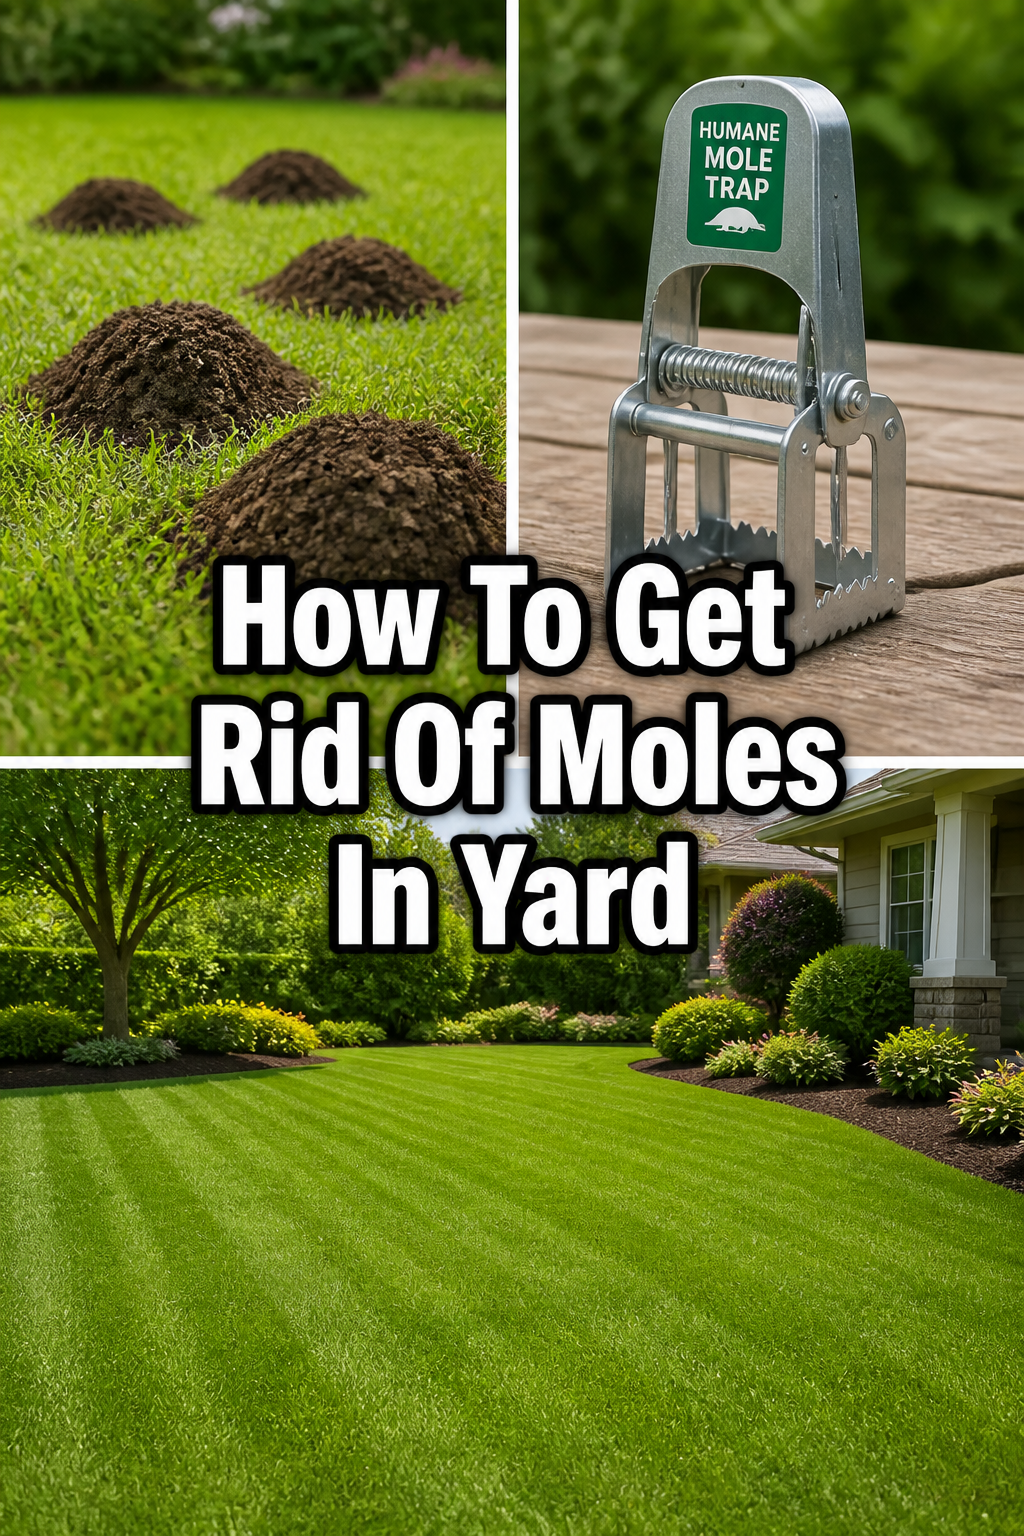
I remember walking out to my morning coffee and seeing my perfectly manicured lawn looking like a miniature mountain range.
It felt like a personal insult to the hours I spent designing my outdoor sanctuary.
After years of trial and error in my own garden, I’ve found the most effective ways to restore peace and beauty to your landscape.

Quick Overview
Reclaiming your yard from moles is a process of patience and strategy rather than a quick fix.
You can transform your garden back into a smooth, serene space by following a few intentional steps.
- Time needed: 1 to 3 weeks for noticeable results
- Difficulty: Intermediate
- What you’ll need: Castor oil, garden hose, mole traps, hardware cloth, and a bit of persistence
Step-by-Step Instructions
Step 1: Map the Underground Architecture
Identify which tunnels are active by gently flattening the ridges with your foot in the afternoon.
Check these spots the following morning to see which mounds have been pushed back up by your subterranean guests.
Moles are creatures of habit and will prioritize repairing their main thoroughfares over scouting new paths.
By mapping these “highways,” you can focus your efforts on the areas where the moles actually spend their time.
This prevents you from wasting resources on old, abandoned tunnels that serve no purpose in your current design.
Pro Tip: Focus on the straightest tunnels, as these are typically the primary travel routes between feeding grounds.
Step 2: Remove the Gourmet Buffet
Eliminate the primary food source that draws moles to your yard in the first place.
Moles love grubs and earthworms, so a yard teeming with larvae is essentially a five-star restaurant for them.
Apply a milky spore treatment or beneficial nematodes to your soil to reduce the grub population naturally.
When the food supply disappears, the moles will naturally look for more hospitable environments elsewhere.
Think of this as a long-term design choice for your soil health that benefits your grass as much as it deters pests.
Step 3: Create a Scented Boundary
Apply a castor oil-based repellent to the perimeter of your garden beds and lawn areas.
Moles have incredibly sensitive noses, and the smell of castor oil is deeply unpleasant to their refined senses.
You can mix your own solution using dish soap and castor oil, then spray it across the affected zones.
This creates an invisible “scent fence” that encourages the moles to migrate away from your prize-winning hydrangeas.
The goal is to make your yard feel less like a cozy home and more like a hostile environment.
Pro Tip: Reapply the repellent after heavy rainfall to ensure the scent barrier remains strong and effective.
Step 4: Install Aesthetic Physical Barriers
Bury hardware cloth or fine wire mesh around the edges of your most precious flower beds.
This is a permanent design solution that protects your root systems while remaining completely hidden from view.
Dig a trench about two feet deep and line it with the mesh, curving the bottom outward in an “L” shape.
This physical obstacle prevents moles from entering your “no-dig” zones without ruining the visual flow of your landscape.
It is a bit of work upfront, but it offers a lifetime of security for your favorite perennials and bulbs.
Step 5: Utilize Sonic Vibrations
Insert solar-powered ultrasonic stakes into the ground at regular intervals across your lawn.
These devices emit low-frequency pulses that mimic the sound of a predator or a collapsing tunnel.
The constant vibration disrupts the mole’s sense of peace and makes it difficult for them to navigate.
Choose stakes that blend into your garden aesthetic, perhaps tucking them near decorative rocks or shrubs.
This high-tech approach works quietly in the background while you enjoy the beauty of your outdoor room.
Step 6: Deploy Strategic Traps
Place humane or traditional mole traps inside the active tunnels you identified in the first step.
Trapping is often the most direct way to handle a persistent mole that refuses to take a hint.
Make sure to wear gloves when handling the traps to keep your human scent off the equipment.
Cover the trap area with a bucket or a piece of sod to keep the tunnel dark and inviting for the mole.
Check the traps daily to ensure you are making progress and to minimize any unnecessary stress for the animal.
Pro Tip: If a trap hasn’t caught anything in 48 hours, move it to a different active tunnel.
Step 7: Flatten and Restore the Landscape
Roll your lawn with a water-filled roller once the mole activity has ceased to level out the ridges.
This is the most satisfying part of the process, as you watch your yard return to its smooth, velvet-like state.
Fill in any remaining holes with a mixture of topsoil and grass seed to prevent future erosion.
A flat, well-maintained lawn is much easier to monitor for any signs of returning visitors.
Use this opportunity to re-evaluate your yard layout and perhaps add some mole-resistant plants like marigolds or daffodils.
Common Mistakes to Avoid
Using Poison Peanuts or Grains
Many homeowners reach for poisoned baits, but moles are insectivores and rarely eat grains or seeds.
These products often sit in the tunnels and rot, or worse, they can be dug up by curious pets or local wildlife.
Stick to methods that target the mole’s natural behavior and diet for much better results.
Ignoring the Root Cause
If you just fill in the holes without addressing the food source or the tunnels, the moles will simply return.
It is like painting over a damp patch on a wall without fixing the leaking pipe behind it.
You must address the soil conditions and the presence of grubs to ensure a long-term solution.
Waiting Too Long to Act
A single mole can dig up to 15 feet of tunnel in just one hour, leading to rapid destruction.
Small ridges can quickly turn into a complex network that undermines the stability of your walkways and patios.
Start your deterrent routine the moment you see the first sign of a mound to save yourself hours of repair work later.
Troubleshooting
The Moles Are Moving to My Neighbor’s Yard Instead of Leaving
This often happens when you apply repellents starting from the center of your yard rather than the edge closest to the house.
Always start your deterrents near your home’s foundation and work your way outward toward the property line.
This “herding” technique ensures you are pushing the moles away from your living space rather than trapping them in a corner.
The Ground Is Too Hard for Trapping
If your soil is dry and compacted, moles will dig deeper, making their tunnels harder to find and trap.
Water your lawn thoroughly for a few days to soften the earth and encourage the moles to move closer to the surface.
Moist soil also brings earthworms and grubs upward, which draws the moles into the range of your traps and repellents.
Key Takeaways
- Identify active paths by flattening ridges and checking for repairs the next day.
- Reduce food sources like grubs to make your yard less attractive to hungry moles.
- Use castor oil as a natural, scent-based barrier to protect your garden beds.
- Install physical mesh around sensitive areas to prevent underground entry.
- Be persistent and consistent with your chosen methods to see long-term success.
Frequently Asked Questions
Do coffee grounds actually repel moles?
While some gardeners swear by them, coffee grounds are generally not strong enough to deter a determined mole.
They might add some nitrogen to your soil, but they won’t provide the consistent barrier that castor oil or physical mesh offers.
Use coffee grounds for your compost instead and stick to proven methods for pest control.
Are moles and voles the same thing?
Moles are insectivores that create raised ridges, while voles are rodents that look like field mice and eat plant roots.
If you see tunnels but no raised ridges, you likely have voles, which require a different management strategy.
Identifying the correct visitor is the first step in choosing the right design for your defense.
Will a vibrating stake hurt my pets?
Most ultrasonic stakes are perfectly safe for dogs and cats as the frequency is designed to be felt in the ground rather than heard in the air.
Your pets might be curious about the new addition to the yard, but it won’t cause them any physical harm or distress.
Always check the manufacturer’s label to ensure the specific product is rated as pet-friendly.
Our Top Recommended Finds
- Pure Castor Oil Concentrate: A natural and effective way to create a scent barrier without harsh chemicals.
- Stainless Steel Mole Traps: Durable and reusable tools that are essential for handling stubborn underground residents.
- Solar-Powered Sonic Stakes: An eco-friendly solution that provides constant vibration to keep your lawn peaceful.
Cultivating Your Perfect Outdoor Sanctuary
Once you have successfully cleared your yard of moles, you can focus on the fun part of gardening again.
Think about adding a cozy fire pit or a winding stone path where those unsightly tunnels used to be.
You might even consider a “tapestry lawn” filled with low-growing clover and wildflowers to add texture and color.
Take a walk through your local nursery this weekend to find a few “celebration plants” to mark your victory.
Your yard is an extension of your home, and it deserves to be as beautiful and tranquil as your living room.