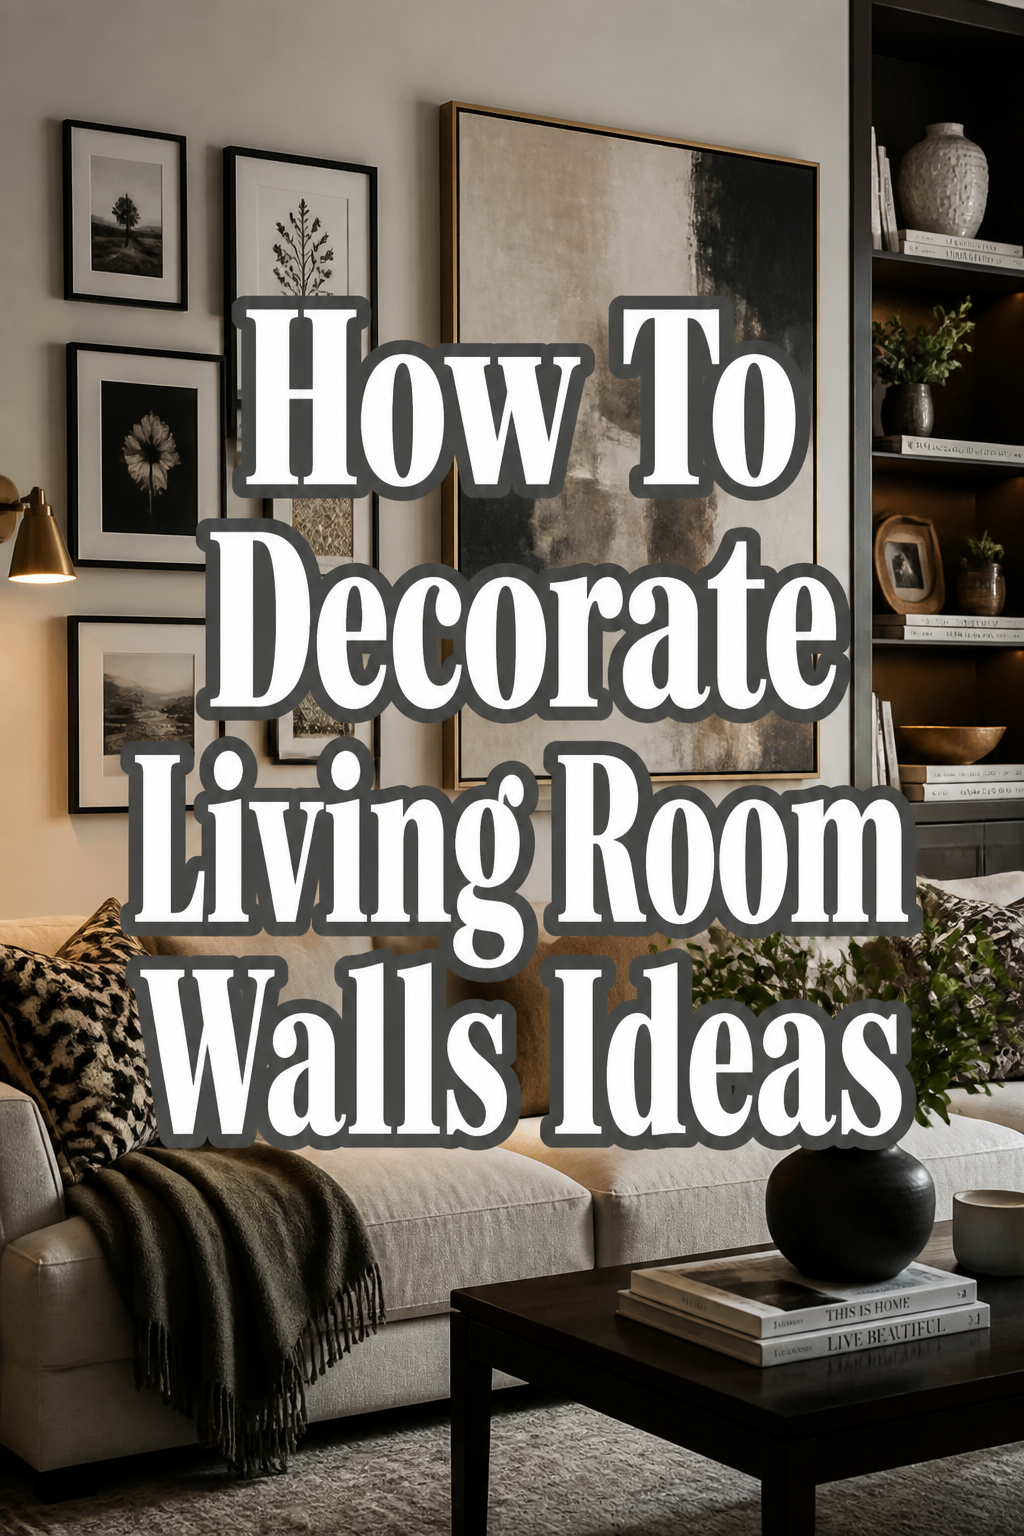
🖼️ How To Decorate Living Room Walls Ideas
There’s a special magic in a living room that truly feels like home. Often, the secret lies in how its walls speak to you, telling a story of comfort and personality.
I remember staring at my own blank living room walls, feeling overwhelmed by the endless possibilities. But through trial and error, I discovered that transforming those empty canvases into inviting spaces is surprisingly achievable and incredibly rewarding.
This guide will share practical, warm insights, helping you create a living room that’s not just beautiful, but deeply cozy and uniquely yours.
Quick Overview
Transforming your living room walls doesn’t have to be daunting. This guide will walk you through creating a cohesive and inviting look, step by step.
- Time needed: 4-8 hours (spread over a weekend for planning and execution)
- Difficulty: Beginner to Intermediate
- What you’ll need: Measuring tape, pencil, level, picture hanging kit, various wall decor items (art, mirrors, shelves), painter’s tape, a helper (optional but recommended).
Step-by-Step Instructions
Step 1: Understand Your Space and Style
Before you hang a single item, take a moment to truly get to know your living room. Observe its natural light, the existing furniture, and how you use the space daily.
Think about the overall feeling you want to evoke. Do you crave a serene retreat, a vibrant gathering spot, or something in between?
- Assess the room’s function: Is it for quiet evenings, entertaining guests, or both? This helps dictate the mood and type of decor.
- Identify your existing decor style. Look at your furniture, textiles, and accessories. Are they modern, bohemian, classic, or eclectic?
- Consider the natural light. Walls in brighter areas can handle bolder statements, while darker corners might benefit from reflective surfaces like mirrors.
Pro Tip: Create a small mood board with images of rooms and decor you love. This visual reference will be invaluable throughout the process.
Step 2: Define Your Focal Points
Every well-designed room has a natural focal point, and if it doesn’t, you can create one. This is the first place your eye goes when you enter the room.
Often, a large window, a fireplace, or a prominent piece of furniture acts as the anchor. Your wall decor should complement and enhance this feature.
- Locate existing architectural features like a fireplace, a large window, or a built-in bookshelf. These are prime candidates for a focal wall.
- Choose one main wall to make a statement. This could be the wall behind your sofa or the one opposite the main entrance.
- Designate this wall for your most impactful decor piece, whether it’s a large artwork, a gallery wall, or a statement mirror.
Step 3: Measure and Plan Your Layout
Planning is the most crucial step to avoid unnecessary holes and ensure a balanced look. Don’t eyeball it; measuring will save you time and frustration.
Visualizing your layout before committing to nails helps create a harmonious arrangement. This is especially true for gallery walls.
- Measure the dimensions of each wall you plan to decorate. Note down the height and width.
- Account for furniture. Wall decor should typically hang 6-12 inches above furniture, or be centered on the wall if no furniture is present.
- Cut out paper templates of your art or decor pieces. Use painter’s tape to arrange them on the wall. This allows you to experiment with different layouts without making holes.
- Step back often. View your arrangement from different angles in the room to ensure balance and appeal.
Pro Tip: For gallery walls, lay your pieces out on the floor first. Experiment until you find a composition you love, then replicate it on your wall using templates.
Step 4: Choose Your Wall Decor Elements
Now for the fun part: selecting the pieces that will bring your walls to life. Think beyond just framed art; consider a variety of textures and forms.
Mixing and matching different elements adds depth and interest, contributing to that cozy, layered aesthetic.
- Art: Choose pieces that resonate with you. This could be paintings, prints, photographs, or even textiles.
- Mirrors: These are fantastic for reflecting light, making a room feel larger and brighter. They can also serve as beautiful decorative pieces.
- Shelves: Floating shelves offer both decorative potential and practical storage. Style them with books, plants, and small curios.
- Wall Hangings: Macrame, tapestries, or woven baskets add texture and a bohemian touch, instantly warming up a space.
- Plants: Wall-mounted planters or hanging baskets bring life and a fresh, natural element indoors.
Step 5: Master the Art of Hanging
Proper hanging techniques ensure your decor is secure and perfectly positioned. A level and a measuring tape are your best friends here.
Take your time with this step; rushing can lead to crooked art or misplaced shelves.
- Use the right hardware for the weight of your item and your wall type. Picture hooks, anchors, or drywall screws are common options.
- Hang art at eye level. The center of the artwork should typically be about 57-60 inches from the floor, though this can adjust based on ceiling height.
- Employ a level for every piece. Even a slight tilt can be noticeable and detract from the overall look.
- Ask for help when hanging large or heavy items. An extra pair of hands makes the job safer and easier.
Step 6: Create a Gallery Wall (Optional)
A gallery wall is a wonderful way to tell a story and add significant personality. It can be a collection of photos, art, or a mix of both.
The key to a cohesive gallery wall is thoughtful curation, even if the individual pieces are diverse.
- Select a theme or color palette to tie disparate pieces together. This could be black and white photos, all gold frames, or a specific set of colors.
- Vary frame sizes and styles for visual interest, but ensure some consistency. Perhaps all frames are wood, or all are metallic.
- Maintain consistent spacing between pieces. Aim for 2-4 inches between frames for a tidy appearance.
- Incorporate non-framed items like small mirrors, wall sculptures, or even a clock to break up the monotony.
Step 7: Add Texture and Dimension
Walls don’t have to be flat. Adding elements with texture and depth instantly makes a room feel more inviting and cozy.
Think about how different materials can interact to create a rich visual and tactile experience.
- Consider wallpaper or wall decals for an entire wall or an accent. Textured wallpapers can add incredible depth.
- Install floating shelves and style them with varying heights and materials. Mix ceramics, wood, and metal objects.
- Drape a decorative throw or a small tapestry over a ladder or a wall hook. This introduces soft lines and fabric.
- Incorporate lighting. Sconces or picture lights can highlight artwork and add ambient light, creating a warm glow.
Step 8: Personalize and Refine
The final touches are what truly make a living room feel lived-in and loved. This is where your unique personality shines through.
Don’t be afraid to tweak and adjust until everything feels just right. Decorating is an ongoing process of refinement.
- Integrate personal mementos. Display travel souvenirs, family photos, or items with sentimental value.
- Introduce plants. Greenery softens lines, adds a pop of color, and improves air quality.
- Step back and live with it for a few days. Sometimes a fresh perspective reveals small adjustments that can make a big difference.
- Remember that your walls are a reflection of you. Allow them to evolve and change as your tastes do.
Common Mistakes to Avoid
Overcrowding Your Walls
Trying to fill every inch of wall space can make a room feel cluttered and overwhelming, rather than cozy. This often detracts from individual pieces.
Instead, embrace negative space. Allow your chosen decor pieces to breathe and stand out, creating a sense of calm and intentionality.
Ignoring Scale and Proportion
Hanging a tiny picture on a vast wall or a giant piece above a small console can throw off the entire room’s balance. It creates an awkward visual.
Always consider the size of your wall and the furniture below it when selecting decor. Aim for pieces that are proportionate to their surroundings, typically covering about two-thirds of the wall or furniture width.
Hanging Too High or Too Low
Art that’s hung too close to the ceiling feels disconnected, while art that’s too low can get lost behind furniture or feel out of place. This impacts viewing comfort.
The general rule of thumb is to hang the center of your artwork at eye level, around 57-60 inches from the floor. Adjust slightly for very high or low ceilings.
Forgetting About Lighting
Wall decor can fall flat without proper lighting, especially in the evenings. A beautifully curated wall can disappear into shadow.
Incorporate sconces, picture lights, or even strategically placed floor lamps to highlight your wall art. This adds warmth and dimension to the room.
Troubleshooting
“My Gallery Wall Looks Messy”
A common issue with gallery walls is a lack of cohesion, making them appear haphazard. This often happens when spacing is inconsistent or themes are too varied.
Try re-arranging your pieces on the floor first. Ensure consistent spacing (2-4 inches) between frames. Introduce a unifying element like matching frame colors or a specific color palette in the art itself.
“The Room Still Feels Empty”
If your walls are decorated but the room still lacks warmth, it might be missing texture or personal touches. Sometimes, two-dimensional art isn’t enough.
Consider adding three-dimensional elements like floating shelves styled with plants and objects, a large textured wall hanging, or even a decorative mirror to reflect more light and add depth.
“My Art Doesn’t Stand Out”
Sometimes, artwork can get lost against a busy wall color or fade into the background. This can be frustrating when you’ve chosen pieces you love.
Try adding a picture light directly above the artwork to illuminate it. Alternatively, consider painting the wall a contrasting, more neutral color to allow the art to pop, or use a mat and frame that create separation.
Key Takeaways
- Plan thoroughly: Use templates and measure everything to avoid mistakes and achieve a balanced look.
- Create focal points: Designate specific walls for impactful decor to anchor your room’s design.
- Mix elements: Combine art, mirrors, shelves, and textiles for a rich, textured, and cozy aesthetic.
- Hang at eye level: Ensure your decor is comfortably visible, typically centered around 57-60 inches from the floor.
- Personalize your space: Incorporate items that reflect your personality and bring you joy to make it truly your own.
- Embrace negative space: Don’t feel the need to fill every blank spot; allow your chosen pieces to make a statement.
Frequently Asked Questions
How high should I hang pictures above a sofa?
Generally, you want the bottom of the artwork to be about 6-8 inches above the top of the sofa back. This creates a cohesive grouping without looking too high or too low.
Can I mix different frame styles in a gallery wall?
Absolutely! Mixing frame styles adds character and depth. To keep it cohesive, try to stick to a consistent color palette for the frames (e.g., all black, all wood tones, or a mix of metallics) or ensure the artwork itself shares a common theme.
What if I’m renting and can’t put many holes in the wall?
No problem! Command strips offer a fantastic solution for hanging lighter items without damaging walls. Consider leaning larger art pieces against the wall on a console table or the floor. You can also use temporary wallpaper or large tapestries that require minimal attachment points.
How do I choose colors for my wall decor?
Start with colors already present in your room’s furniture, rugs, or pillows. You can either choose decor that complements these existing hues or introduce a pop of a contrasting color to add vibrancy. Don’t be afraid to experiment with different shades and tones.
Our Top Recommended Finds
- Picture Hanging Kit: A good kit includes various hooks, wires, and screws, making it easy to hang different weight items securely.
- Laser Level: For perfectly straight lines and precise gallery wall layouts, a laser level is an invaluable tool.
- Large Statement Mirror: A well-placed mirror can transform a room, making it feel brighter and more spacious.
Crafting Your Living Room’s Story
Your living room walls are more than just boundaries; they are canvases waiting for your unique touch. By following these practical steps, you’re not just decorating; you’re infusing your space with warmth, personality, and comfort.
Imagine the cozy evenings and lively gatherings you’ll enjoy in a room that truly reflects you. Now is the perfect time to begin this creative journey.
Start small, experiment, and watch as your living room transforms into the inviting sanctuary you’ve always dreamed of. What will your walls say about you?