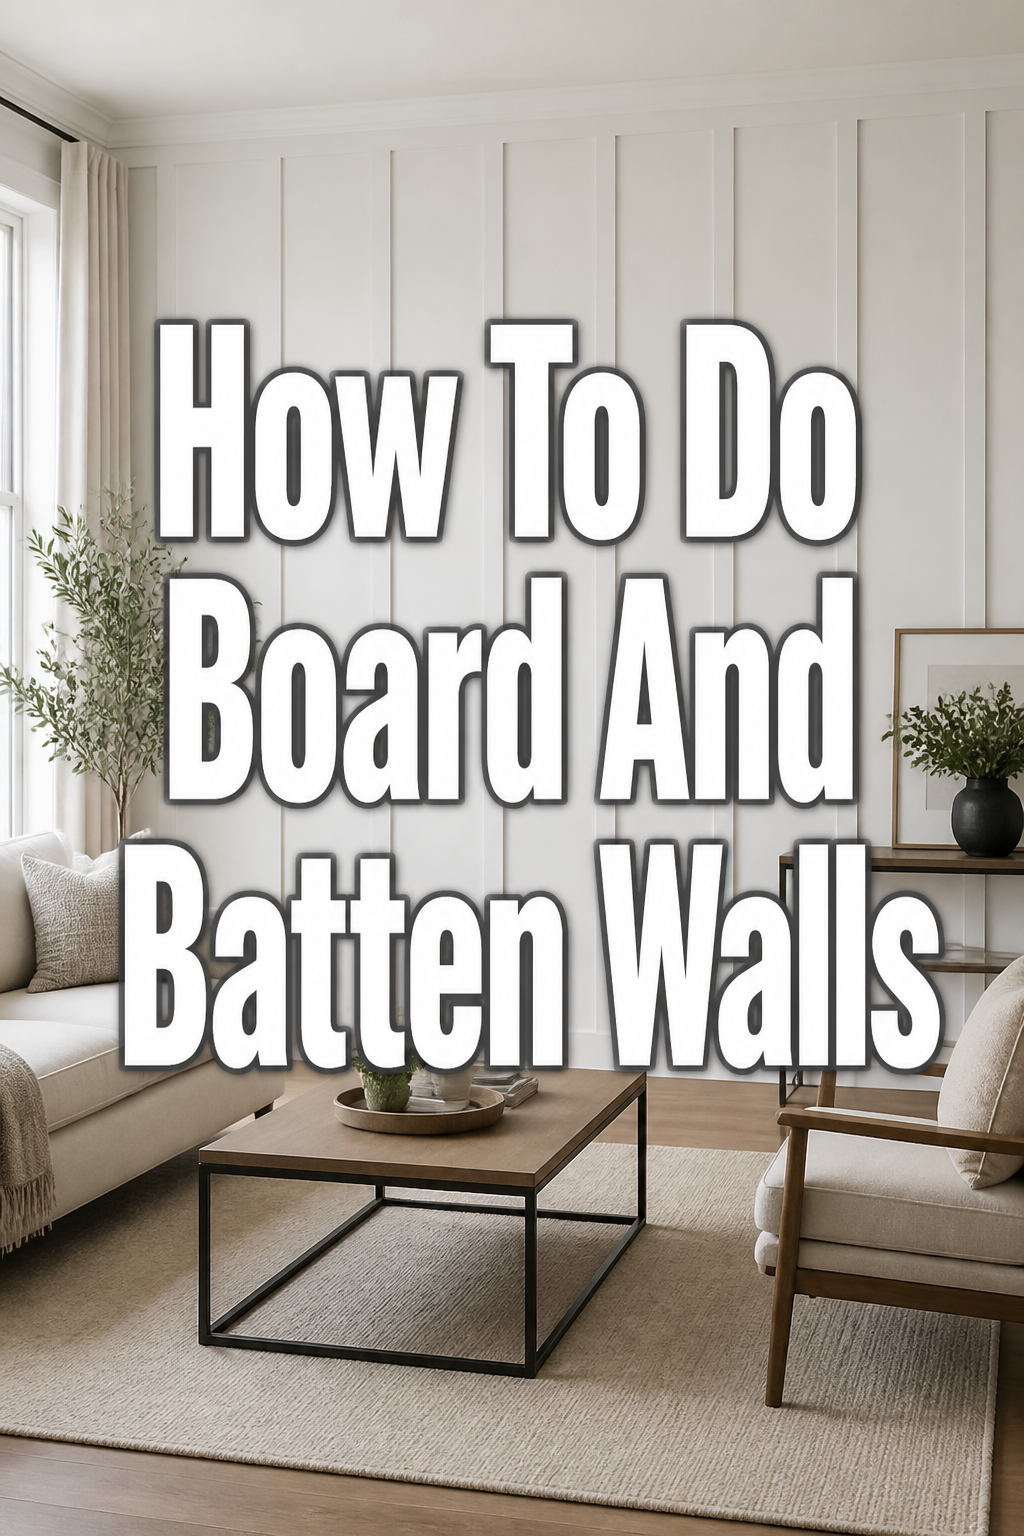
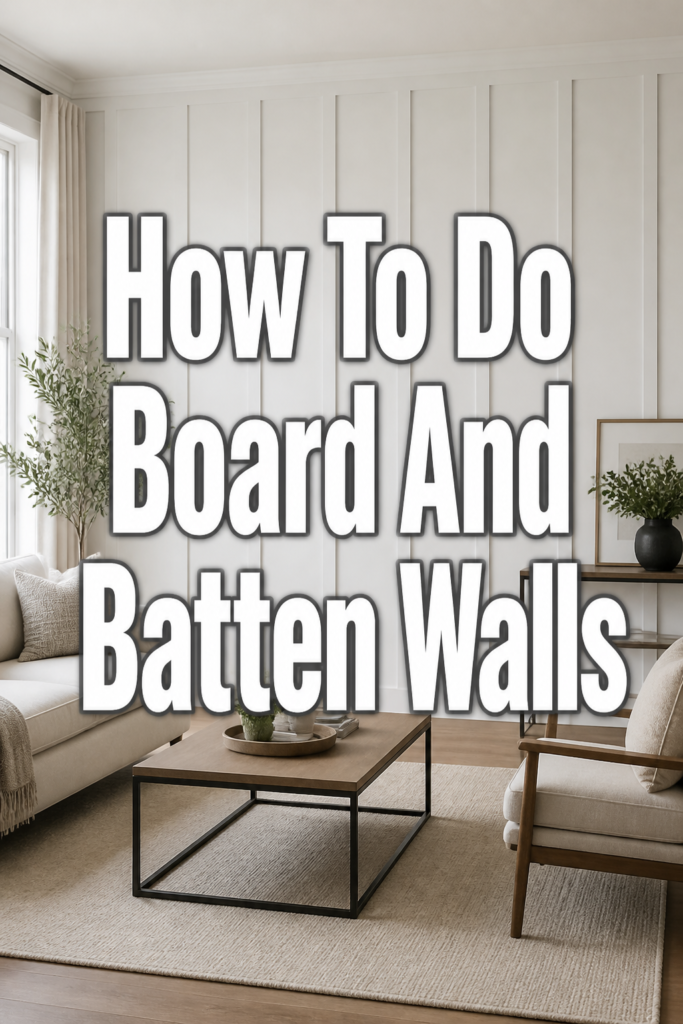
🖼️ How To Do Board And Batten Walls
There’s something truly magical about a board and batten wall.
I remember the first time I decided to tackle this project in my own living room; the transformation was breathtaking, turning a plain wall into a cozy, architectural statement.
This guide shares all the practical lessons I learned, ensuring your project is smooth, stunning, and fills your home with that inviting, custom feel.
Quick Overview
You’re about to transform a plain wall into a stunning focal point using simple wood trim. This project adds incredible character, depth, and a touch of bespoke elegance to any room, perfect for creating a cozy, high-end look without the custom price tag.
- Time needed: 1-2 full days (depending on wall size and experience)
- Difficulty: Intermediate
- What you’ll need: Wood trim, measuring tape, level, nail gun, miter saw, caulk, paint
Step-by-Step Instructions
Step 1: Envision and Plan Your Design
Before any cutting begins, visualize your finished wall. Think about the room’s overall aesthetic and how the board and batten will complement it.
Consider the height you want the wainscoting to reach. A classic look often goes one-third or two-thirds up the wall, but floor-to-ceiling designs create a dramatic, enveloping feel.
Measure your wall’s width precisely. This measurement is crucial for calculating the spacing of your vertical battens.
Pro Tip: Sketch your design on paper or use painter’s tape directly on the wall. This helps you visualize the spacing and make adjustments before committing. Aim for consistent spacing between vertical battens for a clean, professional finish.
Step 2: Gather Your Essential Tools and Materials
Having everything ready saves countless trips to the store and keeps your momentum going. You’ll need wood trim for your horizontal boards and vertical battens.
For tools, a reliable measuring tape, a long level, and a stud finder are non-negotiable. A miter saw will ensure precise cuts, and a nail gun with appropriate nails is essential for secure attachment.
Don’t forget wood filler, caulk, painter’s tape, and your chosen paint color to finish the look.
Pro Tip: For the trim, common choices include MDF boards for a smooth finish or pine for a natural wood grain. MDF is often more stable and takes paint beautifully, making it an excellent choice for a crisp, modern look.
Step 3: Prepare Your Walls for Transformation
A smooth, clean surface is the foundation of a beautiful board and batten wall. Start by removing any existing baseboards if you’re planning a full wall treatment, or if your new trim will sit directly on top.
Clean the wall thoroughly to remove dust and grime. Fill any existing holes or imperfections with spackle and sand them smooth for a flawless base.
Ensure the wall is dry before proceeding. This preparation step is small but makes a huge difference in the final outcome.
Pro Tip: If your walls have significant texture, consider sanding them down or applying a skim coat of joint compound to create a smoother surface. This will prevent texture from showing through the gaps in your new trim.
Step 4: Install the Horizontal Boards
Begin by attaching your top horizontal board. Use your level to mark a perfectly straight line across the wall at your desired height.
Locate wall studs using your stud finder and mark their positions. This ensures your boards are securely fastened.
Cut your top board to the exact wall width and attach it along your level line, nailing into the studs where possible. Repeat this process for your middle and bottom horizontal boards, ensuring they are also perfectly level and securely attached.
Pro Tip: When nailing, use construction adhesive on the back of the boards for extra hold. This minimizes the number of nails needed and helps prevent future warping, creating a more durable and stable installation.
Step 5: Measure and Cut Your Vertical Battens
Now for the vertical elements that create the “batten” effect. Measure the exact distance between your horizontal boards for each vertical batten.
It’s crucial to measure individually, as walls and floors are rarely perfectly straight. Cut each batten precisely to fit its specific spot.
Place your cut battens on the wall to double-check their fit before attaching them permanently. This step is where attention to detail really shines.
Pro Tip: To ensure uniform spacing, create a spacer block from a scrap piece of wood cut to your desired batten gap. This eliminates constant measuring and makes the process much faster and more accurate.
Step 6: Attach the Vertical Battens
With your battens cut, it’s time to bring your design to life. Starting from one end of the wall, place your first vertical batten against the wall, ensuring it’s plumb (perfectly vertical).
Use your level to verify its alignment. Nail the batten securely into place, again using construction adhesive if desired.
Continue this process, working your way across the wall, using your spacer block to maintain consistent gaps between each batten. Take your time to ensure each piece is perfectly aligned.
Pro Tip: For a truly seamless look, try to nail into the existing studs behind the drywall. If a batten doesn’t align with a stud, use plenty of construction adhesive and smaller finishing nails to secure it, then fill the nail holes meticulously.
Step 7: Caulk, Fill, and Paint for a Flawless Finish
This final stage is where your hard work truly pays off, transforming raw wood into a custom-built feature. Use wood filler to cover all nail holes and any minor imperfections in the wood.
Once dry, sand these areas smooth. Then, apply a bead of paintable caulk along all seams where the wood meets the wall and where wood pieces meet each other.
This seals gaps, prevents cracking, and creates a beautifully seamless, built-in appearance. Finally, prime and paint your entire board and batten wall with your chosen color, extending slightly onto the surrounding wall for a clean edge.
Pro Tip: Don’t skimp on the caulking. A smooth, even caulk line is the secret to a professional-looking finish. Use a damp cloth or your finger to smooth the caulk bead immediately after application for a clean, polished look.
Common Mistakes to Avoid
Ignoring Wall Imperfections
Many people jump straight to installing trim without addressing the wall itself. If your wall has dents, holes, or significant texture, these imperfections will show through the gaps in your board and batten, detracting from the crisp finish.
Always take the time to spackle, sand, and clean your walls thoroughly before installation. A smooth foundation is key to a truly stunning result.
Inconsistent Spacing
One of the most common pitfalls is uneven spacing between vertical battens. This can make the entire project look amateurish and rushed, even if everything else is perfectly done.
Always measure each gap individually, or better yet, create a dedicated spacer block. This simple tool ensures every space is identical, giving your wall a professional, symmetrical appearance.
Skipping the Caulk and Filler
It’s tempting to rush to the painting stage, but neglecting wood filler and caulk is a critical error. Nail holes, small gaps between boards, and where boards meet the wall will be glaringly obvious under paint.
These finishing touches are what transform a DIY project into a custom-built feature. Take your time with filling and caulking for a truly seamless, integrated look.
Troubleshooting
Battens Aren’t Level or Plumb
If you notice your horizontal boards aren’t perfectly level or your vertical battens aren’t perfectly plumb, it’s a common issue. Often, walls and floors aren’t as straight as they appear.
The best solution is to use a long level for every single piece you install, checking it multiple times. For minor discrepancies, a little extra caulk can sometimes hide small gaps. For significant issues, carefully remove the offending piece, re-measure, and re-install it, prioritizing accuracy.
Gaps Between Boards and Wall
Sometimes, despite your best efforts, you might find small gaps where your trim meets the wall, especially on uneven surfaces. This can be frustrating, but it’s usually fixable.
The best remedy is generous and careful application of paintable caulk. Apply a steady bead along the gap, then smooth it out with a wet finger or a caulk tool. For larger gaps, you might need a second application after the first dries. This step is crucial for achieving that flawless, built-in look.
Key Takeaways
- Plan Meticulously: Visualize your design and measure precisely before any cuts are made.
- Prepare Thoroughly: Clean and smooth your walls; imperfections will show through.
- Use a Level Consistently: Every horizontal and vertical piece must be perfectly straight.
- Employ a Spacer Block: Ensure consistent spacing for a professional finish.
- Caulk and Fill Diligently: These steps are essential for a seamless, custom look.
- Take Your Time: Rushing leads to mistakes; patience ensures a beautiful outcome.
Frequently Asked Questions
Can I install board and batten over existing textured walls?
While possible, it’s generally not recommended for the best finish. The texture will show through the gaps between your boards and the wall, detracting from the smooth, custom look. For optimal results, it’s best to sand down heavy textures or apply a skim coat of joint compound before installation.
What type of wood should I use for board and batten?
MDF (Medium-Density Fiberboard) is a popular and excellent choice. It’s affordable, stable, has a smooth surface that takes paint beautifully, and is less prone to warping than natural wood. Pine is another option if you prefer natural wood, but it may require more sanding and priming.
Do I need to remove my existing baseboards?
It depends on your desired look. If you want the board and batten to extend all the way to the floor, creating a seamless appearance, you should remove the existing baseboards. If you prefer to have the board and batten sit on top of or above your current baseboards, then removal isn’t necessary, but plan your design accordingly.
How do I calculate the spacing for my vertical battens?
First, decide how many vertical sections you want. Measure the total width of your wall. Subtract the total width of all your vertical battens (e.g., if you have 5 battens, multiply batten width by 5). Divide the remaining number by the number of desired spaces (which will be one more than the number of battens). This gives you your exact spacing between each vertical piece.
Our Top Recommended Finds
- Cordless Nail Gun: A game-changer for speed and ease, making installation much less strenuous than manual nailing.
- Miter Saw: Essential for precise, clean cuts at various angles, ensuring your boards fit together perfectly.
- Caulk Gun Kit with Smoothing Tools: Makes applying and smoothing caulk effortless, achieving those professional, seamless lines.
Embrace Your Inner Designer Today!
You now have all the tools and knowledge to create a stunning board and batten wall in your home. Imagine the cozy aesthetic, the architectural interest, and the unique character it will bring to your space.
Don’t let hesitation hold you back; gather your supplies and start planning your transformation. Your dream home is just a few steps away, one beautifully paneled wall at a time!