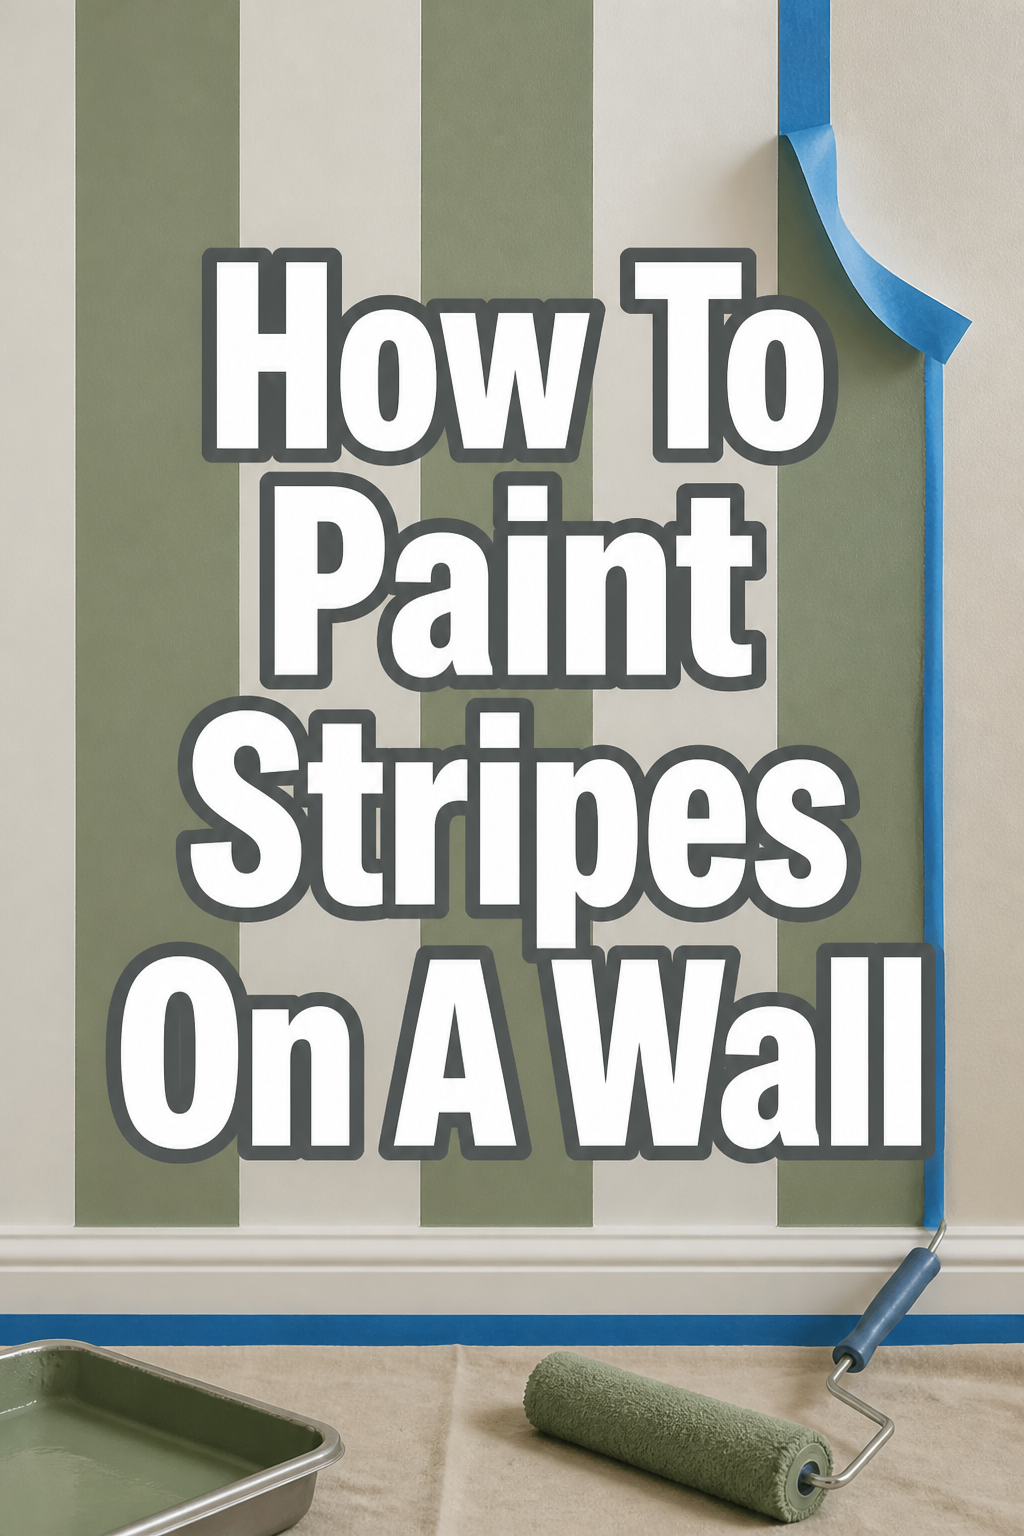
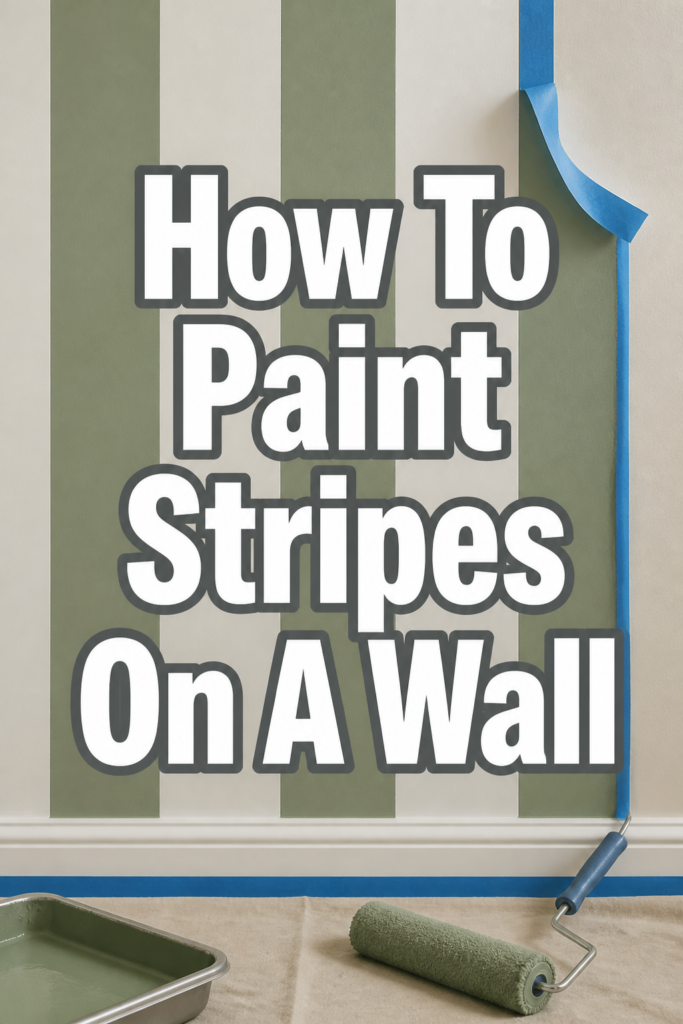
🎨 How To Paint Stripes On A Wall
Imagine walking into a room that feels uniquely yours, radiating warmth and personality.
Painting stripes on a wall is a wonderful way to add that special touch, transforming a plain space into a cozy, stylish haven.
Having brought countless striped visions to life in my own home and for friends, I’m excited to share the practical steps and design wisdom I’ve gathered to help you create your perfect striped sanctuary.
Quick Overview
Ready to add a touch of tailored elegance to your space? This guide will walk you through creating beautiful, crisp stripes on your wall, making your design dreams a reality.
- Time needed: 1-2 days (includes prep, painting, and drying time)
- Difficulty: Intermediate
- What you’ll need: Paint (base and stripe colors), painter’s tape, measuring tape, pencil, level (laser or traditional), ruler, paint rollers, brushes, drop cloths, cleaning supplies.
Step-by-Step Instructions
Step 1: Gather Your Inspiration and Supplies
Before any paint touches the wall, take a moment to dream. Consider the mood you want to create.
Do you envision bold, wide stripes for a playful nursery, or subtle, narrow lines for a sophisticated living room?
Choose your colors carefully, ensuring they complement your existing decor and desired aesthetic. Test swatches on your wall to see how they look in different lighting throughout the day.
Decide on your stripe width. Wider stripes often feel more modern and open, while narrower stripes can add a classic, tailored feel.
Pro Tip: For a truly cohesive look, pull colors from existing textiles or artwork in your room. This creates a harmonious flow and makes the stripes feel like a natural extension of your decor.
Step 2: Prepare Your Canvas
A flawless finish starts with a clean slate. This step is crucial for paint adhesion and a professional look.
Clean your walls thoroughly. Use a mild all-purpose cleaner and a damp cloth to remove any dust, grime, or oils.
Patch any holes or cracks with spackle, then sand smooth once dry. This ensures an even surface for your paint.
Apply a coat of primer if you’re painting over a dark color with a light one, or if your walls are particularly porous. This helps with color coverage and paint adhesion.
Lay down drop cloths to protect your floors and furniture. Remove switch plates and outlet covers for clean edges.
Step 3: Paint Your Base Color
Your base color is the foundation of your striped design. This will be the color of the stripes you don’t paint over.
Paint your entire wall with your chosen base color. Ensure you apply at least two even coats for full coverage, allowing ample drying time between coats.
Allow the base coat to cure completely. This might take 24-48 hours, depending on your paint type and humidity. Rushing this step can lead to tape pulling off your base paint.
Step 4: Plan and Mark Your Stripes
Precision is key to crisp, even stripes. This step requires patience and careful measurement.
Measure the width of your wall. Decide on your desired stripe width and how many stripes you want.
Calculate your stripe pattern. If you want evenly spaced stripes of two colors, divide the wall width by the total number of stripes (e.g., 10-inch stripes, so 5 inches of color A, 5 inches of color B).
Start in a less conspicuous corner if your measurements don’t divide perfectly. This allows any slight discrepancies to be less noticeable.
Mark your stripe lines lightly with a pencil. Use a measuring tape and a long level or ruler to draw faint, vertical lines from ceiling to floor.
Pro Tip: For horizontal stripes, mark your first line at eye level, then use your level to extend the line across the wall. Work your way up and down from there. Ensure your level is accurate!
Step 5: Apply Painter’s Tape
This is where your stripes truly begin to take shape. Choose high-quality painter’s tape designed for crisp lines.
Apply the painter’s tape along the outside edge of your pencil marks for the stripes you intend to paint. Remember, the tape will define the unpainted stripe, so place it on the side that will not receive the second color.
Press the tape firmly onto the wall, ensuring there are no air bubbles or gaps. Use a credit card or a specific painter’s tape tool to really burnish the edges down.
Double-check your measurements as you go. It’s easy to get off track, so take your time and verify each stripe’s width.
Step 6: Seal the Tape (The Secret to Crisp Lines!)
This step is often overlooked but is absolutely vital for preventing paint bleed under the tape.
Apply a very thin coat of your base wall color (the color you painted in Step 3) along the edges of the newly applied painter’s tape.
Allow this seal coat to dry completely. What this does is essentially “seal” any tiny gaps under the tape with the base color. If any paint bleeds, it will be the base color, rendering it invisible.
Step 7: Paint Your Stripe Color
Now for the exciting part – bringing your stripe vision to life!
Apply your chosen stripe color within the taped-off sections. Use a small roller for larger areas and an angled brush for edges, ensuring even coverage.
Apply two thin coats, allowing adequate drying time between each coat. Thin coats are less likely to bleed than thick, heavy coats.
Step 8: Remove Tape While Wet
Timing is everything in this step to achieve those beautiful, clean lines.
Remove the painter’s tape while the final coat of your stripe color is still slightly wet to the touch.
Pull the tape off slowly and at a 45-degree angle. This helps prevent the paint from peeling off with the tape and ensures a crisp edge.
Continue pulling until all tape is removed. If you wait until the paint is fully dry, you risk the paint adhering to the tape and pulling away from the wall, creating jagged edges.
Step 9: Touch Ups and Admire Your Work
Even with careful planning, minor touch-ups might be needed. Don’t worry, it’s all part of the process.
Examine your newly striped wall for any small imperfections. Use a small artist’s brush to carefully touch up any minor bleeds or uneven lines with the appropriate paint color.
Replace switch plates and outlet covers. Clean up your tools and put away your drop cloths.
Step back and admire your beautiful, hand-painted striped wall. You’ve created a unique and cozy space!
Common Mistakes to Avoid
Skipping Wall Preparation
Painting over dirty or uneven walls is a recipe for disaster. The paint won’t adhere properly, leading to peeling or a bumpy finish.
Always take the time to clean, patch, and sand your walls. This foundational work ensures a smooth, lasting result that you’ll be proud of.
Imprecise Measuring and Marking
Eyeballing your stripes will almost certainly lead to crooked or uneven lines, diminishing the professional look you’re aiming for.
Invest in a good quality measuring tape and a level. Double-check all your measurements and pencil marks before applying any tape or paint.
Not Sealing the Tape Edges
This is the most common reason for paint bleeding under the tape, resulting in fuzzy, undefined lines.
Always apply a thin coat of your base color over the edges of your painter’s tape and let it dry. This creates a barrier that prevents your stripe color from seeping underneath.
Removing Tape When Paint is Dry
Waiting too long to remove the tape can cause your freshly painted stripes to peel off with the tape, leaving jagged edges and a lot of frustration.
Make sure to remove the tape while the final coat of your stripe color is still wet. This allows the tape to release cleanly from the wall without damaging your new paint job.
Troubleshooting
Bleeding Edges
If you notice some paint has bled under the tape, don’t panic. This is often fixable with a steady hand.
Wait for the paint to fully dry. Then, using a small artist’s brush and your base color, carefully paint over the bled areas to sharpen the line. For very tiny bleeds, a damp cotton swab can sometimes gently wipe away fresh paint.
Uneven Stripe Widths
If one of your stripes looks a little wider or narrower than its neighbors, it likely happened during the marking or taping phase.
For minor discrepancies, you can often “cheat” the line slightly with a very fine brush and the appropriate paint color. For more significant errors, you may need to re-tape and repaint that specific stripe section once fully dry.
Tape Pulling Off Base Paint
This usually happens if the base coat wasn’t fully cured before tape application, or if the tape was left on too long.
Carefully re-paint the peeled areas with your base color. Allow it to dry completely. In the future, ensure your base coat has ample time to cure (24-48 hours) and use a painter’s tape designed for delicate surfaces if your base paint is fresh.
Key Takeaways
- Preparation is paramount: Clean and smooth walls are the foundation for beautiful stripes.
- Measure twice, paint once: Precision in marking lines prevents crooked stripes.
- Seal the tape: A thin coat of base color over tape edges stops bleeding.
- Timing is everything: Remove tape while the final coat is still wet for crisp lines.
- Embrace imperfections:0 Small touch-ups are normal and easily fixed.
- Personalize your space: Stripes add unique character and a cozy aesthetic.
Frequently Asked Questions
How wide should my stripes be?
The ideal stripe width depends on the size of your room and the look you’re going for. Wider stripes (6-12 inches) tend to make a room feel larger and more modern, while narrower stripes (1-4 inches) offer a classic, traditional, or even whimsical feel. Consider what complements your furniture and overall design vision.
What kind of paint should I use for stripes?
For best results, use high-quality interior latex paint in your desired sheen. Eggshell or satin finishes are popular for walls as they are durable and easy to clean. Avoid flat paint for stripes as it can be harder to get crisp lines and is less durable.
Can I paint horizontal stripes?
Absolutely! Horizontal stripes can make a room feel wider and more expansive, adding a unique design element. The process is very similar to vertical stripes, just ensure your level is perfectly straight when marking your horizontal lines.
Do I need to prime my walls before painting stripes?
You should prime if you’re painting over a very dark color with a lighter one, or if your walls are unevenly porous. If your walls are already painted a consistent, light color and in good condition, a good quality base coat of paint may suffice without a separate primer.
Our Top Recommended Finds
- Laser Level: For effortlessly straight lines, a laser level projects a perfect beam, making marking your stripes much faster and more accurate than a traditional bubble level.
- FrogTape Multi-Surface Painter’s Tape: This tape is renowned for its PaintBlock Technology, which reacts with paint to form a micro-barrier, sealing the edges and preventing bleed-through. It’s a game-changer for crisp lines.
- Wooster Shortcut Angle Sash Brush: A small, angled brush is invaluable for cutting in edges and performing precise touch-ups. Its comfortable handle makes detailed work much easier.
Your Striped Sanctuary Awaits!
You now have all the knowledge and practical steps to transform your walls with beautiful, custom stripes.
This project is more than just painting; it’s about infusing your home with your personal style and creating a space that genuinely feels like you.
Don’t hesitate to start with a smaller accent wall if you’re feeling a little nervous. The satisfaction of seeing your vision come to life is truly rewarding.
Grab your brushes, embrace the process, and get ready to enjoy a cozier, more inspiring home today!