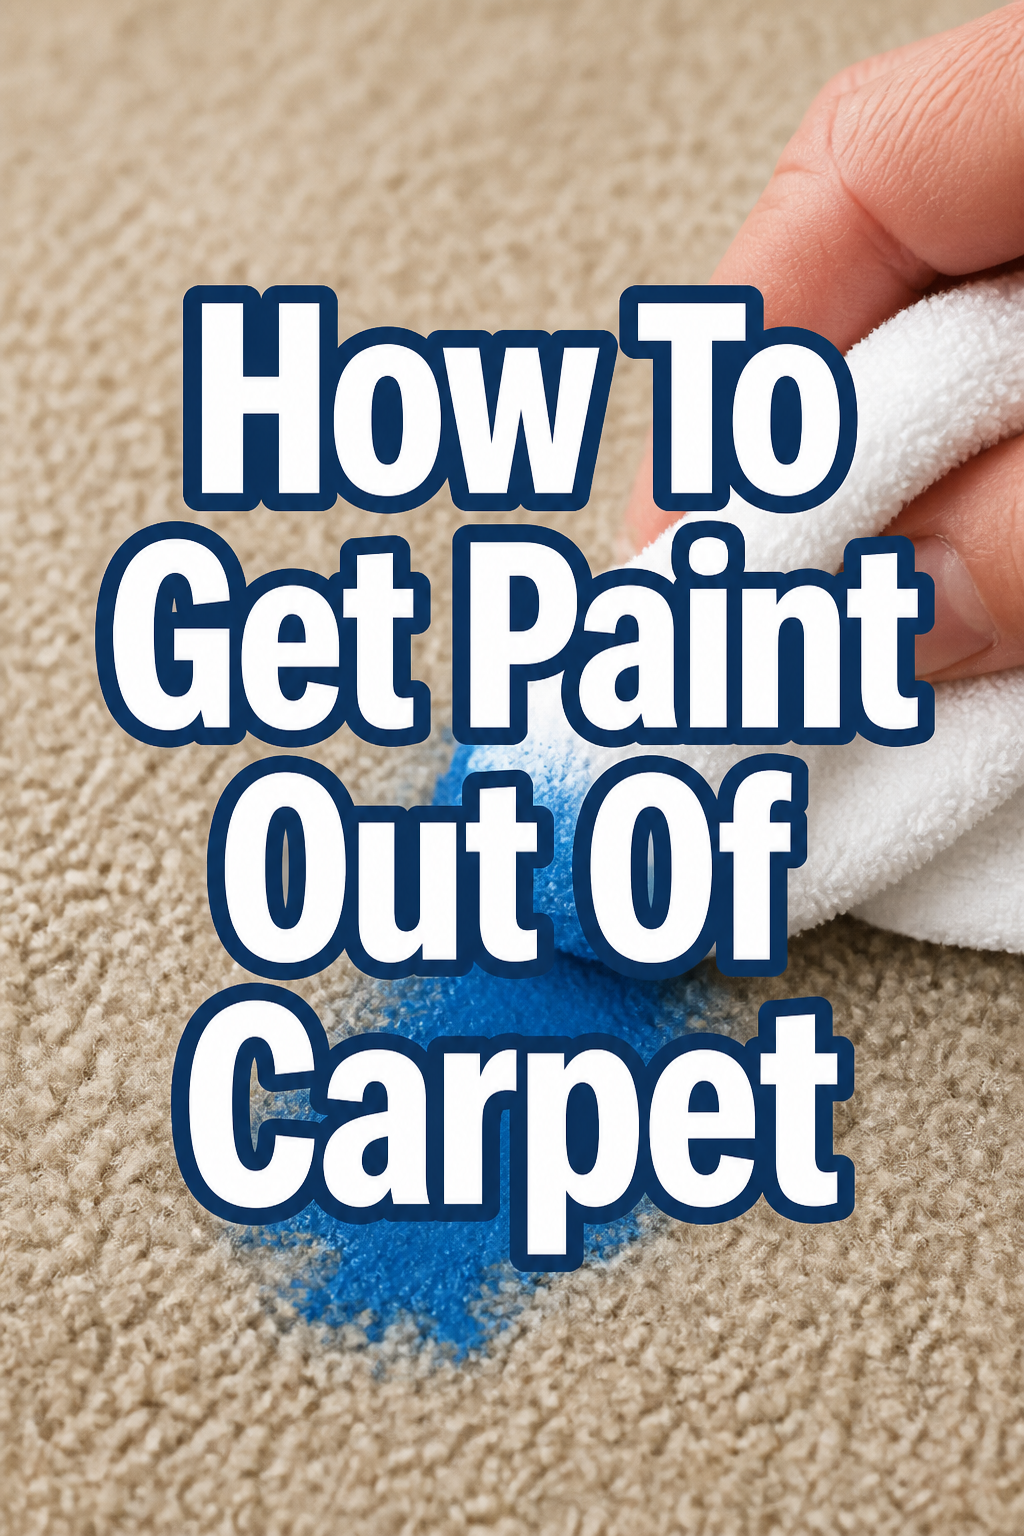
🎨 How To Get Paint Out Of Carpet
We’ve all been there, admiring a fresh coat of paint, only to look down and see an unexpected splash on our beloved carpet. My own heart has skipped a beat more than once over a rogue brushstroke, threatening to disrupt the cozy aesthetic I worked so hard to create.
But don’t despair! This guide is born from countless home projects and a few accidental spills, offering you a clear path to restoring your beautiful floors. You can absolutely tackle this, preserving the warmth and style of your cherished living spaces.
Quick Overview
This guide will walk you through the process of removing paint from your carpet, focusing on gentle yet effective methods to protect your flooring. You’ll learn how to identify the paint type, gather the right tools, and apply specific techniques to lift the stain without causing further damage.
- Time needed: 30 minutes to 2 hours (depending on paint type and stain size)
- Difficulty: Beginner to Intermediate
- What you’ll need: Paper towels, clean cloths, dull knife/spoon, appropriate cleaning solution (e.g., dish soap, rubbing alcohol, paint thinner), warm water, vacuum.
Step-by-Step Instructions
Step 1: Act Fast and Assess the Situation
Time is truly of the essence when it comes to paint spills. The quicker you address the accident, the better your chances of a complete removal. Don’t let panic set in; a calm approach is your best tool.
First, take a deep breath. Then, observe the paint. Is it still wet, or has it started to dry? This crucial detail will guide your next actions.
Identify the type of paint. Is it water-based (like latex or acrylic) or oil-based (like enamel or alkyd)? Check the paint can if it’s nearby.
Knowing the paint type is key to choosing the correct cleaning agent, preventing further damage to your carpet fibers. This initial assessment sets you up for success.
Pro Tip: Place a small, brightly colored marker or even a piece of tape around the spill to ensure you don’t accidentally step on it or spread it further while you gather supplies. This simple step can save you a lot of extra work.
Step 2: Gently Scrape Away Excess Wet Paint
If the paint is still wet, resist the urge to rub it! Rubbing will only push the paint deeper into the carpet fibers, making it much harder to remove. Instead, you want to lift it.
Grab a dull knife, a spoon, or even an old credit card. The goal is to gently scrape the paint upwards, off the carpet fibers.
Work from the outside edges of the spill towards the center. This technique prevents the stain from spreading outwards, keeping it contained to a smaller area.
Deposit the scraped paint onto a paper towel or an old rag. Continue this process until you’ve removed as much of the wet paint as possible without rubbing or smearing.
Step 3: Blot the Remaining Wet Paint
Once you’ve scraped off the bulk of the wet paint, it’s time to blot. Take a clean, white cloth or a stack of paper towels.
Dab the stained area lightly. Again, avoid rubbing vigorously. The aim is to transfer the paint from the carpet to your cloth.
Rotate your cloth to a clean section frequently. You want to always be dabbing with a fresh part of the cloth to avoid reapplying paint to the carpet.
Continue blotting until no more paint transfers to your cloth. This step is crucial for minimizing the amount of paint left for the cleaning solution to tackle.
Step 4: Choose Your Cleaning Solution (Water-Based Paint)
For water-based paints (latex, acrylic), you’ll start with the gentlest method. This approach protects your carpet’s delicate fibers and color.
Mix a solution of warm water and a small amount of mild dish soap. Just a teaspoon or two of soap in a cup of water is usually sufficient.
Dampen a clean, white cloth with this soapy water. Ensure the cloth is damp, not soaking wet, to prevent oversaturation of the carpet.
Gently blot the paint stain with the damp, soapy cloth. Work from the outside in, just as you did with the scraping and blotting steps.
Repeat this blotting process, rinsing your cloth frequently and reapplying the soapy water, until the paint begins to lift.
Pro Tip: Always test any cleaning solution on an inconspicuous area of your carpet first. A hidden corner or inside a closet can confirm that the solution won’t cause discoloration or damage to your carpet’s specific material.
Step 5: Choose Your Cleaning Solution (Oil-Based Paint)
Oil-based paints require a different approach. These paints are more durable and need a stronger solvent to break them down.
Consider using mineral spirits, turpentine, or a specialized paint thinner designed for oil-based paints. Always check the paint can’s label for recommended cleanup solvents.
Ensure good ventilation in the room. Open windows and doors, and if possible, use a fan to circulate air. These solvents have strong fumes.
Dampen a clean, white cloth with a small amount of your chosen solvent. Do not pour the solvent directly onto the carpet.
Blot the stained area gently. You should see the paint starting to transfer to your cloth. Be patient and work slowly.
Rotate your cloth constantly to a clean section. You’ll likely use several cloths during this process as the paint lifts.
Step 6: Rinse and Neutralize
Once the paint appears to be gone, it’s important to rinse the area thoroughly to remove any remaining cleaning solution. This prevents residue buildup, which can attract dirt.
Dampen a fresh, clean cloth with plain warm water. Do not use soap or solvent in this step.
Blot the cleaned area repeatedly with the water-dampened cloth. This helps to lift away any lingering soap or chemical residue.
Change to a new, clean, water-dampened cloth as needed. The goal is to leave the carpet as free of residue as possible.
For oil-based paint removal, after using the solvent, you might want to follow up with a very diluted solution of dish soap and water to help break down any oily residue from the solvent itself, then rinse again with plain water.
Step 7: Dry the Area Thoroughly
Proper drying is essential to prevent mildew growth and to restore your carpet’s texture. Don’t rush this step.
Place several layers of clean, dry paper towels or a thick, clean towel over the damp area.
Press down firmly to absorb as much moisture as possible. You can even stand on the towels for a minute or two to apply good pressure.
Replace the towels with fresh, dry ones as they become saturated. Continue until the area feels mostly dry to the touch.
Allow the carpet to air dry completely. You can speed up the process by placing a fan near the area or opening windows to improve air circulation. Avoid walking on the damp spot.
Step 8: Restore Carpet Pile
After cleaning and drying, your carpet fibers might look a bit matted or stiff. This is normal, and it’s easy to restore its fluffy appearance.
Take a clean, stiff-bristled brush or even your fingertips. Gently work the fibers of the carpet.
Brush or fluff the area in different directions. This helps to separate the individual fibers and blend them back with the surrounding carpet.
Vacuum the entire area once it’s completely dry. Vacuuming will help to lift and smooth the pile, making the cleaned spot virtually undetectable.
Admire your restored carpet! It’s a satisfying feeling to see your beautiful floor looking pristine once more.
Common Mistakes to Avoid
Rubbing the Stain
One of the most common and damaging mistakes is to aggressively rub a fresh paint spill. This action doesn’t remove the paint; instead, it pushes the paint particles deeper into the carpet fibers, making them much harder to extract. Rubbing also spreads the stain over a larger area, exacerbating the problem.
Always remember to blot or scrape gently. Think of it as lifting the paint off the fibers, not grinding it in. Patience and a light touch are your best allies here, preserving both your carpet’s integrity and your sanity.
Using the Wrong Cleaning Solution
Applying an unsuitable cleaning agent can cause irreversible damage to your carpet. For example, using a strong solvent meant for oil-based paint on a delicate synthetic carpet, or on water-based paint, can bleach the fibers or dissolve the carpet’s backing. This can lead to discoloration or even create a hole.
Always identify your paint type first, then choose the appropriate, gentlest solution. Test any new product on an inconspicuous area of your carpet before applying it to the main stain. This simple precaution saves you from a bigger headache later.
Over-Wetting the Carpet
Drenching the carpet with water or cleaning solution is another common pitfall. Excessive moisture can seep into the carpet’s backing and padding, creating a breeding ground for mold and mildew. This can lead to unpleasant odors and structural damage to your flooring.
Use a damp cloth, not a soaking one. Apply cleaning solutions sparingly and blot frequently to absorb excess liquid. Ensure the area is thoroughly dried after cleaning to prevent any long-term moisture issues.
Ignoring the Stain for Too Long
While life gets busy, delaying the cleanup of a paint spill significantly reduces your chances of a full recovery. Once paint dries, especially oil-based varieties, it hardens and bonds more strongly with the carpet fibers. This makes it far more challenging to remove without damaging the carpet.
Address paint spills immediately, even if it’s just to scrape off the excess and blot a little before you can fully tackle it. Quick action is your most powerful tool in preventing a permanent blemish on your beautiful carpet.
Troubleshooting
Stubborn Dried Paint Remains
Sometimes, even after your best efforts, a faint trace of dried paint might linger. Don’t lose hope! For water-based paint, try dabbing with a small amount of rubbing alcohol or non-acetone nail polish remover on a clean cloth. For oil-based paint, a small application of specific paint stripper (designed for carpets) might be necessary, but always test in an hidden spot first.
Apply these stronger solutions very sparingly and blot immediately. Follow up with a good rinse using plain water and then dry thoroughly. Persistence, combined with caution, is key here.
Carpet Discoloration or Bleaching
If your carpet appears discolored or bleached after cleaning, it’s often due to using too strong a solution or rubbing too aggressively. Unfortunately, once carpet fibers lose their color, it’s very difficult to restore it at home.
For minor discoloration, you might try a carpet color repair kit, but this is a delicate process best left to professionals. In most cases, if discoloration is significant, professional carpet cleaning or even patching might be the only viable options.
Matted or Stiff Carpet Fibers
After a deep clean, especially if a lot of liquid was used, carpet fibers can sometimes feel stiff or look matted. This is usually a temporary issue and can be resolved.
Once the carpet is completely dry, use a stiff brush or even a fork to gently tease and fluff the fibers. Work in small sections, lifting the pile. A thorough vacuuming with a good brush roll will also help to restore the carpet’s natural texture and softness.
Key Takeaways
- Act quickly: Fresh spills are significantly easier to remove than dried ones.
- Identify paint type: Water-based and oil-based paints require different cleaning solutions.
- Blot, don’t rub: Gently lift paint from fibers to prevent spreading and embedding.
- Test solutions first: Always check cleaning products on an inconspicuous area of your carpet.
- Rinse thoroughly: Remove all cleaning solution residue to prevent re-soiling and damage.
- Dry completely: Prevent mildew and restore carpet texture by ensuring full dryness.
Frequently Asked Questions
Can I use hairspray to remove paint from carpet?
Hairspray can sometimes work on small, fresh latex paint spots due to its alcohol content. However, it’s not a primary recommendation because it can leave a sticky residue or potentially damage certain carpet fibers. It’s generally better to stick to dish soap for water-based paints.
What if I don’t know what kind of paint it is?
If you’re unsure about the paint type, always start with the gentlest method: warm water and mild dish soap. If that doesn’t work after a few attempts, you can then cautiously try rubbing alcohol (for water-based) or mineral spirits (for oil-based) on a tiny, hidden spot first. When in doubt, call a professional.
Will cleaning paint out of carpet damage my carpet?
If done incorrectly, yes, it can. Rubbing too hard, using the wrong chemicals, or over-wetting can lead to fiber damage, discoloration, or mold. Following this guide’s gentle, step-by-step approach significantly minimizes these risks, protecting your carpet’s appearance and longevity.
When should I call a professional?
You should consider calling a professional carpet cleaner if the paint spill is very large, if it’s an old, dried stain that isn’t responding to your efforts, or if you have a very delicate or expensive carpet. Professionals have specialized tools and solutions that can often tackle the toughest stains.
Our Top Recommended Finds
- Microfiber Cleaning Cloths: These are incredibly absorbent and gentle, perfect for blotting without leaving lint behind. Their soft texture helps protect delicate carpet fibers.
- Dull Scraper Tool: A plastic putty knife or a dedicated carpet spot-removal scraper is invaluable for gently lifting dried paint or excess wet paint without damaging the carpet.
- Mild Dish Soap (biodegradable): A good quality, gentle dish soap is your first line of defense against water-based paint and is safe for most carpet types.
Embrace Your Beautiful Home, Stain-Free
Seeing a paint spill can feel like a major setback in your quest for a perfectly curated home. But with the right knowledge and a calm approach, it’s just a temporary challenge. You’ve now gained the confidence and practical steps to tackle these little mishaps head-on.
Imagine your living room, bathed in soft light, the carpet pristine and inviting, ready for cozy evenings and joyful gatherings. Don’t let a paint spot dim that vision. Take action today, gather your supplies, and restore the beauty and harmony of your cherished spaces. Your home deserves to shine, and so do you!