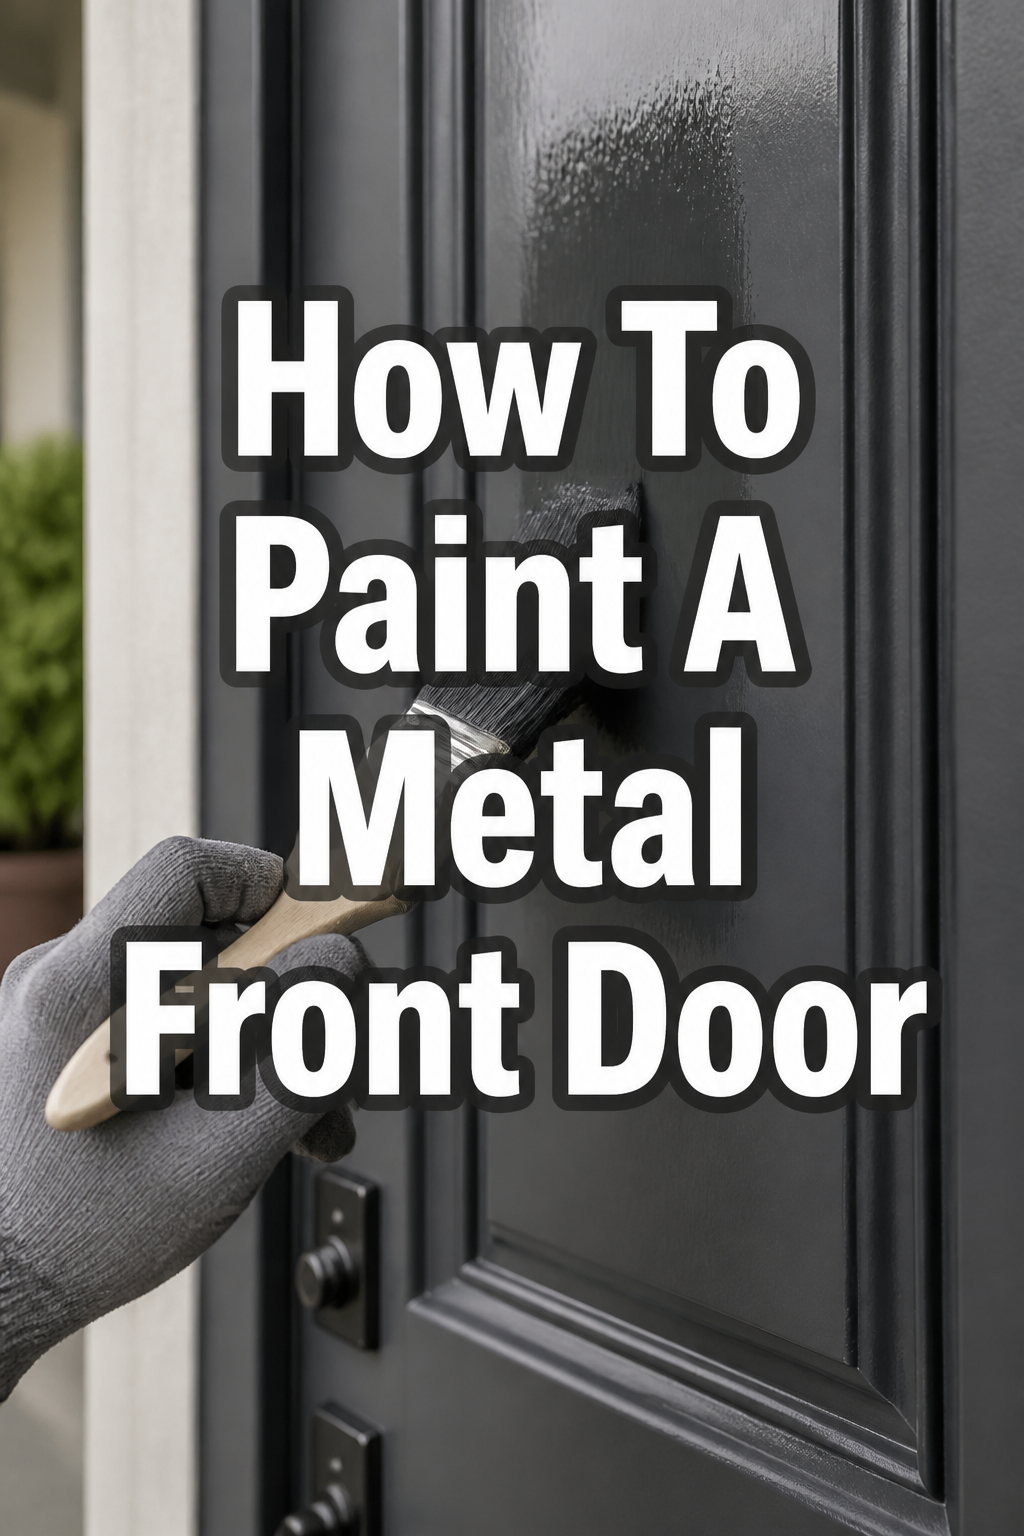
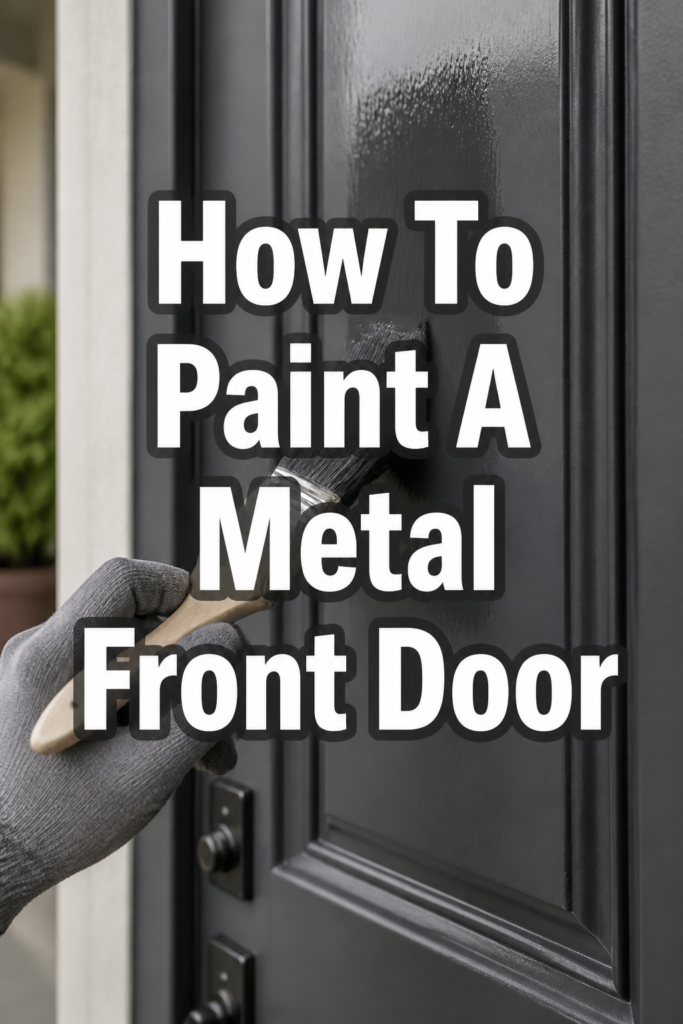
🚪 How To Paint A Metal Front Door
There’s something truly magical about a freshly painted front door.
It’s the welcoming smile of your home, setting the tone for every guest and greeting you warmly after a long day.
I’ve personally transformed several tired entries into vibrant focal points, and I’m excited to share all my secrets to help you achieve a stunning, professional finish.
Quick Overview
Ready to give your home a beautiful new face? This guide will walk you through every step to transform your metal front door from dull to delightful.
You’ll learn how to properly prepare, prime, and paint your door, ensuring a lasting and lovely finish that boosts your home’s curb appeal and welcoming charm.
- Time needed: 1-2 days (allowing for drying times)
- Difficulty: Beginner
- What you’ll need: Cleaner, sandpaper, painter’s tape, primer, exterior paint, brushes, roller, drop cloths, screwdriver, paint tray.
Step-by-Step Instructions
Step 1: Choose Your Perfect Palette
Before you even think about brushes, let’s talk color! This is where the magic of design truly begins, impacting the entire feel of your home’s exterior.
Consider your home’s existing brick, siding, or trim colors. Do you want a bold contrast that makes a statement, or a harmonious shade that blends beautifully?
Think about the mood you want to create. A rich navy can evoke a sophisticated, welcoming vibe, while a soft sage green might lean into a cozy, natural aesthetic.
Gather some paint chips and tape them to your door. Observe them throughout the day as the light changes – this is crucial for seeing how the color truly behaves.
Pro Tip: For a cohesive look, consider how your door color might tie into indoor accents visible from the entryway, like a throw pillow or a piece of art. It creates a subtle, inviting flow from outside in.
Step 2: Gather Your Tools and Create a Cozy Workspace
A well-prepared painting project is a happy painting project. Lay out all your supplies before you begin, so everything is within easy reach.
This includes your chosen paint, a high-quality primer, various brushes (an angled sash brush for details, a foam brush for panels, and a small roller for flat surfaces), painter’s tape, drop cloths, and cleaning supplies.
If possible, choose a day with mild weather – not too hot, not too cold, and definitely no rain. This helps paint dry evenly and prevents frustrating issues.
Protect your surrounding areas with drop cloths and painter’s tape. A clean workspace makes for a cleaner finish and less stress.
Step 3: Remove Hardware and Clean Thoroughly
For the absolute best finish, it’s always best to remove your door from its hinges and take off all hardware: handles, knockers, and peep holes.
If removing the door isn’t feasible, you can carefully tape around the hardware, but be meticulous. The smoother the surface, the better the paint will adhere.
Next, give your door a really good cleaning. Use a mild detergent and water to wash away all dirt, grime, and cobwebs. Rinse thoroughly and let it dry completely.
Any residue left on the door can prevent the paint from sticking properly, leading to peeling or bubbling later on.
Step 4: Sand for a Smooth, Inviting Surface
Sanding is a step many people skip, but it’s essential for a long-lasting, beautiful finish on a metal door.
Use fine-grit sandpaper (around 180-220 grit) to lightly scuff the entire surface of the door. This creates a “tooth” for the primer and paint to grip onto.
If your door has any rust spots, tackle those with a wire brush or coarser sandpaper until the rust is completely removed.
After sanding, wipe the door down with a tack cloth or a damp cloth to remove all dust. A dust-free surface is critical for a smooth paint job.
Pro Tip: When sanding, move in the direction of any existing grain or panel lines. This helps maintain the door’s original texture and prevents unsightly swirl marks.
Step 5: Prime for Protection and Adhesion
Priming is your secret weapon for a professional-looking, durable finish. Choose a high-quality metal primer that’s suitable for exterior use.
Apply a thin, even coat of primer to the entire door. Use an angled brush for recessed panels and edges, and a small foam roller for flat surfaces.
Primer helps block stains, promotes excellent adhesion for your topcoat, and ensures your final color looks true and vibrant.
Allow the primer to dry completely according to the manufacturer’s instructions. Patience here will absolutely pay off.
Step 6: Apply Your First Coat of Color with Care
Now for the exciting part – seeing your chosen color come to life! Stir your exterior metal paint thoroughly before you begin.
Start by painting any recessed panels or decorative elements first, using your angled brush. Work in small sections, moving from top to bottom.
Next, paint the stiles (vertical sections) and rails (horizontal sections) of the door. Use your roller for flat areas, applying thin, even coats.
Avoid applying too much paint at once, as this can lead to drips and an uneven finish. Thin coats are always better than one thick one.
Step 7: The Second Coat for Depth and Durability
Once your first coat is completely dry (again, follow manufacturer guidelines), it’s time for the second coat.
This coat will deepen the color, provide better coverage, and significantly enhance the durability of your paint job.
Apply the second coat using the same technique as the first, working carefully and methodically across the door’s surface.
Take a step back occasionally to check for any missed spots or uneven areas, addressing them gently while the paint is still wet.
Pro Tip: For a truly smooth finish, lightly sand with a very fine-grit sandpaper (e.g., 320 grit) between coats, especially if you notice any dust or minor imperfections. Wipe clean with a tack cloth before applying the next layer. This extra step elevates your door to a professional level.
Step 8: Reinstall Hardware and Admire Your Work
Once the final coat of paint is completely dry and cured (this might take 24-48 hours depending on humidity and paint type), carefully remove all painter’s tape.
Reattach your door hardware, taking care not to scratch your beautiful new finish. If you removed the door, rehang it on its hinges.
Step back and admire your handiwork! Your freshly painted metal front door isn’t just a new color; it’s a renewed welcome, a statement of style, and a testament to your creative touch.
Common Mistakes to Avoid
Skipping Proper Cleaning and Prep
Many people rush through the cleaning and sanding steps, eager to get to the painting. However, inadequate preparation is the number one reason for paint failure.
Dirt, grease, and loose paint will prevent new paint from adhering properly, leading to peeling, bubbling, and a short-lived finish. Always clean thoroughly and scuff sand for optimal adhesion.
Painting in Extreme Temperatures
Painting on a scorching hot day can cause paint to dry too quickly, leading to brush marks, poor adhesion, and an uneven finish. Similarly, painting in very cold or humid conditions can prevent proper drying and curing.
Always check the paint manufacturer’s recommended temperature and humidity ranges. Aim for mild, dry conditions for the best results.
Applying Thick Coats of Paint
It can be tempting to try and get full coverage in one or two thick coats to save time. However, thick coats of paint are more prone to drips, uneven drying, and a less durable finish.
Always apply multiple thin, even coats. This allows each layer to dry properly, creating a stronger, smoother, and more professional-looking surface.
Not Using the Right Primer for Metal
Metal surfaces require a specific type of primer, especially if there’s any risk of rust or if you’re making a significant color change. Using a general-purpose primer on metal might not provide the necessary adhesion or rust inhibition.
Invest in a high-quality, rust-inhibiting metal primer. It’s a crucial step for ensuring your paint job lasts for years to come.
Troubleshooting
Paint Drips or Runs
If you notice drips or runs while the paint is still wet, gently smooth them out with your brush or roller, redistributing the paint evenly. Work quickly but carefully.
If the paint has already dried, you’ll need to lightly sand the affected area with fine-grit sandpaper until it’s smooth, then wipe clean and reapply a thin coat of paint.
Rough or Bumpy Finish
A rough finish is often caused by dust or debris on the surface before painting, or by applying paint too thickly, or painting in dusty conditions.
Once dry, lightly sand the entire door with very fine-grit sandpaper (e.g., 320 grit) to smooth out the bumps. Wipe thoroughly with a tack cloth before applying another thin coat of paint.
Poor Coverage or Streaks
This usually happens if the paint wasn’t stirred enough, if the previous coat wasn’t fully dry, or if you’re trying to cover a dark color with a light one in too few coats.
Ensure your paint is thoroughly mixed. Apply additional thin coats, allowing each to dry completely. A good primer also helps significantly with coverage and color uniformity.
Key Takeaways
- Choosing the right color transforms your home’s entire aesthetic and curb appeal.
- Thorough cleaning and sanding are non-negotiable for a durable, beautiful finish.
- Always use a high-quality metal primer to ensure adhesion and prevent rust.
- Apply multiple thin, even coats of paint for a smooth, professional look.
- Patience during drying times between coats is crucial for longevity.
- Removing hardware provides the cleanest lines and a superior finish.
Frequently Asked Questions
Do I need to remove my metal door to paint it?
While removing the door and hardware offers the best, most professional results by allowing you to paint flat and get into every nook without drips, it’s not strictly necessary. You can paint the door in place, but be extra careful with taping and protecting hinges and hardware.
What kind of paint is best for a metal front door?
You’ll want to use a high-quality exterior paint specifically designed for metal surfaces. Look for paints labeled as “exterior enamel,” “direct-to-metal (DTM),” or “rust-inhibiting.” Acrylic latex paints formulated for exterior metal are also excellent choices for durability and color retention.
How long does the paint need to dry before I can close the door?
Most exterior paints are “tack-free” within a few hours, meaning they are dry to the touch. However, they need much longer to fully cure and harden. It’s best to wait at least 24-48 hours before closing the door completely, and even longer in humid conditions, to prevent the paint from sticking to the frame.
Can I paint over existing paint on a metal door?
Yes, you can, provided the existing paint is in good condition – not peeling, chipping, or chalky. You’ll still need to clean it thoroughly, lightly sand to dull the sheen and create a “tooth,” and then prime before applying your new paint for the best adhesion and longevity.
Our Top Recommended Finds
- Quality Angled Sash Brush: Perfect for cutting in around glass panels and intricate details, ensuring crisp lines.
- High-Density Foam Roller: Ideal for achieving a super smooth finish on flat door surfaces, minimizing brush strokes.
- Exterior Metal Primer: Essential for rust protection and ensuring your chosen paint adheres beautifully and lasts for years.
Your Home’s Welcoming Transformation Awaits
Imagine stepping back and seeing your front door, not just as an entry point, but as a vibrant expression of your home’s personality.
A fresh coat of paint can completely revitalize your home’s curb appeal, inviting warmth and style right to your doorstep.
Now that you have all the tools and knowledge, why not pick up that first paint chip today? Consider how a new color might transform your entire entryway, perhaps inspiring you to refresh your porch decor or plant a new flower bed.
Your beautiful, welcoming home is just a few brushstrokes away!