✨ How To Put Led Lights In Room
Remember that wonderful feeling of walking into a room that just feels right?
It’s often the lighting that creates that magical, cozy atmosphere, and LED strip lights are an incredible way to achieve it.
I’ve transformed my own living spaces and helped friends create inviting sanctuaries with these versatile lights, so you can trust this guide to walk you through every simple step.
Quick Overview
You’re about to transform your room into a personalized haven with beautiful, customizable LED lighting. This guide will walk you through planning, installation, and enjoying your new aesthetic.
- Time needed: 1-3 hours (depending on room size and complexity)
- Difficulty: Beginner
- What you’ll need: LED strip lights, measuring tape, clean cloth or rubbing alcohol wipes, scissors, power outlet, optional mounting clips or channels.
Step-by-Step Instructions
Step 1: Dream Up Your Vibe
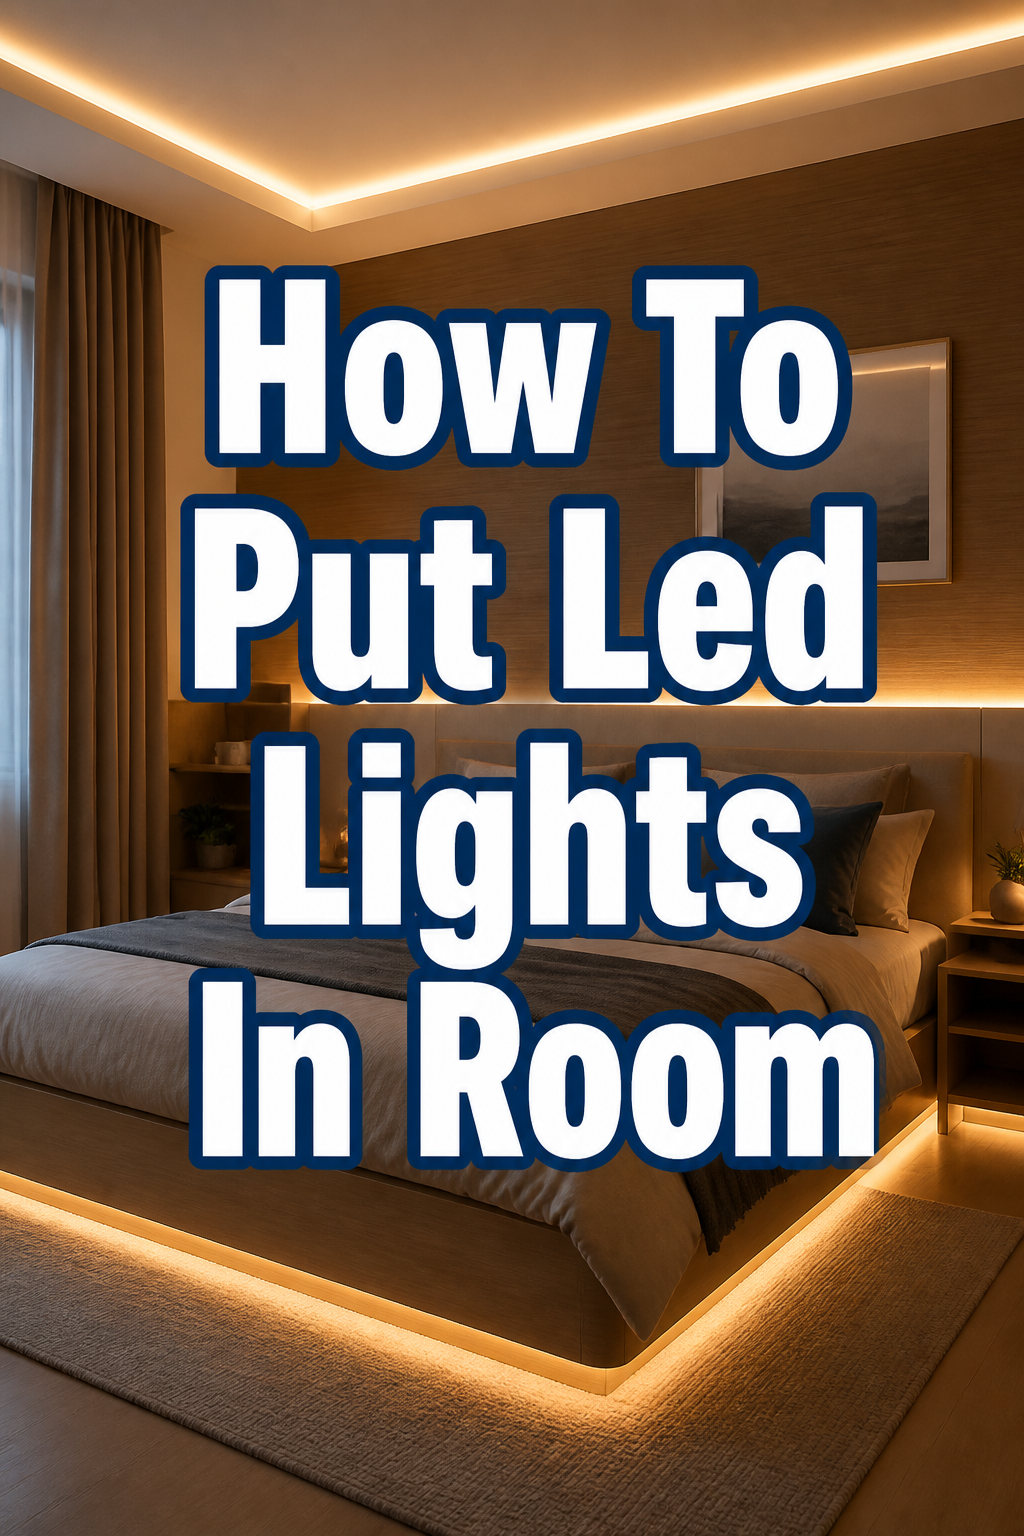
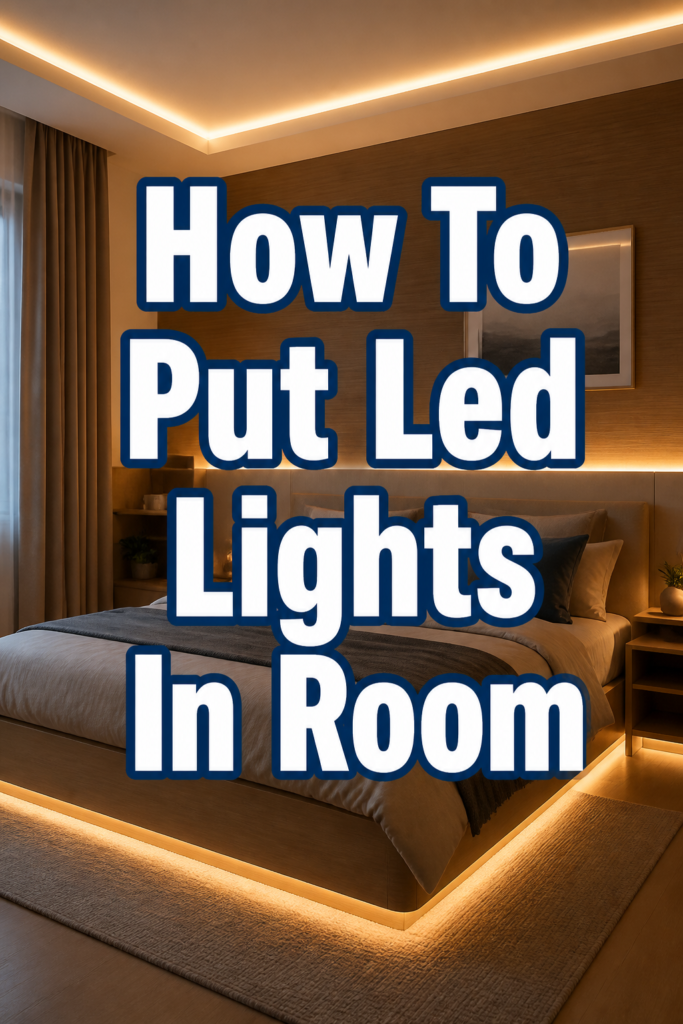
Before you even unbox your lights, take a moment to imagine the feeling you want to create. Do you want soft, ambient glow behind your TV, vibrant colors for a gaming setup, or a warm, inviting light along your ceiling?
Consider where the lights will look best. Think about placing them behind furniture, under cabinets, along the top of walls, or even framing a mirror. This initial vision helps you plan your layout and measure accurately.
Pro Tip: Look for inspiration online! Pinterest and Instagram are full of amazing LED room ideas that can spark your creativity and help you visualize your perfect aesthetic.
Step 2: Gather Your Tools and Measure
Now that you have a vision, it’s time to prepare. Unpack your LED strip light kit to ensure everything is there, including the power adapter, remote, and connectors.
Measure the exact areas where you plan to install the lights. It’s always better to have a little extra strip than not enough. Make sure your chosen path ends near a power outlet for easy connection.
Pro Tip: Buy a strip slightly longer than your measurement. You can always trim excess, but you can’t add more if you’re short! Most LED strips have designated cutting points.
Step 3: Test Before You Stick
This is a crucial step that many skip, leading to frustration later. Before peeling off any adhesive, unroll your LED strip lights and plug them in.
Use the remote or app to test all the colors and functions. Make sure all segments of the strip light up correctly and that the remote works as expected. This confirms your lights are functional before you commit to installation.
Pro Tip: Briefly lay the strip along your intended path during this test. This gives you a preview of the lighting effect and helps confirm your layout.
Step 4: Prepare the Surface
For your LED lights to stay put, a clean surface is essential. Wipe down the entire area where the lights will be installed with a clean, dry cloth or rubbing alcohol wipes.
Allow the surface to dry completely. Any dust, grease, or moisture will weaken the adhesive, causing your lights to sag or fall over time. This small step makes a huge difference in longevity.
Pro Tip: For painted walls, especially those with textured finishes, consider using additional mounting clips or a stronger adhesive spray for extra security.
Step 5: Start Sticking (Carefully!)
Begin installing your lights from one end, ideally near your power source. Peel off a small section of the adhesive backing at a time, about 6-12 inches.
Press the LED strip firmly onto the clean surface, working your way along the path. Avoid stretching the strip as you apply it, which can damage the internal wiring. Take your time for a smooth, straight application.
Pro Tip: When going around corners, avoid sharp bends. Either use special corner connectors (if your kit includes them) or gently fold the strip into a soft curve, making sure not to crease the LEDs themselves.
Step 6: Cut and Connect (If Needed)
If your strip is too long, you’ll need to trim it. Look for the designated cutting points on the LED strip, usually marked with a scissor icon or copper pads.
Use sharp scissors to make a clean cut at these points only. Cutting elsewhere can damage the circuit and prevent the rest of the strip from lighting up. If connecting multiple strips, use the provided connectors, ensuring correct polarity (often indicated by arrows).
Pro Tip: Always double-check your measurements before cutting. Remember the old adage: measure twice, cut once!
Step 7: Power Up and Personalize
Once the strip is fully installed, connect the power adapter to the LED strip and then plug it into your wall outlet. Your lights should immediately come to life!
Grab your remote control or open the accompanying app. Experiment with different colors, brightness levels, and lighting modes to find the perfect ambiance for your room. This is where your initial vision comes to life.
Pro Tip: Save your favorite settings as custom presets if your remote or app allows. This makes it easy to switch to your preferred mood with a single tap.
Step 8: Secure Loose Ends and Enjoy
Take a moment to inspect your installation. Are there any loose wires or drooping sections? Use cable clips to tidy up any visible wires from the power adapter to the strip.
Press down firmly on any sections of the strip that might feel less secure. Step back and admire your handiwork! Your room now has a renewed sense of style and a wonderful, inviting glow.
Pro Tip: Consider placing your remote in a convenient, easily accessible spot. Maybe a small adhesive holder on the side of your nightstand or desk.
Common Mistakes to Avoid
Not Cleaning the Surface
Many people skip the crucial step of cleaning the installation surface. Dust, grime, and oils on your walls or furniture drastically reduce the adhesive’s effectiveness.
This leads to lights peeling off and falling down, often taking bits of paint with them. Always take the time to wipe down the area with rubbing alcohol and let it dry completely before sticking your lights.
Cutting in the Wrong Spot
LED strips have specific, marked points where they can be cut safely. Cutting anywhere else will sever the circuit, causing a section of your lights (or even the entire strip) to stop working.
Always look for the scissor icon or copper contact points before making any cuts. If you’re unsure, consult your specific product’s manual.
Ignoring Cable Management
While the lights themselves create a beautiful effect, messy power cords and connectors can detract from the aesthetic. Leaving wires dangling looks unfinished and can be a tripping hazard.
Plan your power source placement and use small cable clips, ties, or even adhesive channels to neatly secure all wires. A tidy setup enhances the overall sleekness of your lighting design.
Overlooking Power Requirements
Trying to connect too many LED strips to a single power adapter, or using an incompatible adapter, can lead to dim lights, inconsistent colors, or even damage to the power supply.
Always check the wattage and voltage requirements for your specific LED strips and ensure your power adapter matches. When extending strips, sometimes a stronger power supply or additional boosters are needed.
Troubleshooting
Lights Won’t Turn On
If your newly installed LED lights aren’t illuminating, start by checking the power connection. Ensure the power adapter is securely plugged into both the wall outlet and the LED strip itself.
Sometimes the connection between the strip and the controller (if separate) can be loose. Unplug and re-plug everything, making sure any arrows or indicators on connectors are aligned correctly.
Colors Are Off or Inconsistent
If your lights show incorrect colors or only certain sections display the right hue, it often points to a connection issue. Check the connection between the LED strip and the controller, ensuring it’s firm and properly inserted.
For RGB strips, sometimes a pin is bent or not making full contact. Gently reseat the connector. If only a segment is off, it might indicate a damaged section of the strip, especially if it was bent sharply during installation.
Lights Falling Down
When LED strips start to peel or fall, it’s almost always an adhesive issue. The most common culprit is an unclean or unsuitable surface during installation.
Re-clean the area thoroughly with rubbing alcohol and let it dry. For better adhesion, consider using additional mounting clips, double-sided tape designed for heavier items, or a thin bead of silicone adhesive (for permanent solutions).
Key Takeaways
- Plan your layout and aesthetic vision before you begin.
- Always clean the surface thoroughly for optimal adhesive performance.
- Test your LED strip completely before peeling off the adhesive backing.
- Cut only at designated marks to prevent damage to the light circuit.
- Press firmly and steadily during installation for secure attachment.
- Manage your cables for a clean, professional, and safe look.
Frequently Asked Questions
Can I put LED strips on painted walls?
Yes, you absolutely can! Most LED strips come with an adhesive backing that works well on painted surfaces. However, ensure the paint is fully cured and the wall is clean and dry. For textured or older paint, consider using additional mounting clips for extra security to prevent the strip from peeling and potentially taking paint with it.
How do I handle corners?
For neat corners, you have a couple of options. You can gently bend the LED strip into a soft curve, avoiding sharp creases that can damage the internal wiring. Alternatively, many kits include L-shaped corner connectors that allow you to cut the strip at a designated point and connect it cleanly around a 90-degree angle, providing a very professional finish.
Are they safe to leave on all the time?
Modern LED strip lights are generally very energy-efficient and designed for long operational hours. Most are low-voltage and produce very little heat, making them safe to leave on for extended periods. However, always ensure you’re using the correct power adapter provided with your kit and that it’s not covered, allowing for proper ventilation.
Can I connect multiple strips together?
Yes, many LED strip systems are designed to be expandable. You can often connect multiple strips using specific connectors, extending the length. Be mindful of the total wattage and voltage requirements for all connected strips to ensure your power adapter can handle the load. Exceeding the power limit can cause dimming or damage.
Our Top Recommended Finds
- High-Quality RGBIC LED Strip Kit: Offers independent control of individual LED segments for stunning, dynamic multi-color effects.
- Adhesive Cable Management Clips: Small, clear clips that neatly secure power cords and loose wires, maintaining a clean aesthetic.
- LED Light Diffuser Channels: Aluminum channels with frosted covers that house your LED strips, providing a diffused, professional glow and protecting the lights.
Create Your Cozy Glow Today
There you have it – everything you need to know to bring beautiful LED lighting into your room. It’s more than just adding light; it’s about crafting an atmosphere, setting a mood, and expressing your unique style.
Don’t be afraid to experiment with different colors and brightness levels to see how they transform your space. You might be surprised by the magic a little light can create.
Why wait? Pick up your LED kit and start illuminating your world tonight. Your cozy, inviting room awaits!