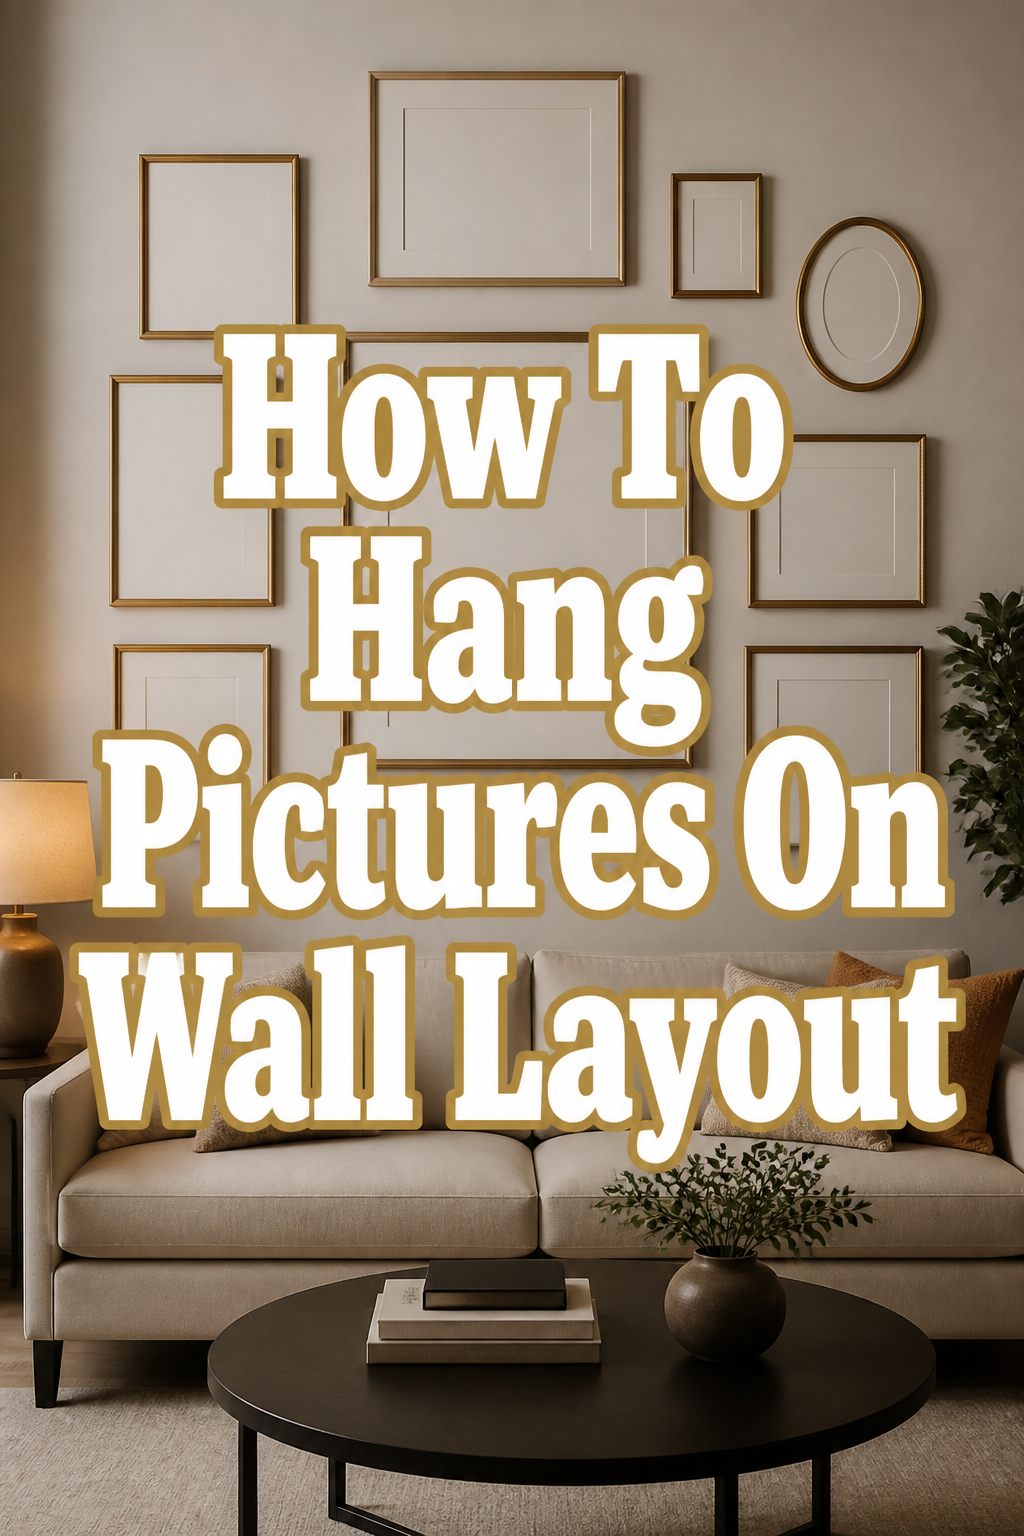
🖼️ How To Hang Pictures On Wall Layout
There’s a special kind of joy in transforming a blank wall into a cozy, personal statement.
I’ve spent countless hours perfecting gallery walls in my own home, finding just the right balance of art and memories.
This guide shares those practical lessons, helping you create a beautiful display with confidence and a touch of your unique style.
Quick Overview
You’re about to embark on a delightful journey to bring your walls to life. This guide will walk you through planning, arranging, and hanging your pictures to create a cohesive and inviting layout.
- Time needed: 2-4 hours (depending on layout complexity)
- Difficulty: Beginner
- What you’ll need: Measuring tape, pencil, level, hammer or drill, picture hangers, painter’s tape, paper for templates, scissors, your chosen pictures and frames.
Step-by-Step Instructions
Step 1: Gather Your Treasures
Before any measuring or hammering begins, collect all the pieces you want to hang. This includes framed art, photographs, mirrors, or even small decorative objects.
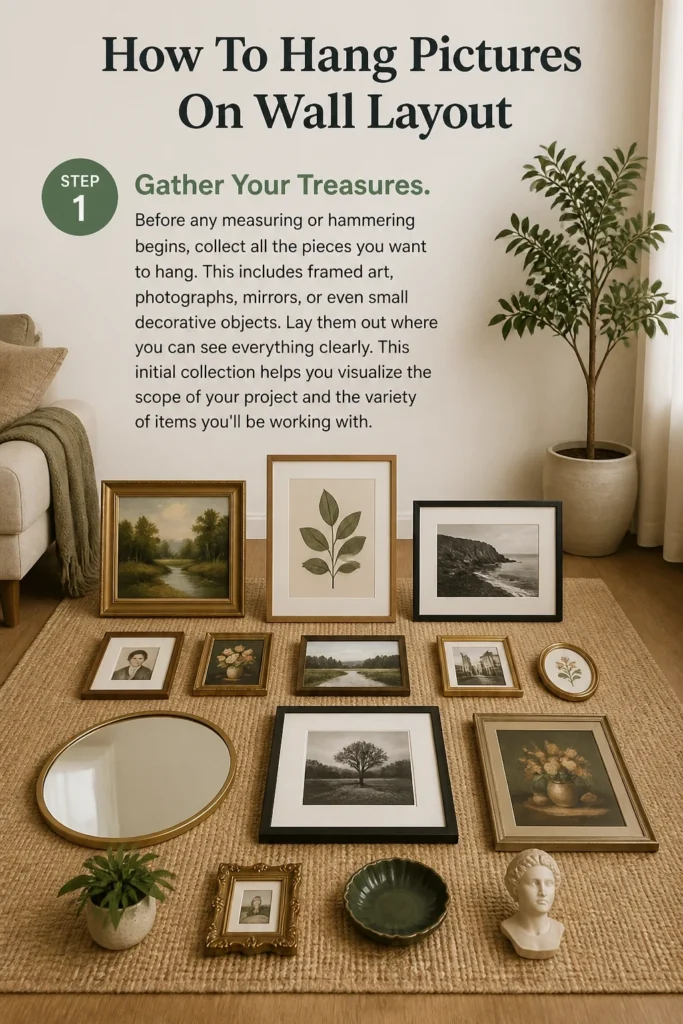
Lay them out where you can see everything clearly. This initial collection helps you visualize the scope of your project and the variety of items you’ll be working with.
Step 2: Find Your Focal Point
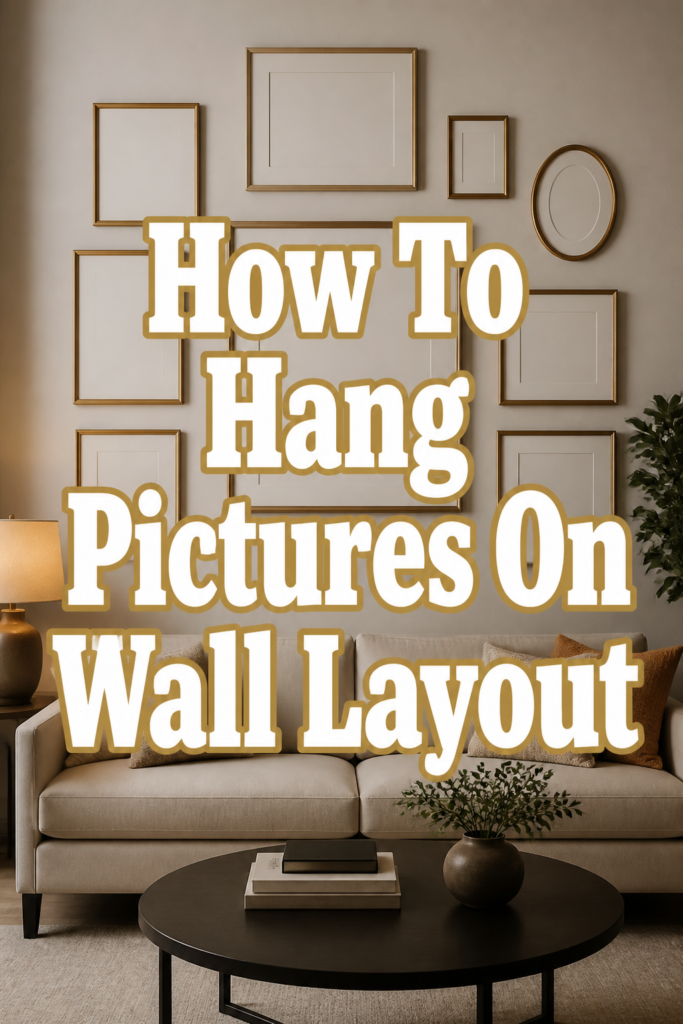
Every room has a natural focal point, or you can create one. This might be a sofa, a fireplace, a console table, or even a large window.
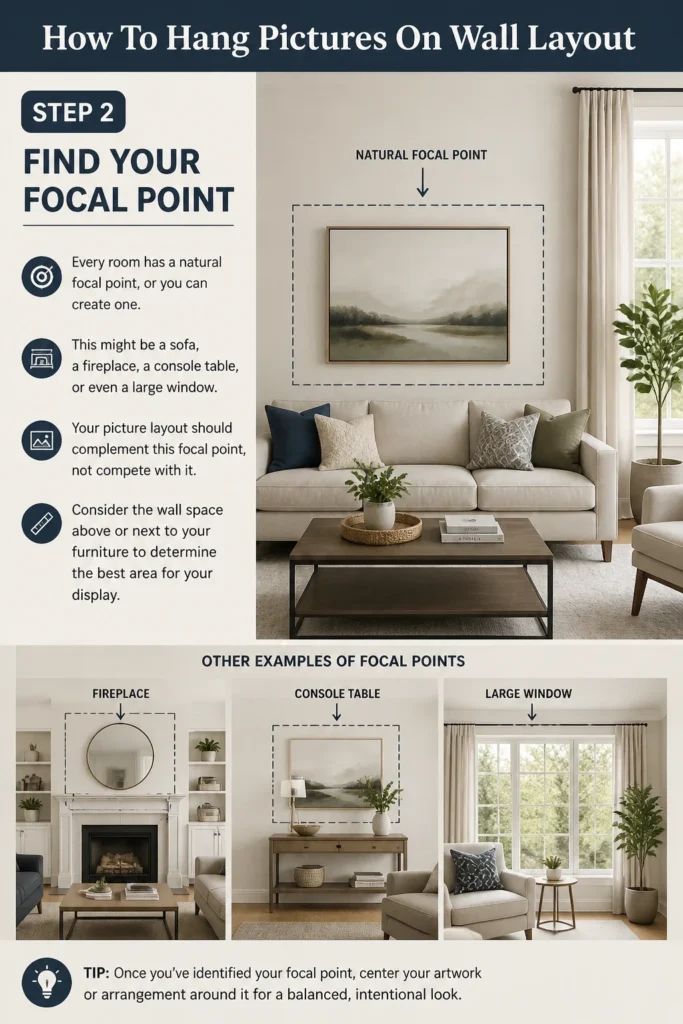
Your picture layout should complement this focal point, not compete with it. Consider the wall space above or next to your furniture to determine the best area for your display.
Step 3: Plan Your Layout on the Floor
This is arguably the most important step for a successful layout. Clear a large space on your floor, ideally matching the wall dimensions.
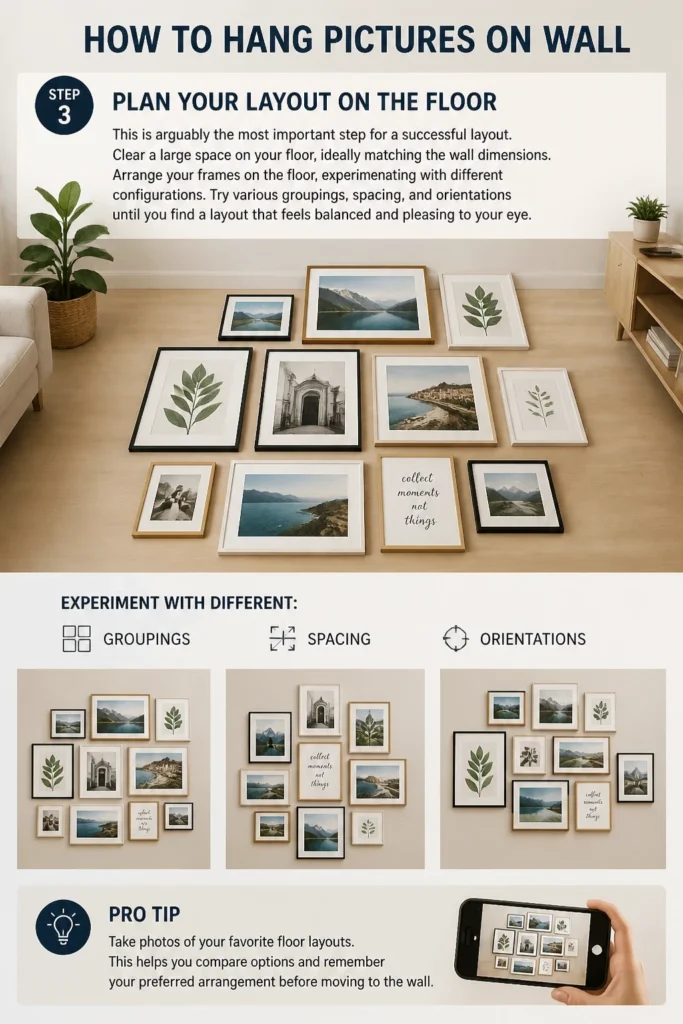
Arrange your frames on the floor, experimenting with different configurations. Try various groupings, spacing, and orientations until you find a layout that feels balanced and pleasing to your eye.
Pro Tip: Take photos of your favorite floor layouts. This helps you compare options and remember your preferred arrangement before moving to the wall.
Step 4: Create Paper Templates
Once you have a floor layout you love, it’s time to make templates. Take a piece of paper (butcher paper, newspaper, or even wrapping paper works well) for each frame.
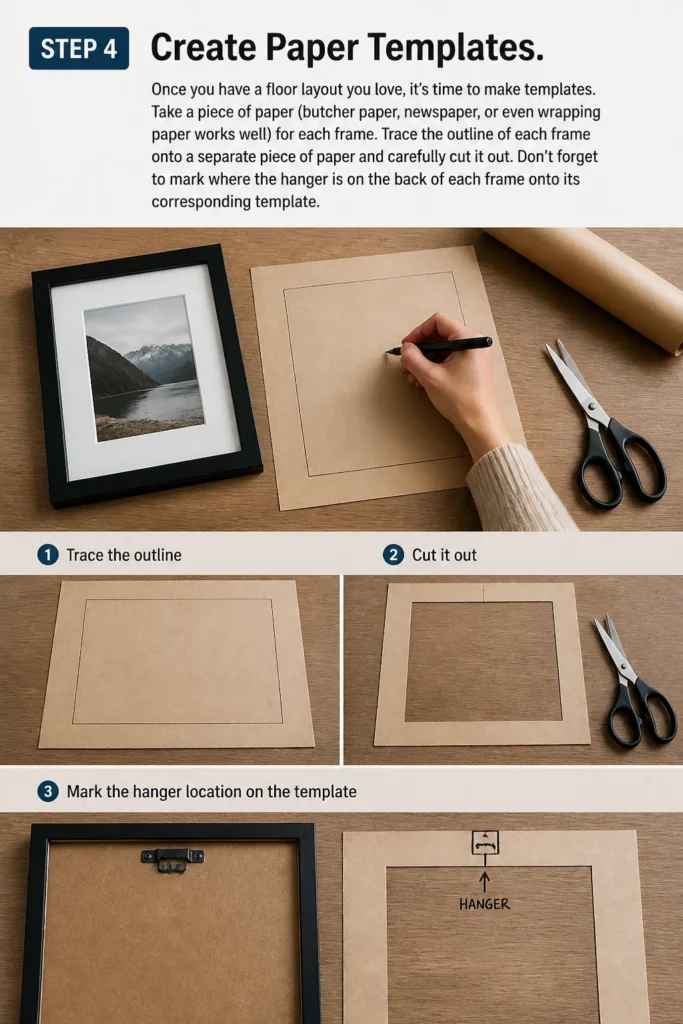
Trace the outline of each frame onto a separate piece of paper and carefully cut it out. Don’t forget to mark where the hanger is on the back of each frame onto its corresponding template.
Step 5: Tape Templates to the Wall
Transfer your floor layout to the wall using your paper templates and painter’s tape. Position the templates exactly as you arranged them on the floor.
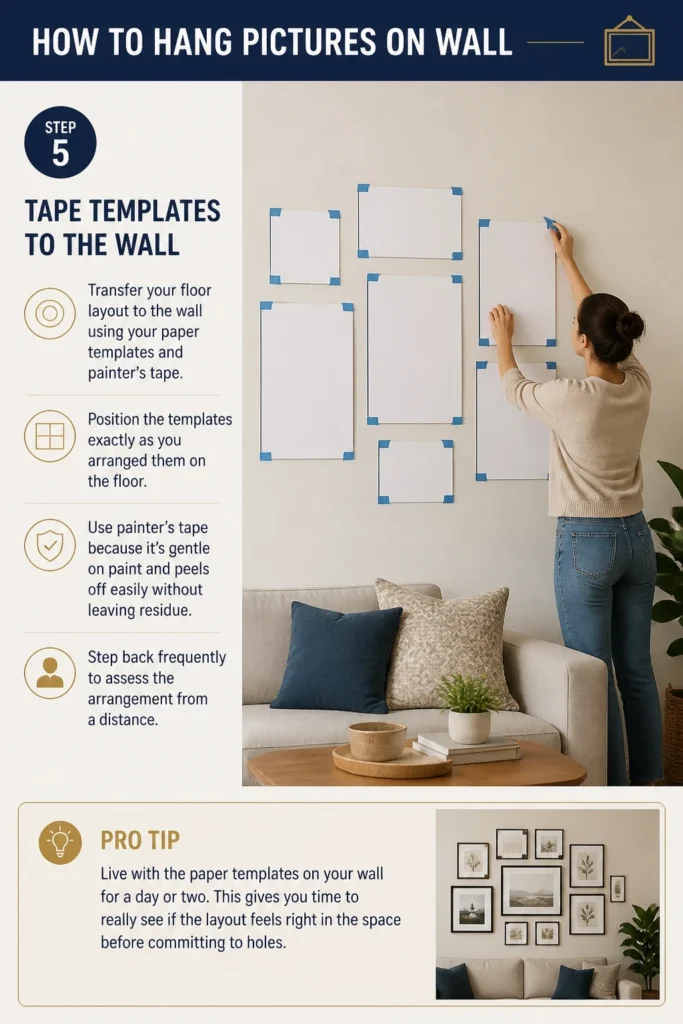
Use painter’s tape because it’s gentle on paint and peels off easily without leaving residue. Step back frequently to assess the arrangement from a distance.
Pro Tip: Live with the paper templates on your wall for a day or two. This gives you time to really see if the layout feels right in the space before committing to holes.
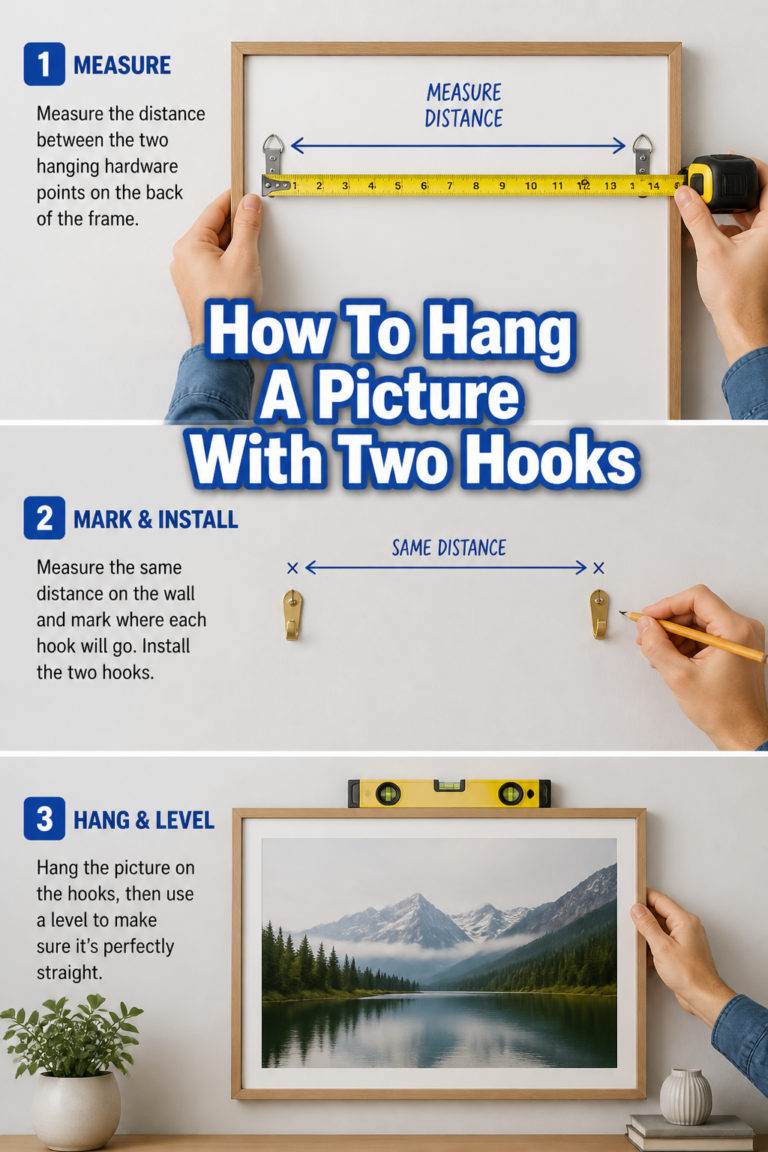
Step 6: Mark and Measure Precisely
Once your templates are perfectly placed, it’s time to mark your hanging points. Remember those hanger marks you made on the templates?
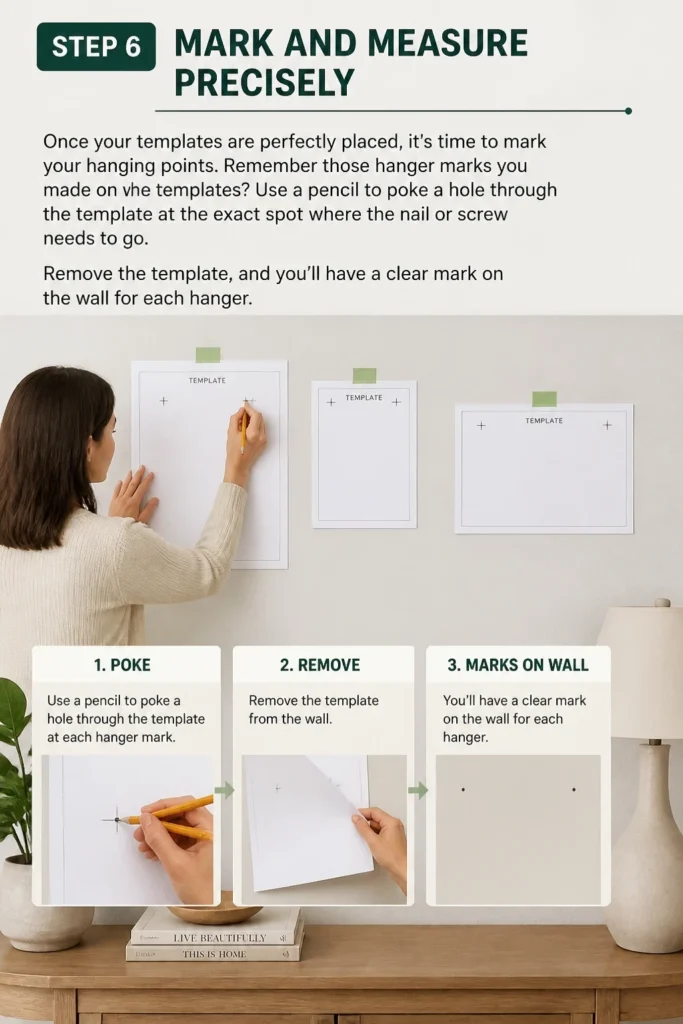
Use a pencil to poke a hole through the template at the exact spot where the nail or screw needs to go. Remove the template, and you’ll have a clear mark on the wall for each hanger.
Step 7: Install Hangers and Hang Pictures
Now for the satisfying part! Use a hammer for nails or a drill for screws, installing your chosen picture hangers at each marked spot.
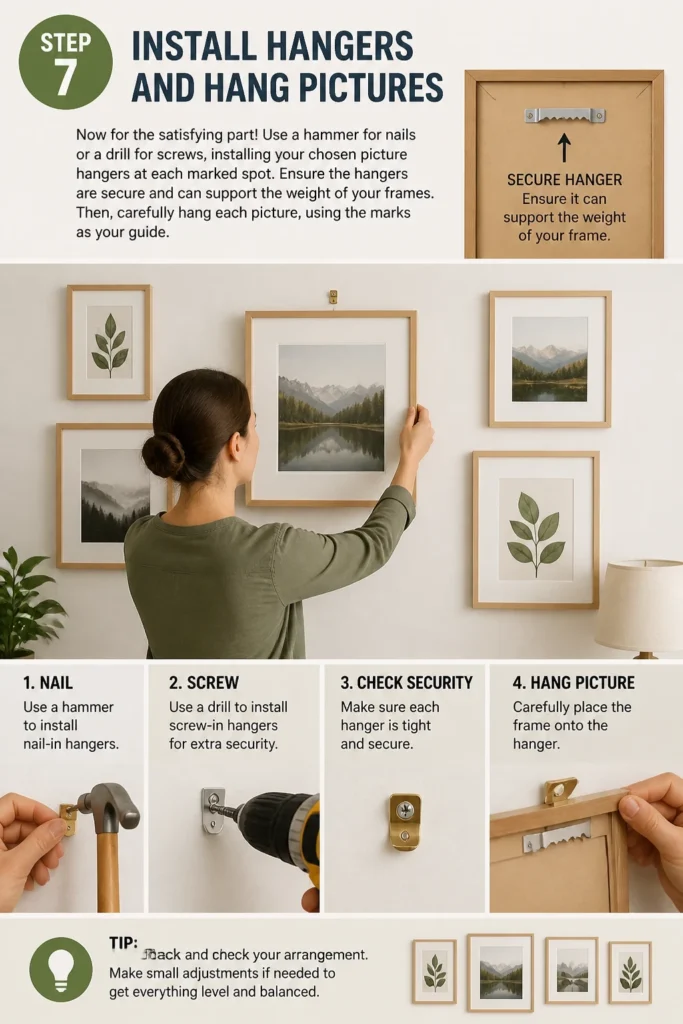
Ensure the hangers are secure and can support the weight of your frames. Then, carefully hang each picture, using the marks as your guide.
Step 8: Level and Adjust
After all your pictures are on the wall, grab your level. Gently adjust each frame until it’s perfectly straight.
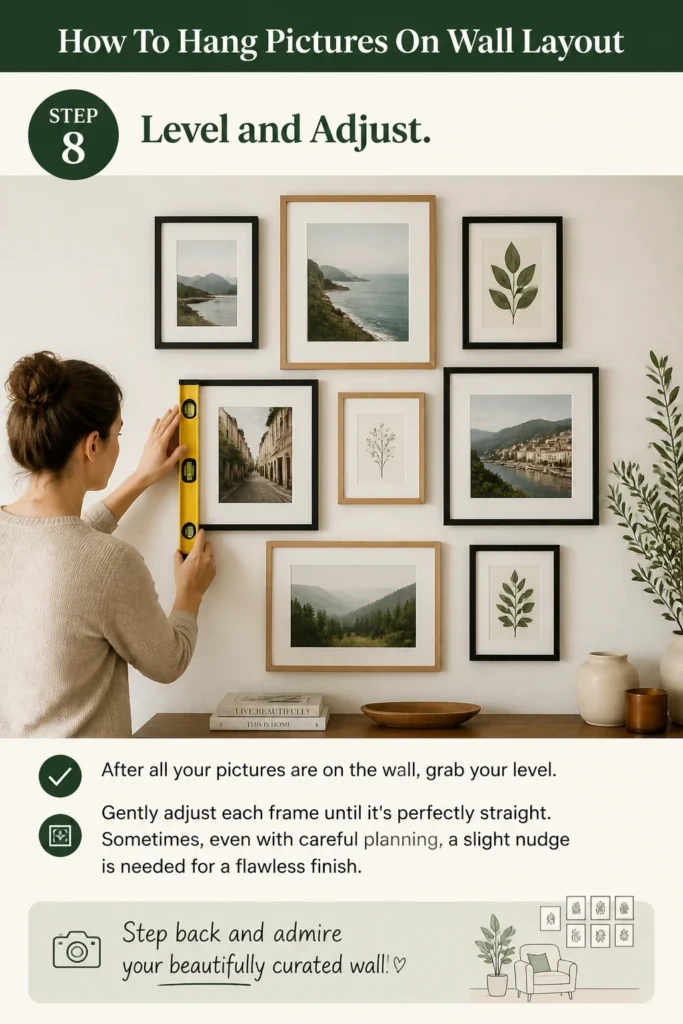
Sometimes, even with careful planning, a slight nudge is needed for a flawless finish. Step back and admire your beautifully curated wall!
Common Mistakes to Avoid
Hanging Too High
A frequent error is hanging pictures too high, making them feel disconnected from the furniture and the rest of the room. Art should relate to the human scale and the pieces around it.
The general rule of thumb is to hang the center of a single piece, or the center of a gallery wall arrangement, at eye level. This is typically 57-60 inches from the floor, making it comfortable to view.
Ignoring Scale and Proportion
Placing a tiny picture on a vast wall or a huge frame above a small side table can throw off a room’s balance. Consider the size of your art in relation to the wall space and the furniture beneath it.
A good guideline is for art to be approximately two-thirds the width of the furniture it hangs above. This creates a harmonious and grounded look.
Skipping the Planning Stage
Impulsively hammering nails into the wall without a layout plan often leads to extra holes and a less-than-cohesive display. The planning stages are not optional; they are essential.
Taking the time to arrange on the floor and use paper templates saves you frustration and ensures a result you’ll truly love. It’s a small investment of time for a big payoff.
Using the Wrong Hardware
Using a tiny nail for a heavy framed mirror is a recipe for disaster. Different frames and wall types require specific hangers to ensure safety and stability.
Always check the weight of your frame and choose appropriate hangers, such as picture hooks, toggle bolts for drywall, or anchors for plaster. Invest in good quality hardware for peace of mind.
Troubleshooting
Picture Looks Crooked
Even with a level, a picture might shift slightly or appear crooked over time. This is a common occurrence and easily fixed.
Gently adjust the frame by hand until it looks straight. If it repeatedly shifts, try adding a second, smaller nail or a small piece of painter’s tape to the bottom corner of the frame, adhering it subtly to the wall, to stabilize it.
Wall Damage from Hanger
Sometimes a hanger comes out, or you decide to move a picture, leaving an unsightly hole. Don’t worry, wall repairs are simpler than they seem.
For small nail holes, a bit of spackle or wall filler applied with a putty knife, sanded smooth once dry, and then touched up with paint, will make it disappear. For larger holes, a drywall patch kit might be needed.
Layout Feels “Off” After Hanging
Despite all the planning, sometimes a layout just doesn’t feel quite right once it’s on the wall. This can happen, and it’s okay to make adjustments.
Live with it for a few days to see if your eye adjusts. If it still bothers you, consider moving one or two pieces. Sometimes even a slight repositioning can make a big difference. Remember, your home is a work in progress.
Key Takeaways
- Plan on the floor first: This is your visual rehearsal, preventing unnecessary wall holes.
- Templates are your best friend: Paper cutouts allow for easy adjustments before committing.
- Eye-level is key: Aim for the center of your art or arrangement to be around 57-60 inches from the floor.
- Don’t rush the process: Take your time with each step, especially the planning and measuring.
- Good hardware matters: Use appropriate hangers for the weight of your frames and your wall type.
- Trust your eye: Ultimately, what looks good to you in your home is the perfect solution.
Frequently Asked Questions
How high should I hang pictures above a sofa or bed?
When hanging above furniture, the bottom of your frame or gallery wall should ideally be 6-8 inches above the top of the furniture. This creates a cohesive grouping without leaving too much empty space.
Can I mix different frame styles and colors in a gallery wall?
Absolutely! Mixing styles can add character and depth to your gallery wall. To keep it cohesive, try to have one unifying element, like a consistent mat color, a shared color palette in the art, or a common theme among the images.
What if I don’t want to make holes in my wall?
There are several excellent alternatives for no-hole hanging. Adhesive picture strips (like Command Strips) are fantastic for lighter frames and offer damage-free removal. You could also use picture rail molding with hooks, or lean larger frames against the wall on a console table or mantelpiece.
How do I arrange a gallery wall around a TV?
Treat your television as just another “frame” in your gallery. Arrange your pictures around it, balancing the sizes and shapes to create a unified display. You can use the TV as the central anchor or incorporate it into a larger, more fluid arrangement, ensuring enough space for proper viewing.
Our Top Recommended Finds
- Assorted Picture Hanger Kit: A comprehensive kit usually includes various hooks, nails, and wire, ensuring you have the right hardware for almost any frame.
- Laser Level with Measuring Tape: This combination tool projects a straight line, making it incredibly easy to align multiple frames and measure distances accurately.
- Painter’s Tape (Low Adhesion): Essential for creating templates and marking spots without damaging your wall paint.
Your Walls, Your Story: Embrace the Transformation
You’ve taken the first step toward creating a home that truly reflects you. Hanging pictures isn’t just about putting art on a wall; it’s about curating your space, telling your story, and infusing warmth into every corner.
Now that you have the tools and confidence, why not explore other ways to personalize your space? Perhaps a cozy reading nook or a vibrant accent wall is next on your list.
Don’t wait! Grab your frames, gather your tools, and begin transforming your walls today. Each picture you hang adds another layer of comfort and personality to your cherished home.