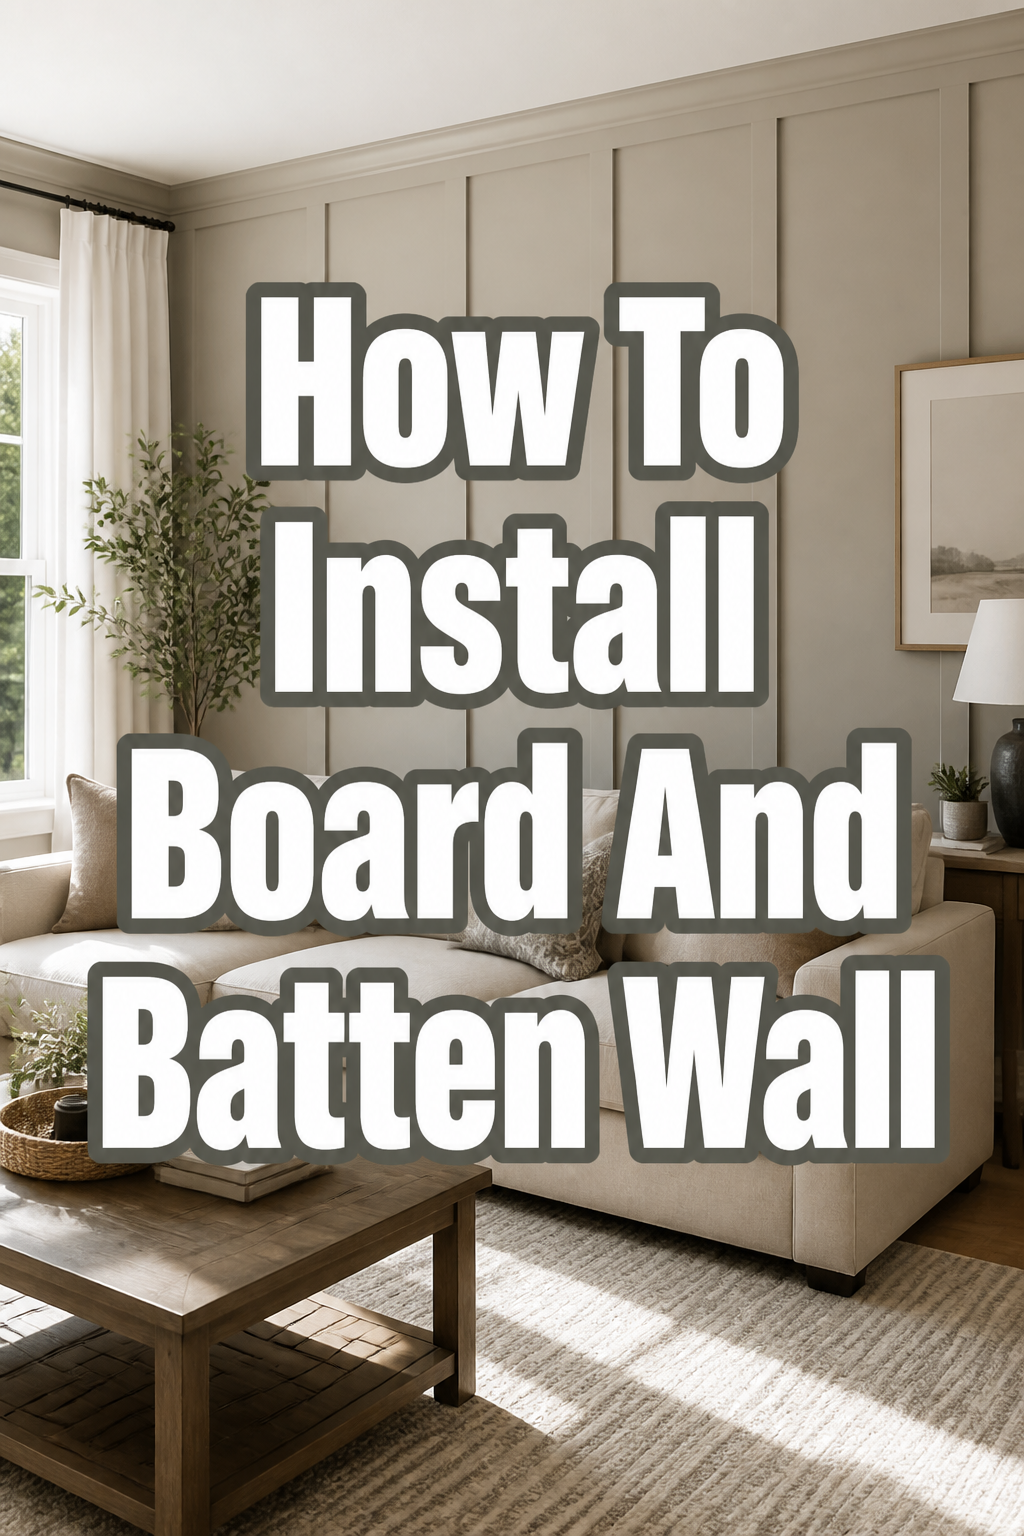
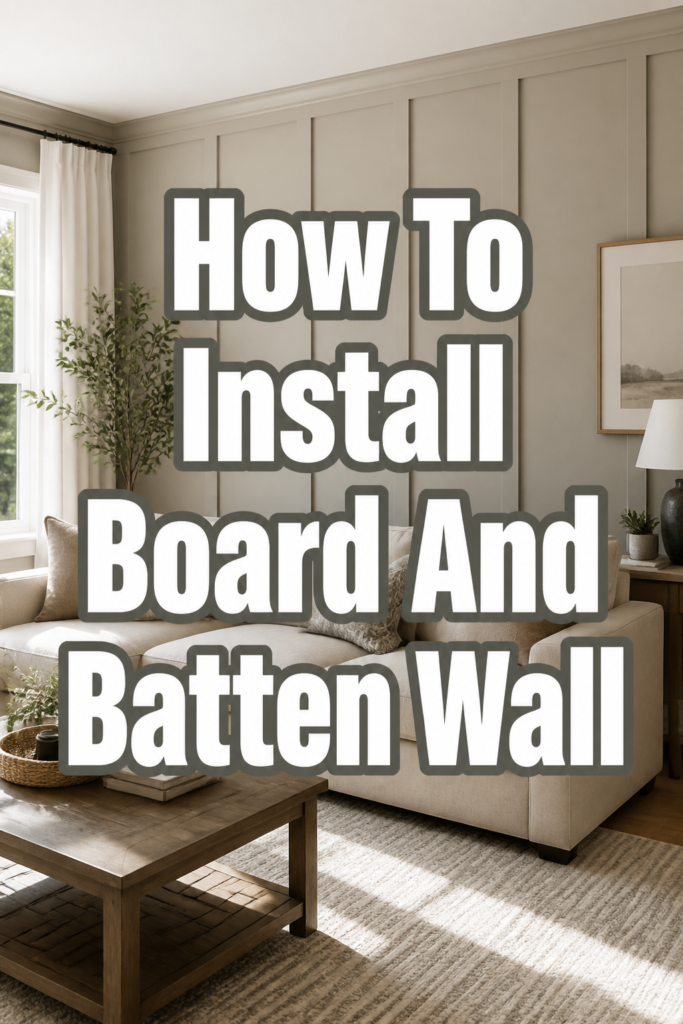
🏠 How To Install Board And Batten Wall
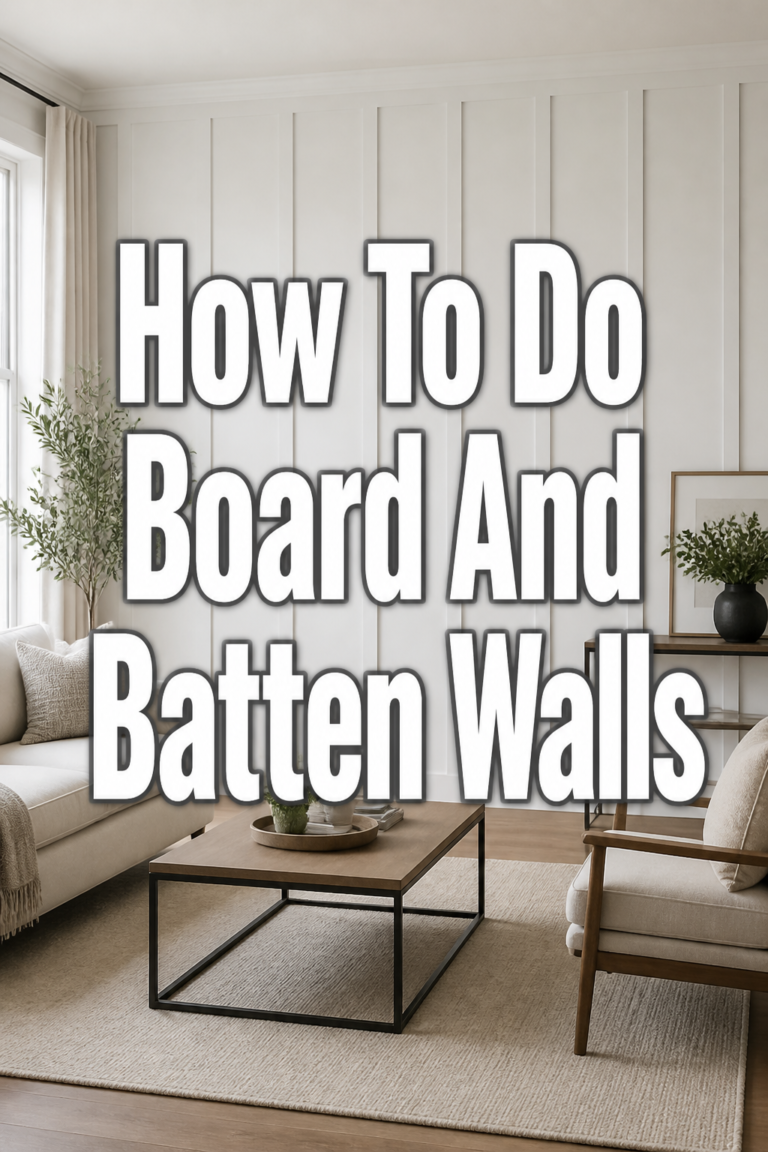
Do you dream of transforming a plain room into a cozy, character-filled sanctuary? Board and batten walls offer an incredible way to add architectural interest and a touch of timeless elegance. I’ve personally seen how this simple upgrade can make a space feel instantly more inviting and custom-designed.
This guide will walk you through every step, ensuring your project is a rewarding success. You’ll be amazed at the beautiful impact you can create.
Quick Overview
Embarking on a board and batten project is a fantastic way to elevate your home’s aesthetic. This guide will help you create a stunning feature wall with confidence. Get ready to add charm and sophistication to your chosen room.
- Time needed: 1-2 full days (depending on wall size and experience)
- Difficulty: Intermediate (Beginner-friendly with careful planning)
- What you’ll need: Wood boards, measuring tape, level, saw, nail gun, caulk, paint
Step-by-Step Instructions
Step 1: Plan Your Design & Measure
Before you cut a single board, visualize your ideal wall. Consider the height of your board and batten – half-wall, three-quarters, or full wall? Sketch out your desired look, noting where furniture will sit.
Measure your wall’s width and height precisely. This helps you calculate how many horizontal and vertical boards you’ll need. Decide on the spacing for your vertical battens, aiming for a consistent, pleasing rhythm.
Pro Tip: Aim for batten spacing between 16-24 inches for a balanced look. Use a calculator or sketch to test different spacings and see how they divide your wall evenly.
Step 2: Gather Your Materials & Tools
A successful project starts with the right supplies. You’ll need wood for your boards and battens – MDF, pine, or poplar are popular choices. Ensure your wood is straight and free of warping.
Essential tools include a measuring tape, a long level (4ft is ideal), a stud finder, a miter saw or circular saw, and a brad nailer with 1.5-2 inch nails. Don’t forget wood filler, caulk, sandpaper, primer, and paint. Having all your tools ready saves time and frustration.
Step 3: Prepare Your Wall
Clear the room of furniture and protect your floors with drop cloths. If you have existing baseboards that you want to integrate, you might need to remove them temporarily or plan your design around them. Patch any holes or imperfections in your wall with spackle.
Clean your wall thoroughly to ensure good adhesion for paint and caulk. Using a stud finder, mark the location of all wall studs with a pencil. Nailing into studs provides the strongest hold for your boards.
Step 4: Install the Horizontal Boards
Begin by installing your bottom horizontal board. If you removed your baseboard, this will be your new base. Use your level to ensure it’s perfectly straight before nailing it into studs.
Next, install your top horizontal board, which determines the overall height of your board and batten. Measure up from the floor to your desired height, mark a level line across the wall, and then attach your board. This board will cap off your design.
Pro Tip: Use a laser level if you have one; it makes drawing perfectly straight lines much easier. If not, a long spirit level and a pencil work wonderfully.
Step 5: Measure & Cut Vertical Battens
With your horizontal boards in place, it’s time for the vertical elements. Measure the exact distance between your bottom and top horizontal boards for each individual batten. Walls are rarely perfectly uniform, so measure each gap.
Cut your batten pieces using your miter saw. Take your time and make precise cuts. Label your cut pieces if necessary to ensure they go in the correct spots.
Step 6: Install the Vertical Battens
Starting in a corner or at the center, place your first vertical batten. Use your level to ensure it is perfectly plumb (straight up and down). Attach it securely with your brad nailer, aiming for studs where possible.
Continue installing the remaining vertical battens, maintaining your pre-planned spacing. Double-check each batten for plumbness before nailing. Consistency is key for a professional finish.
Step 7: Caulk, Fill, & Sand
This is where your board and batten truly transforms. Fill all nail holes with wood filler, letting it dry completely. Apply a thin bead of paintable caulk along all seams where the wood meets the wall and where boards meet each other.
Smooth the caulk with a wet finger or a caulk tool for a seamless look. Once dry, lightly sand any excess wood filler until smooth. This meticulous step creates a flawless, built-in appearance.
Step 8: Prime & Paint
Clean any dust from sanding before priming. Apply a good quality primer to all the new wood and any patched areas. Primer helps seal the wood and ensures an even paint finish.
Once the primer is dry, apply two coats of your chosen paint color. Use a high-quality brush for cutting in and a roller for larger flat surfaces. Step back and admire your beautiful, custom-designed wall!
Common Mistakes to Avoid
Skipping Proper Planning
Jumping straight into cutting boards without a detailed plan is a common pitfall. This often leads to uneven spacing, wasted materials, and a less cohesive final look. Always sketch your design, measure meticulously, and calculate your batten spacing to ensure symmetry and efficiency.
Ignoring Wall Imperfections
Walls are rarely perfectly flat or plumb. If you don’t address existing wall damage or unevenness, your new board and batten can highlight these flaws. Patching holes and ensuring your initial horizontal boards are perfectly level will set a strong foundation for a professional finish.
Improper Fastening
Relying solely on nails without hitting studs, or using nails that are too short, can lead to boards pulling away from the wall over time. Always use a stud finder and aim for studs when possible. For areas without studs, use construction adhesive in addition to nails for extra security.
Rushing the Finishing Touches
The caulking, filling, and sanding steps are often underestimated but are crucial for a polished result. Skimping on these steps leaves visible gaps, nail holes, and uneven surfaces. Take your time with these details; they make all the difference between a DIY project and a professional-looking installation.
Troubleshooting
Boards Aren’t Level/Plumb
If you notice a board isn’t perfectly level or plumb after nailing, it’s best to address it immediately. Carefully pry the board off, adjust its position, and re-nail. Small adjustments are easier than trying to compensate later. Use your level constantly throughout the installation process to prevent this.
Gaps Between Boards and Wall
Small gaps are common, especially on older or textured walls. This is precisely what caulk is for! Apply a generous but controlled bead of paintable caulk into the gap. Smooth it out with a wet finger or caulk tool for a seamless transition. For larger gaps, you might need two applications.
Nail Pops or Visible Fasteners
If nails are visible or “popping” out, it usually means they weren’t fully countersunk or the wood has shifted slightly. Use a nail set to gently tap the nail head below the surface of the wood. Then, fill the indentation with wood filler, sand smooth, and touch up with paint.
Key Takeaways
- Measure twice, cut once: Precision in planning and measuring saves time and materials.
- Level and plumb are paramount: Use your level often to ensure all boards are straight.
- Don’t skip wall prep: Patching and cleaning create a smooth canvas for your project.
- Finishing details matter: Caulk, fill, and sand meticulously for a professional, built-in look.
- Use the right tools: A brad nailer and miter saw make the job much easier and more precise.
- Embrace the transformation: This project adds significant character and charm to any room.
Frequently Asked Questions
Can I install board and batten over textured walls?
Yes, you absolutely can! The process is largely the same. However, you’ll want to be extra diligent with caulking all the seams where the wood meets the textured wall. This helps create a smooth, finished edge and blends the new elements seamlessly into the existing texture.
What’s the best spacing for battens?
The “best” spacing is often a matter of aesthetic preference and wall size. A common range is 16 to 24 inches between the center of each batten. For a more traditional look, wider spacing might be preferred, while closer spacing can create a more modern feel. Always divide your wall’s width by different batten counts to see what spacing works best for your specific room.
What type of wood should I use?
MDF (medium-density fiberboard) is a popular and cost-effective choice because it’s stable, smooth, and takes paint well. Pine and poplar are also excellent options, offering a slightly more natural wood grain if desired, but they can be more prone to knots or warping. Ensure whatever wood you choose is straight and free of defects.
Do I need to remove baseboards?
It depends on your desired look and existing baseboard style. If you want the board and batten to appear truly integrated, removing the existing baseboard and using a thicker bottom horizontal board as your new baseboard is ideal. Alternatively, you can install the board and batten directly above your existing baseboard, or even cut the vertical battens to sit on top of it.
Our Top Recommended Finds
- Cordless Brad Nailer: A game-changer for speed and convenience, making installation much faster than hammering.
- Miter Saw: Essential for precise, consistent cuts, ensuring your boards fit together perfectly.
- High-Quality Caulk Gun and Caulk: A smooth, easy-to-use caulk gun and premium paintable caulk are crucial for a flawless finish.
Your Beautiful Board and Batten Awaits!
You now have all the knowledge and practical steps to create a stunning board and batten wall in your home. Imagine the cozy evenings, the beautiful backdrop for your decor, and the compliments from friends and family. This project is more than just adding wood to a wall; it’s about crafting a feeling, a mood, a home that truly reflects you.
Why wait to transform your space? Pick up your measuring tape, gather your inspiration, and start planning your project today. Your dream wall is within reach, ready to bring warmth and character to your everyday life.