🖼️ How To Display Family Photos On Wall
There’s something truly special about seeing cherished memories come alive on your walls.
For years, my own family photos sat in boxes, waiting for the perfect moment to be displayed.
Once I finally learned to arrange them beautifully, my home felt instantly warmer and more personal.
Quick Overview
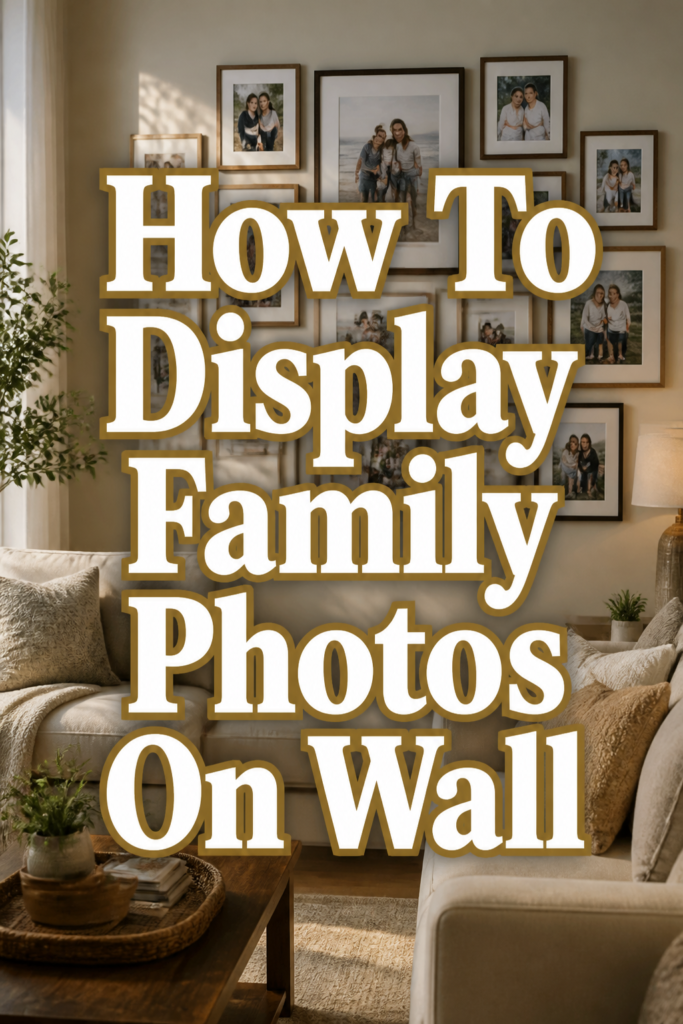
This guide will walk you through transforming a blank wall into a heartfelt display of your family’s journey. You’ll learn how to select, arrange, and hang your photos to create a cohesive and inviting gallery.
- Time needed: 2-4 hours (depending on preparation and number of photos)
- Difficulty: Beginner
- What you’ll need: Photos, frames, measuring tape, pencil, level, hammer/nails or picture hanging strips, paper templates (optional but recommended), painter’s tape.
Step-by-Step Instructions
Step 1: Gather Your Treasures
Begin by collecting all the family photos you love and might want to display. Think about a mix of candid shots, portraits, and significant moments.
Don’t limit yourself to just recent pictures; older, nostalgic photos can add wonderful depth and history to your display.
Step 2: Choose Your Display Area
Consider which wall or section of your home would benefit most from a personal touch. Popular spots include living room walls, hallways, staircases, or even a cozy nook in a bedroom.
Think about the natural light in the space and how people typically move through the room. This helps determine the best size and scale for your photo arrangement.
Step 3: Select Your Frames
Frames play a huge role in the overall aesthetic of your gallery wall. Decide if you want a uniform look with matching frames or an eclectic mix of styles and finishes.
Consider the existing decor in your room. Wooden frames can add warmth, while metallic or simple black frames offer a modern touch. Varying frame sizes adds visual interest.
Pro Tip: Don’t be afraid to mix frame colors or materials. A common mat color or consistent photo style (all black and white, for example) can tie diverse frames together beautifully.
Step 4: Plan Your Layout
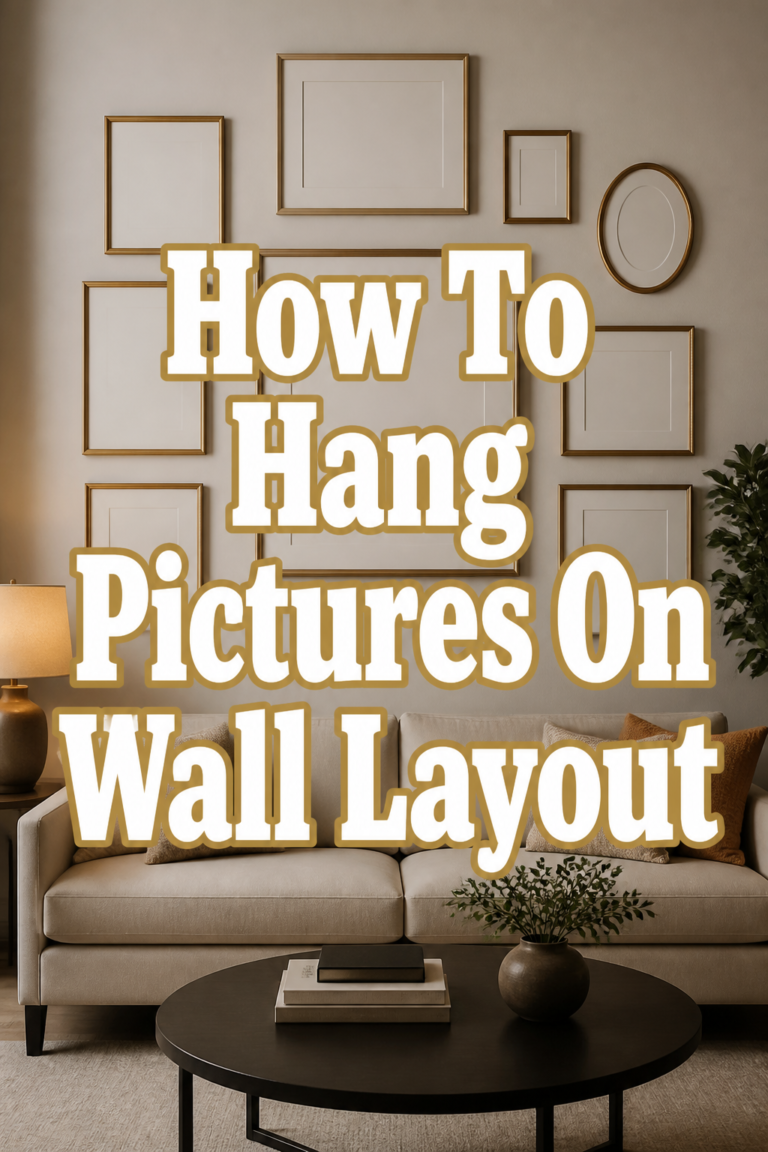
This is arguably the most crucial step for a successful gallery wall. Lay all your selected photos and frames on the floor or a large table.
Experiment with different arrangements. Start with a central, larger photo if you have one, and build outwards. Aim for balance and a pleasing visual flow.
Consider the spacing between frames, usually 2-4 inches, to keep the display feeling cohesive but not cramped. Take a photo of your favorite layouts to compare.
Step 5: Create Templates for Placement
Once you’ve finalized your floor layout, create paper templates for each frame. Trace each frame onto kraft paper or newspaper and cut them out.
Label each template with the corresponding photo or frame size. This step saves your walls from unnecessary holes and helps visualize the final look.
Step 6: Mark Your Wall
Using painter’s tape, carefully transfer your paper templates to the wall, mirroring your floor layout. Stand back often to assess the arrangement from a distance.
Use a level to ensure your templates are straight. Adjust spacing and alignment until you are completely satisfied with the visual balance.
Mark the exact spot where each nail or hanging strip will go directly onto the paper template. This ensures accuracy.
Step 7: Hang Your Frames
Remove one paper template at a time. Carefully insert your nail or apply your picture hanging strip at the marked spot.
Hang the corresponding frame. Use your level again to make sure each frame is perfectly straight before moving to the next one.
Work methodically, rechecking your layout as you go. Patience here prevents crooked frames and frustration later on.
Step 8: Step Back and Adjust
Once all your frames are hung, take a significant step back and view your creation from various angles in the room. This helps you catch any minor misalignments.
Small adjustments can make a big difference in the overall harmony of your display. Don’t hesitate to fine-tune a frame or two until it feels just right.
Step 9: Add Finishing Touches
Consider adding subtle elements to enhance your photo display. A small spotlight can highlight a particular grouping, or a nearby plant can soften the edges.
You might also weave in small decorative items like a cherished family heirloom or a unique piece of art within the gallery. This adds another layer of personality and story.
Pro Tip: Think about the scale of your display relative to the furniture below it. A good rule of thumb is for the bottom of your gallery to be about 6-12 inches above the top of a sofa or console table.
Common Mistakes to Avoid
Hanging Frames Too High or Too Low
A common error is placing photos either too close to the ceiling or too near the floor. This makes them feel disconnected from the rest of the room’s decor.
Aim for the center of your gallery wall to be at eye level, which is typically around 57-60 inches from the floor. This ensures comfortable viewing for most people.
Lack of Cohesion
A collection of random photos and frames can look cluttered rather than curated. Without a unifying element, the display can feel disjointed.
Establish a theme, whether it’s consistent frame colors, a specific photo style (all sepia, for instance), or a clear spacing pattern. This creates visual harmony.
Forgetting the Planning Stage
Jumping straight to hammering nails can lead to a messy, uneven display and unnecessary wall damage. Rushing the process often results in regret.
Always lay out your frames on the floor first and use paper templates on the wall. This planning step is invaluable for achieving a polished, intentional look.
Overcrowding the Wall
Trying to fit too many photos into a small space can make the wall feel overwhelming and busy. Each photo deserves a little breathing room.
Be selective with your photos and allow for adequate space between frames. Sometimes, fewer, well-placed photos have a greater impact than a dense cluster.
Troubleshooting
Frames Aren’t Straight
Even with careful measuring, a frame might still look a little off. This is a common issue that’s easy to fix.
Use a small level to check each frame individually. For minor adjustments, you can often gently tap the bottom corner of the frame to shift its balance. For larger corrections, re-hang the frame.
Layout Looks Off After Hanging
Sometimes, what looked perfect on the floor doesn’t translate as well to the wall. The scale or balance might feel incorrect once everything is up.
Don’t be afraid to make changes. If only a few frames are problematic, try swapping their positions or adjusting their spacing. For a more significant issue, consider taking everything down and re-planning a smaller section.
Damage to Walls from Hanging
Accidental holes or scrapes can happen, especially if you’re new to hanging art. This can be disheartening but is usually repairable.
For small nail holes, a bit of spackle or wall filler, followed by a touch of paint, will make them disappear. For larger damage, you might need to patch the area more extensively.
Key Takeaways
- Plan extensively: Laying out your frames on the floor and using paper templates is crucial for a successful gallery.
- Consider cohesion: Choose a unifying element like frame style, color, or photo aesthetic to create a harmonious display.
- Aim for eye level: The center of your photo display should generally be around 57-60 inches from the floor for optimal viewing.
- Don’t overcrowd: Allow adequate breathing room between frames to prevent a cluttered appearance.
- Utilize tools: A measuring tape, level, and pencil are your best friends for precision and straight lines.
- Personalize your space: Your family photos tell a unique story; embrace variety and add elements that reflect your personality.
Frequently Asked Questions
How high should I hang my photos?
A good general rule is to aim for the center of your photo arrangement to be at eye level, which typically falls between 57 and 60 inches from the floor. If hanging above furniture, allow 6-12 inches between the top of the furniture and the bottom of the lowest frame.
Can I mix black and white photos with color photos?
Absolutely! Mixing black and white with color photos can create a dynamic and interesting display. To maintain cohesion, consider using consistent matting or frames, or grouping similar color tones together within the arrangement.
What if I rent and can’t put holes in the wall?
Many excellent options exist for renters. Picture hanging strips (like Command Strips) are designed to hold frames securely without damaging walls upon removal. You can also use temporary adhesive hooks or lean larger frames against the wall on a console table.
How do I keep my displayed photos clean?
Regular, gentle dusting with a microfiber cloth will prevent dust buildup on frames and glass. For smudges on glass, a soft cloth dampened with a little window cleaner works well. Avoid spraying cleaner directly onto the frame or photo itself.
Our Top Recommended Finds
- Picture Hanging Strips: These adhesive strips are perfect for renters or anyone who wants a damage-free way to hang frames. They offer strong hold and easy removal.
- Laser Level: For ultimate precision, a laser level projects a straight line across your wall, making it incredibly easy to align multiple frames perfectly.
- Gallery Wall Template Kit: Some kits provide pre-sized paper templates and hanging hardware, simplifying the planning and installation process for popular gallery layouts.
Your Walls, Your Story
Bringing your family photos to your walls is more than just decorating; it’s about celebrating your life’s journey. Each frame holds a memory, a laugh, a moment of love that makes your house feel like a true home.
Don’t let those precious memories stay hidden away. Take the first step today and begin planning your beautiful, personalized photo display. Your walls are waiting to tell your unique story.